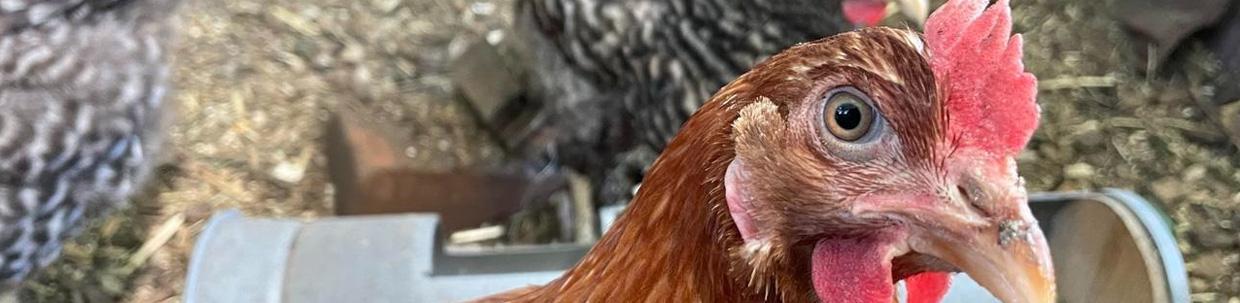


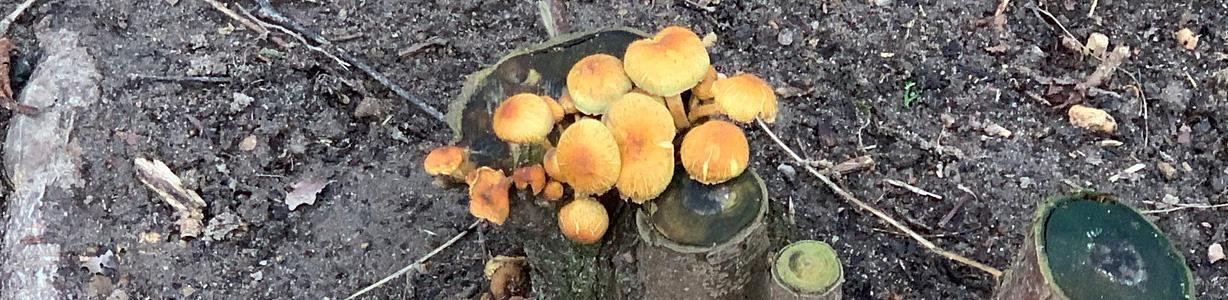

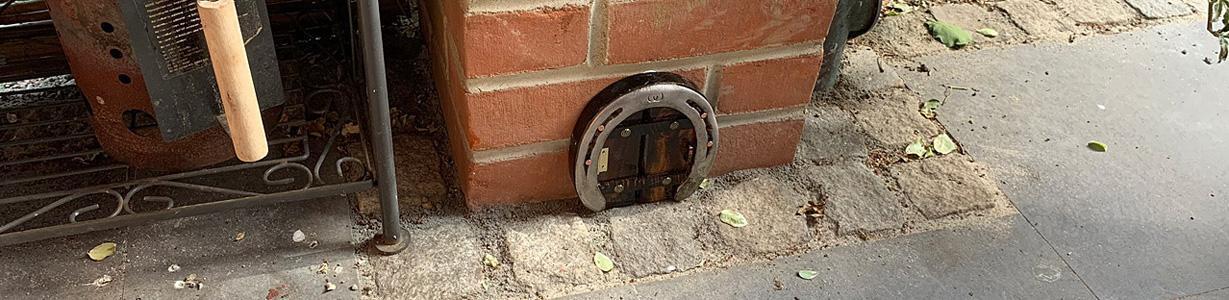


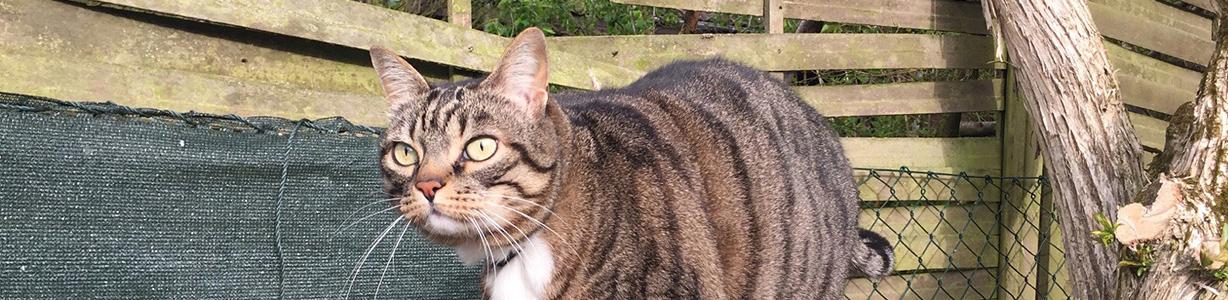

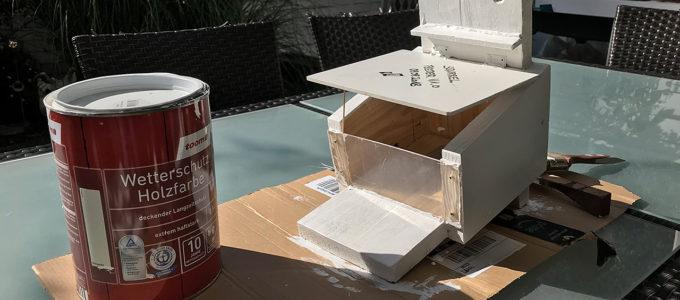
My neighbour, who is a biologist told me that squirrels have had a hard time the last winters here in urban southern germany and that she doesn’t think the situation will improve much this year. Seems the little critters are so excited about the long and hot summer that they simply forget to collect their nuts as supply for the winter. So I made a “squirrel-nut-depot-all-you-can-eat-bar”.
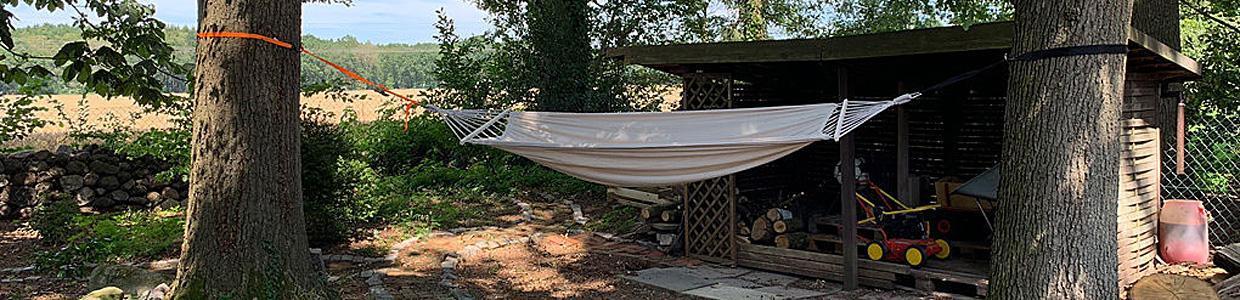
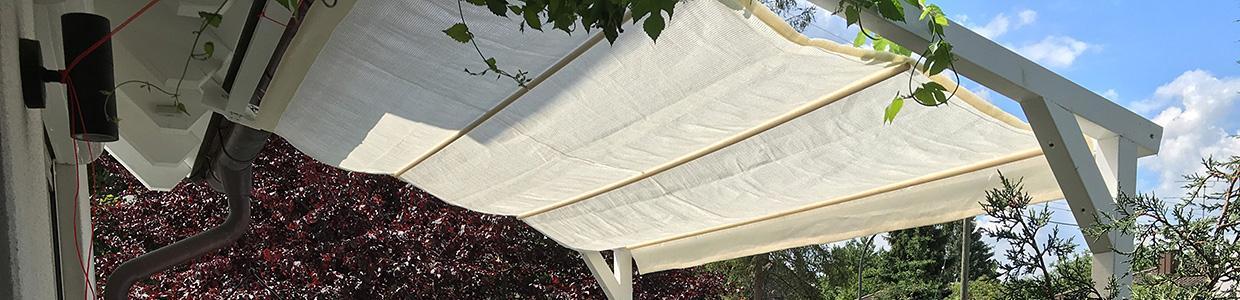
Simplest Possible DIY Rope Tensioners
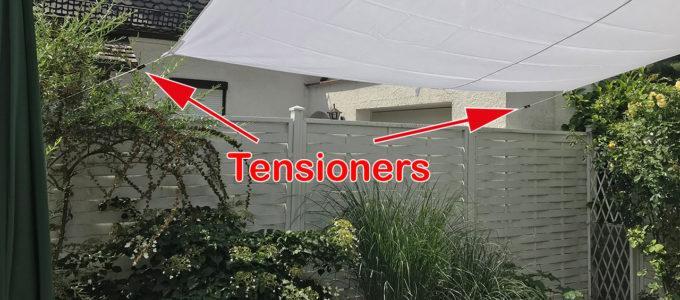
Well, I was a boyscout when I was young and, yes, I did learn some useful things back then. So when we set up our new awning lately, I recalled the simple line-tensioners we made back in the days when we went camping with the boyscout group. They’re easy to make, simple to set up and cost next to nothing. Here’s how they work:
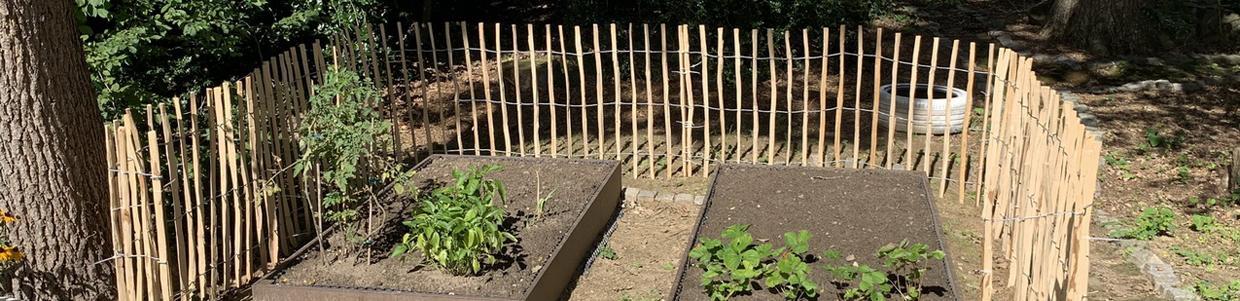
My Form of Prepping
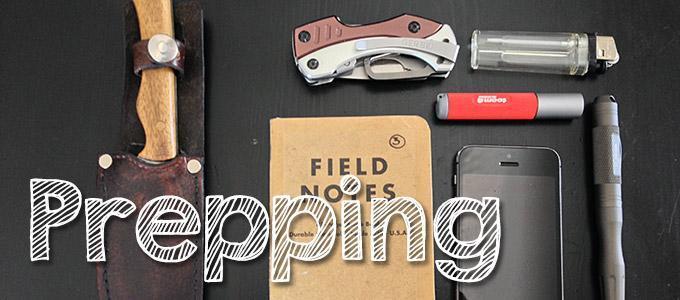
So, slowly I’m transforming into one of those quixotic and sometimes slightly weird SHTF-doomsday guys, right? Well, no. Not really.
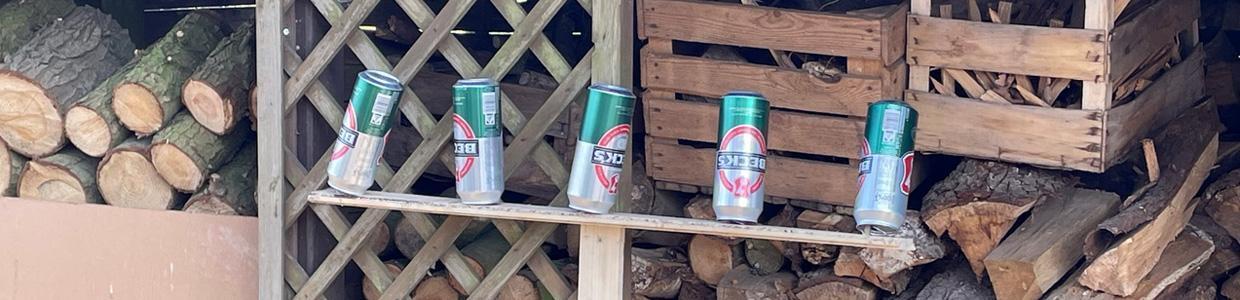
I just want to be reasonably prepared for the mishaps of life and I like to have a backup for my wife and me if things go down the drain for a couple of days. At the end of the day it is (without overdoing it) not much more than what was ordinary household management for my gradmother’s generation back in their time: A little stockpiling, a little preparation and some common sense of not relying entirely on the everyday civilizational amenities.
Even the german government (!) recommends some disaster precautions (Frankly, I think they’re talking shit – hoarding bananas is not the first thing on my mind when thinking about disaster preparation…). Anyway, here’s what I think is useful and unexcitedly reasonable for two people in a calculated 72 hours of utter darknesssss:
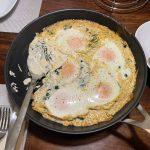
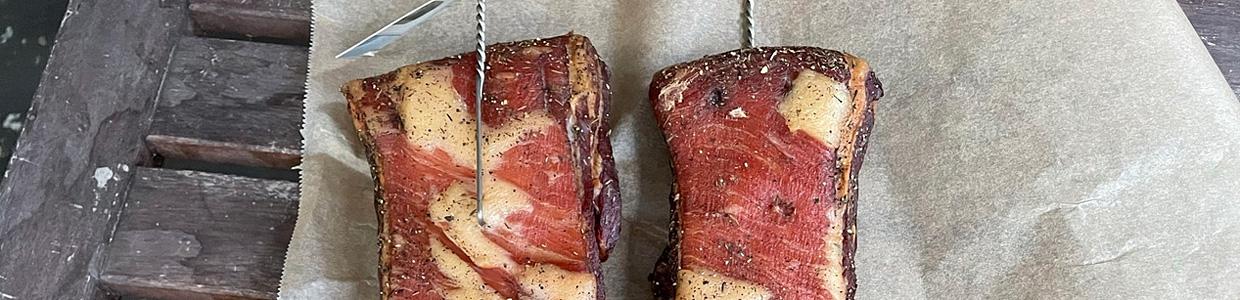
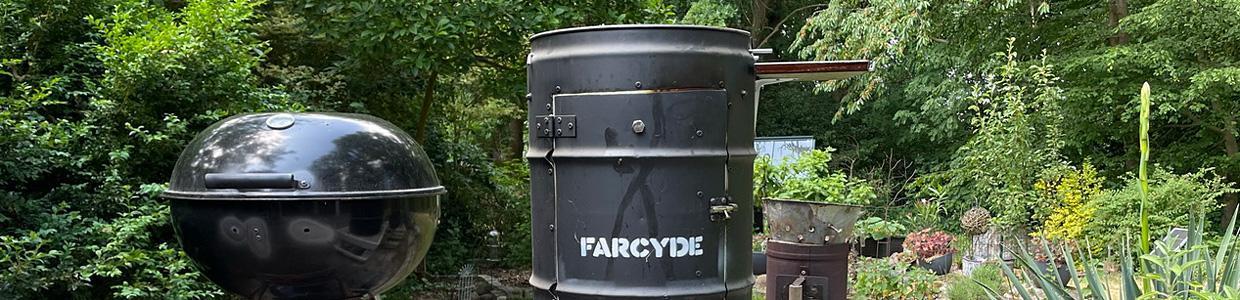
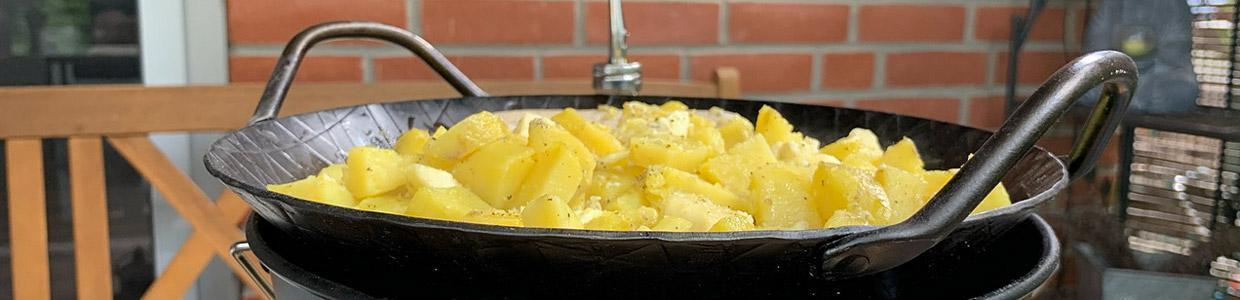
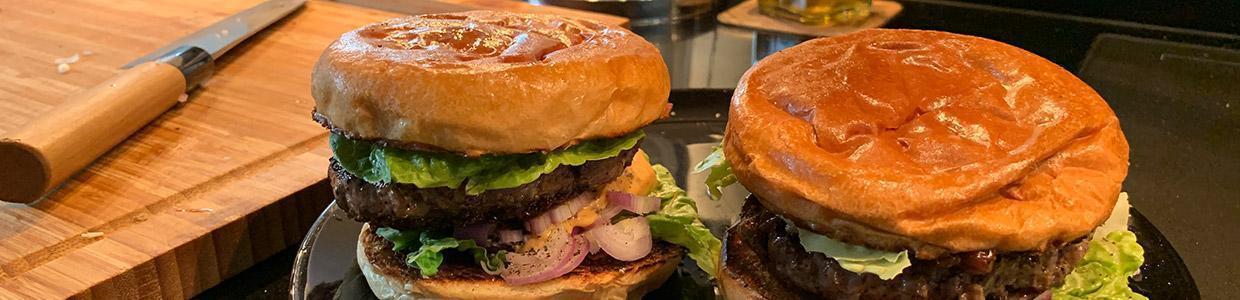
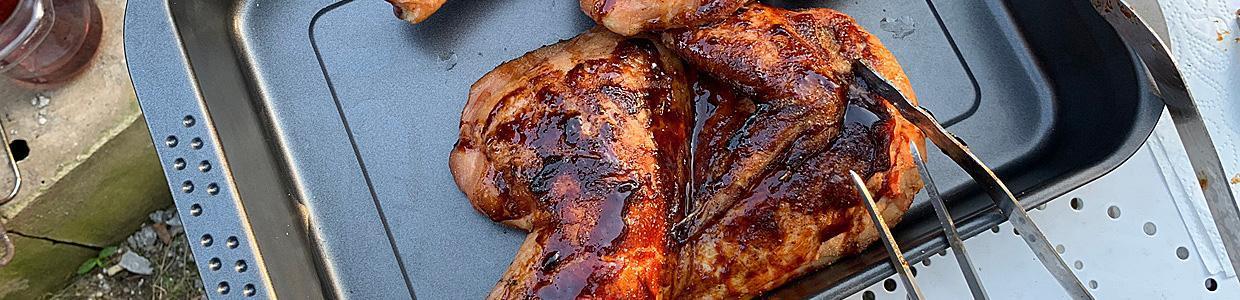
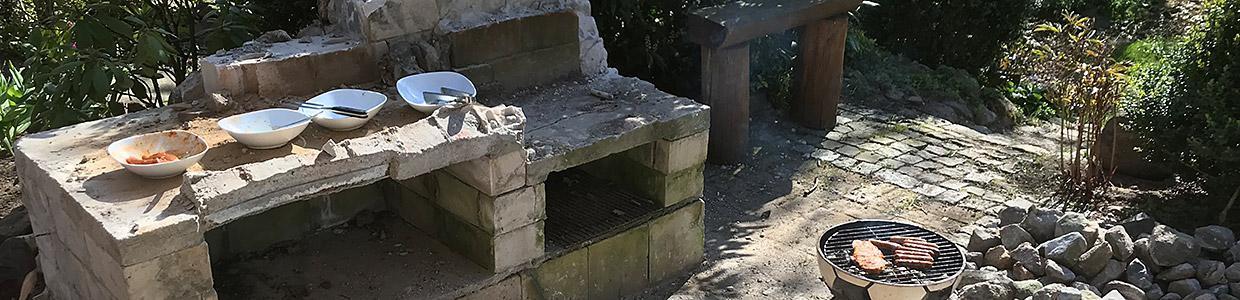
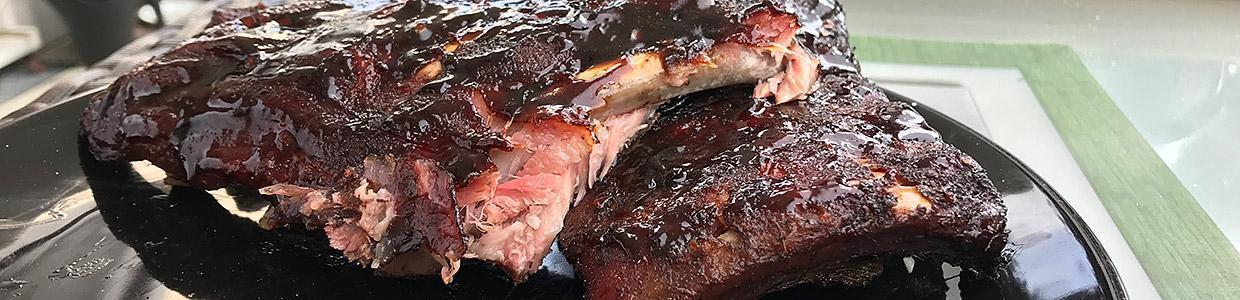
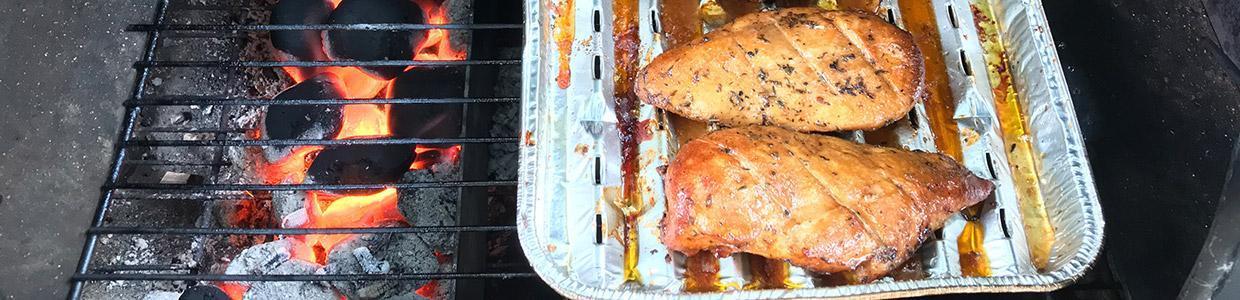
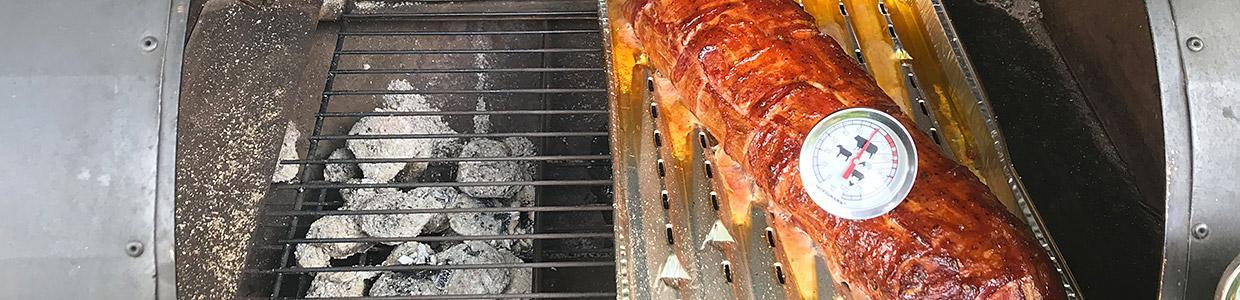
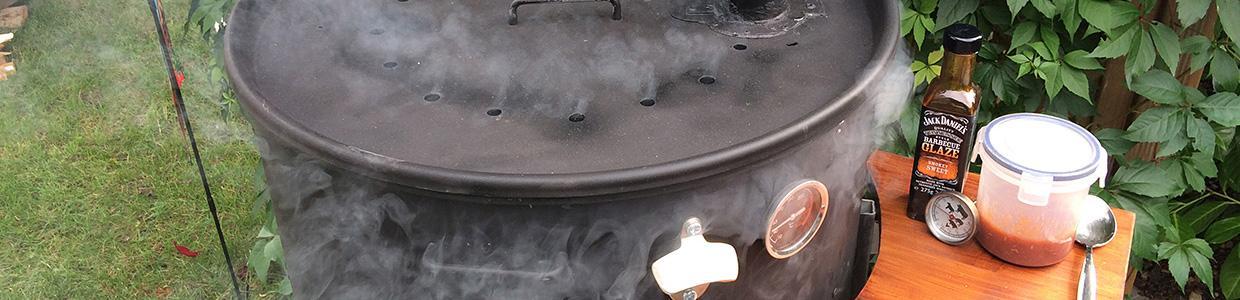
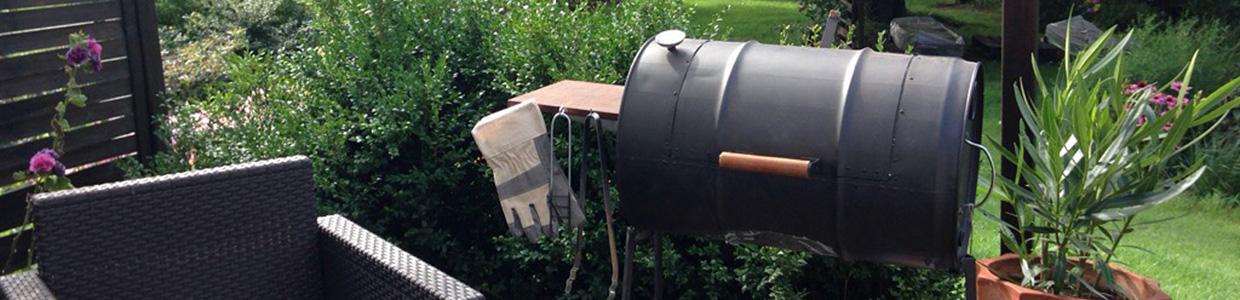
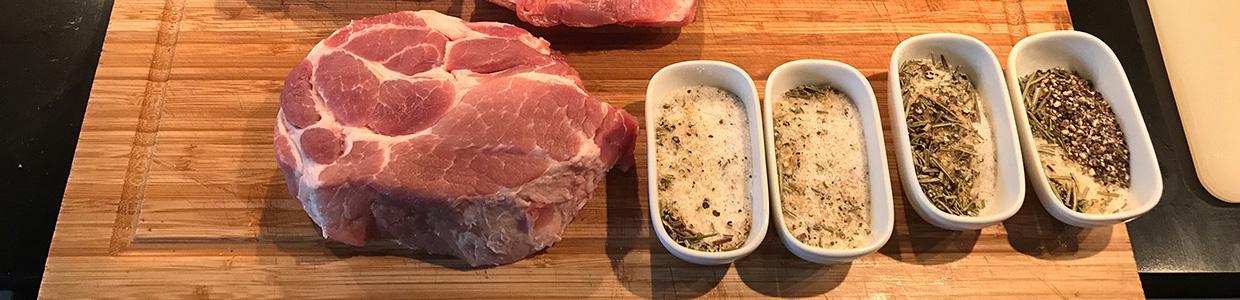
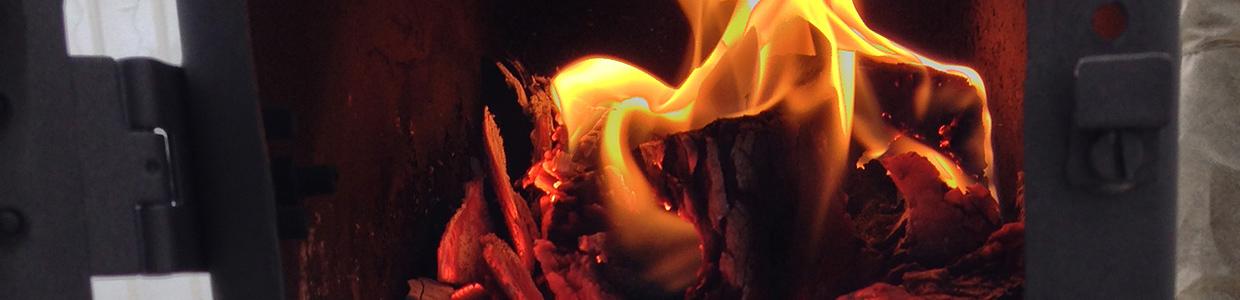
Makeshift Smoker-Addon for the Barrel Grill
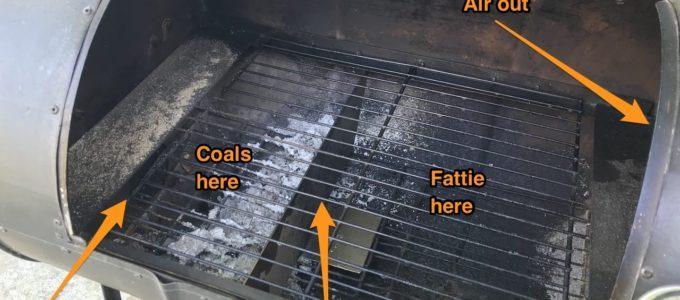
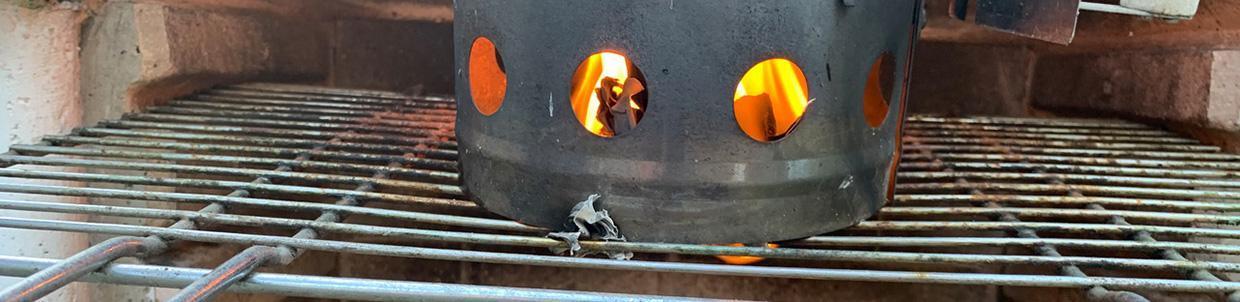
A friend made me a steel divider sheet for the barrel grill (if you like: See here, here, here and here) so I can use it as a simple smoker. Basically it works like those Weber-fireboxes you can buy at the hardware store: The idea is to put the coals into the left half of the firepit, setting the divider and thus having a zone of indirect heat and smoke on the right side. Simple, effective and it works (somehow) 🙂
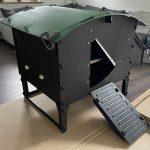
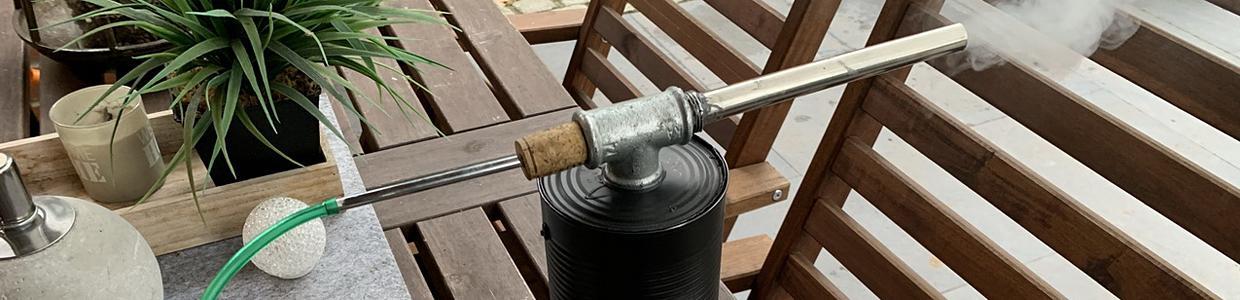
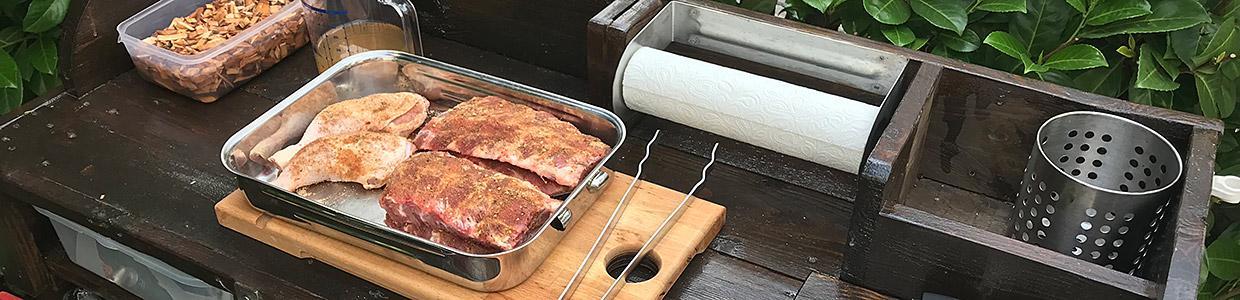
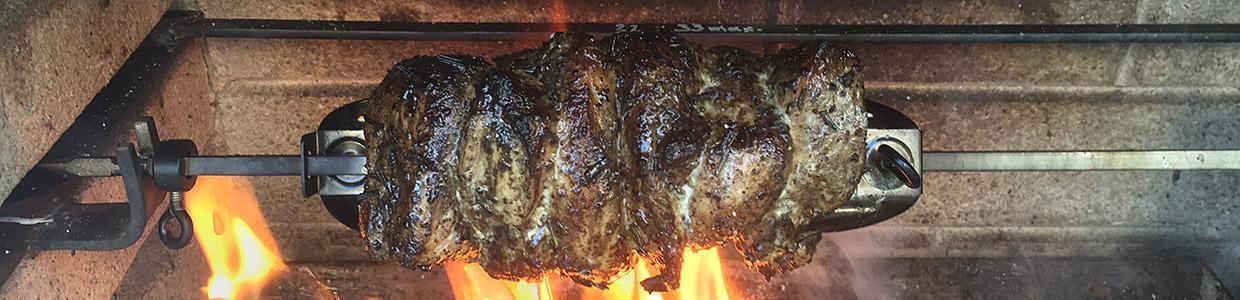
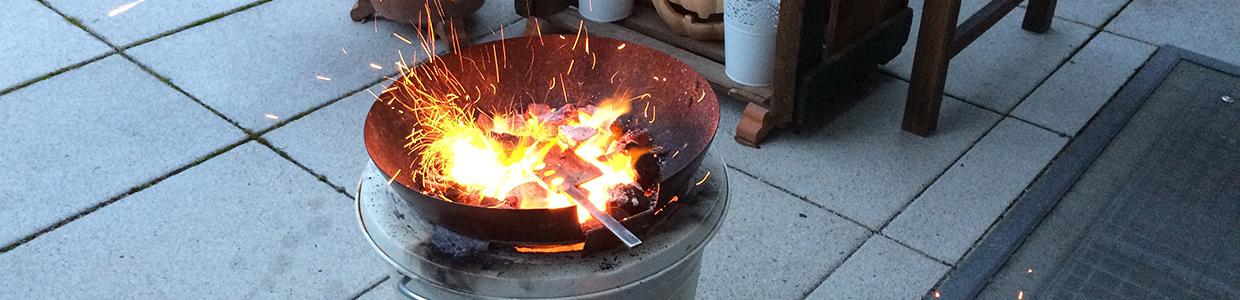
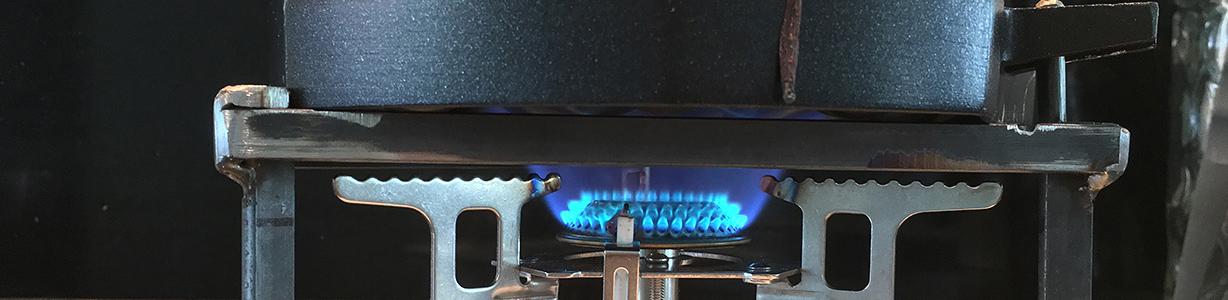
I made a Thing…
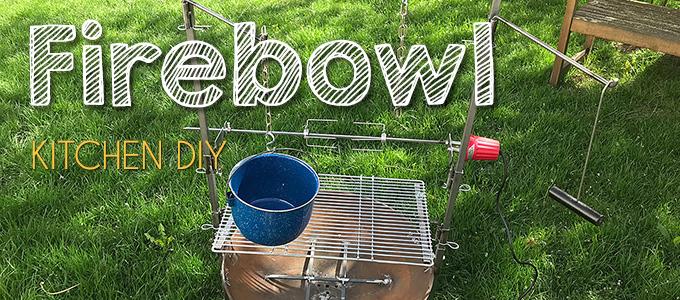
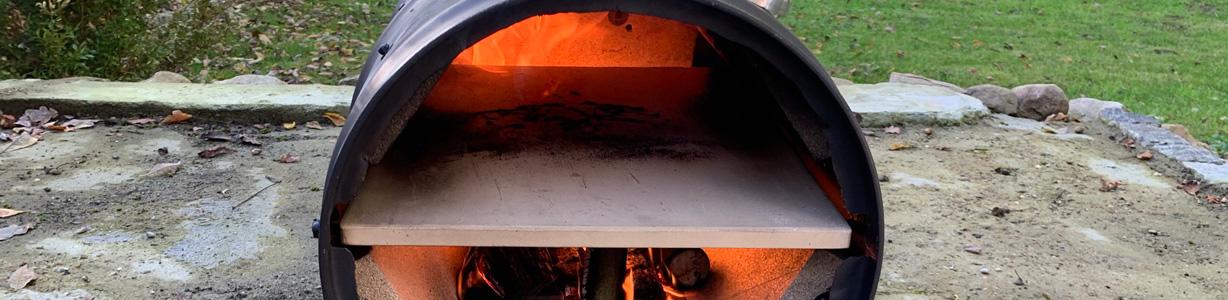
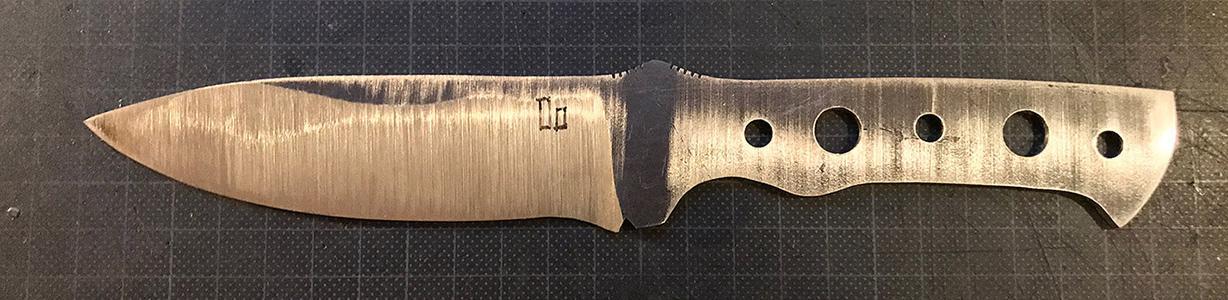
So, over the last few weeks I bolted and welded together some kind of a chuckwagon-kitchen-appliance for my garden firebowl. As usual I tried to use mainly scrap from the shop, recycling what I had but in this case I had to buy some steel rods and small parts.
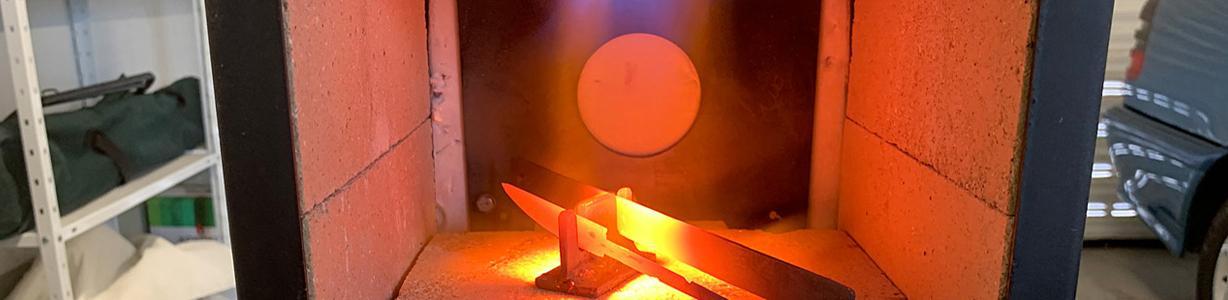
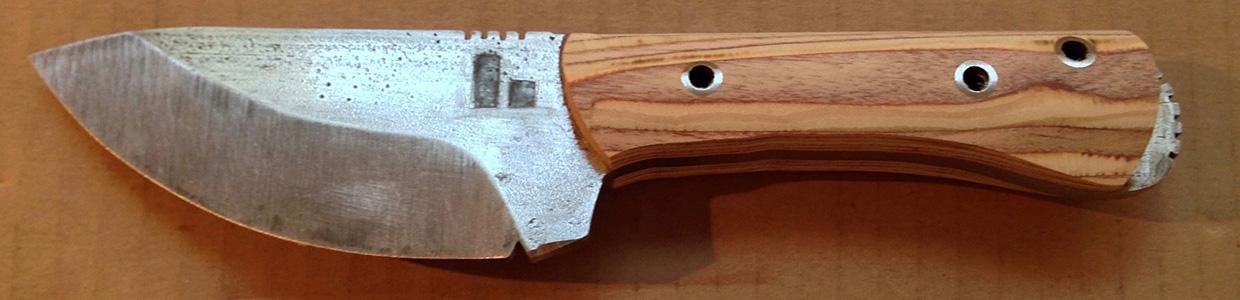
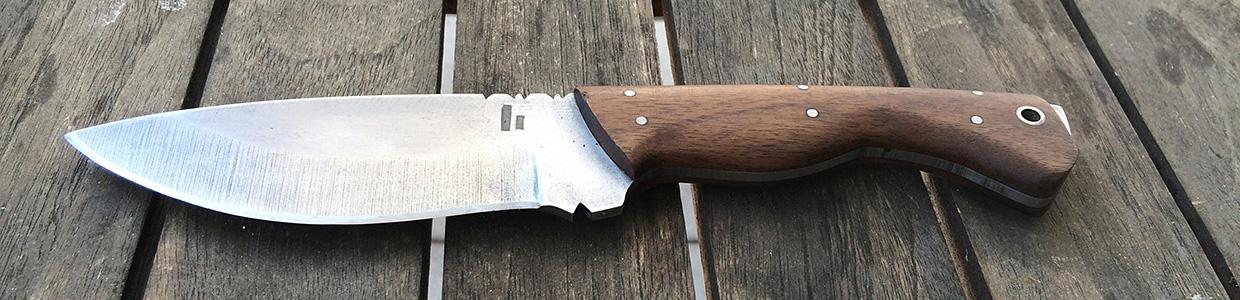
Parts of an Anvil
 Another interesting info image with the english terms for a german DIY-er. Taken from here.
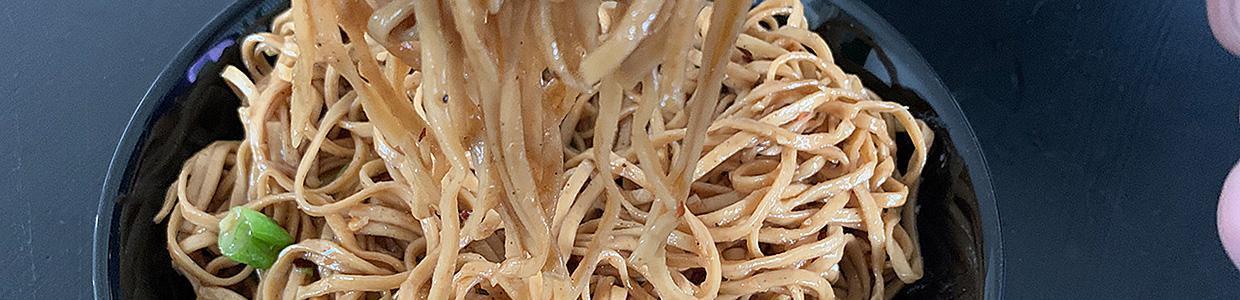
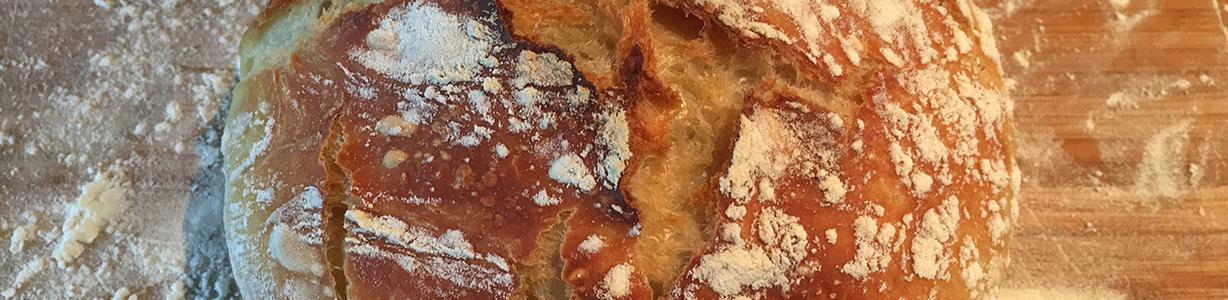
Hauke, Part II (Sourdough Starter)
 The second day is over. I couldn’t see much change when I added 100g of flour and another 100ml of water today. Also, it didn’t smell sourly yet. So let’s wait for day three.
The trick seems to be to “feed” it day by day, until it bubbles. The naturally occuring wild yeasts and lactobacilli in the flour need some time to wake up, reproduce and populate the mixture thoroughly. When this proliferation has reached a certain level, the developing carbon dioxide makes the dough bubble up and the ongoing fermentation produces a wide variety of aromatics – that finally also end up in your bread.
Looking forward to tomorrow evening and on how it is going on.
The complete Hauke series: part 1 | part 2 | part 3
Hauke, Part I (Sourdough Starter)
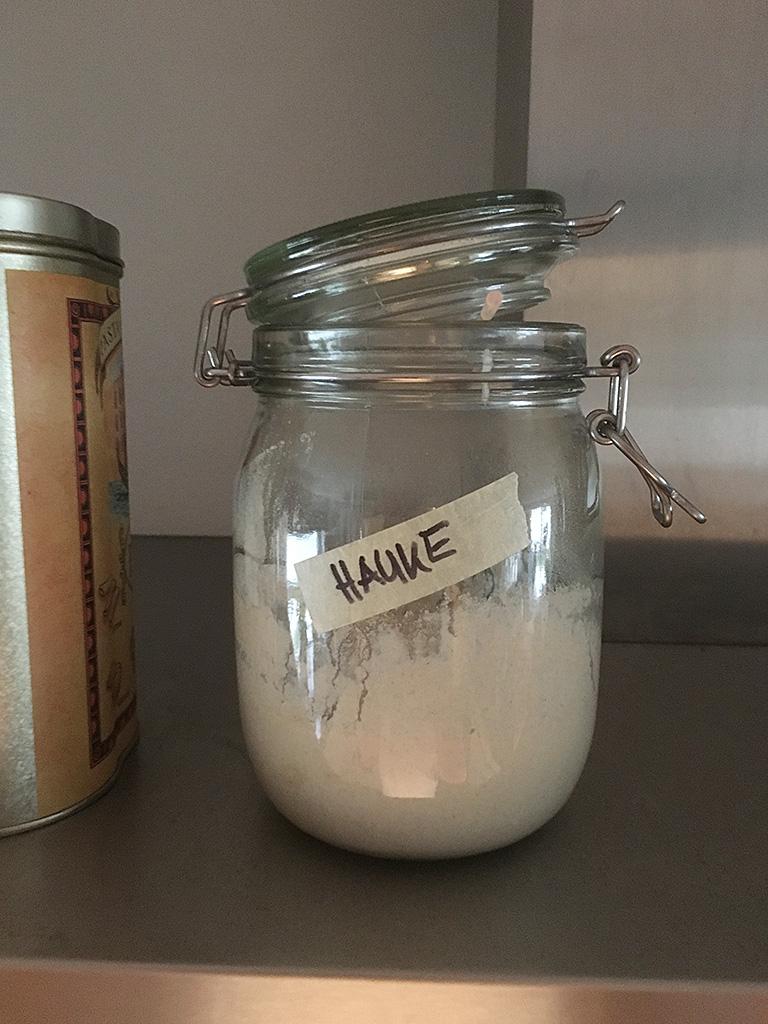
Let me present to you: Hauke (a somewhat unusual boy’s name in germany), my first homemade sourdough starter – at least my first try. Since I’ve read that they’re living organisms and thus you’re obliged to give them names, I’ll simply call him – well – Hauke. I started him off today with 50g wheat flour (Type 1050) and 50 ml water @ 27 °C (lukewarm). Recipe taken from here.
Part two and more information on how to make a sourdough starter tomorrow, when I’ll have to fill it up.