(This is part II of the cider making series. Read part I, part III and part IV here.)
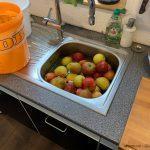
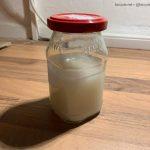
Yeah! Some cidermaking progress! I got some apples from a local shop (a little less than 10 kg) and de-juiced them using my apple press. I’m not going to write a book on cider making here (in fact, I just can’t due to lack of experience…) but I want to give an outline:
At the beginning there’s always sanitizing the equipment. Just like with brewing beer (which I did often in the past), clean and sanitized tools and containers are crucial for a good outcome. A good way to to deep clean things is laundry bleach. Follow the instructions on the bottle and make sure to rinse everything most thoroughly with water after treating.
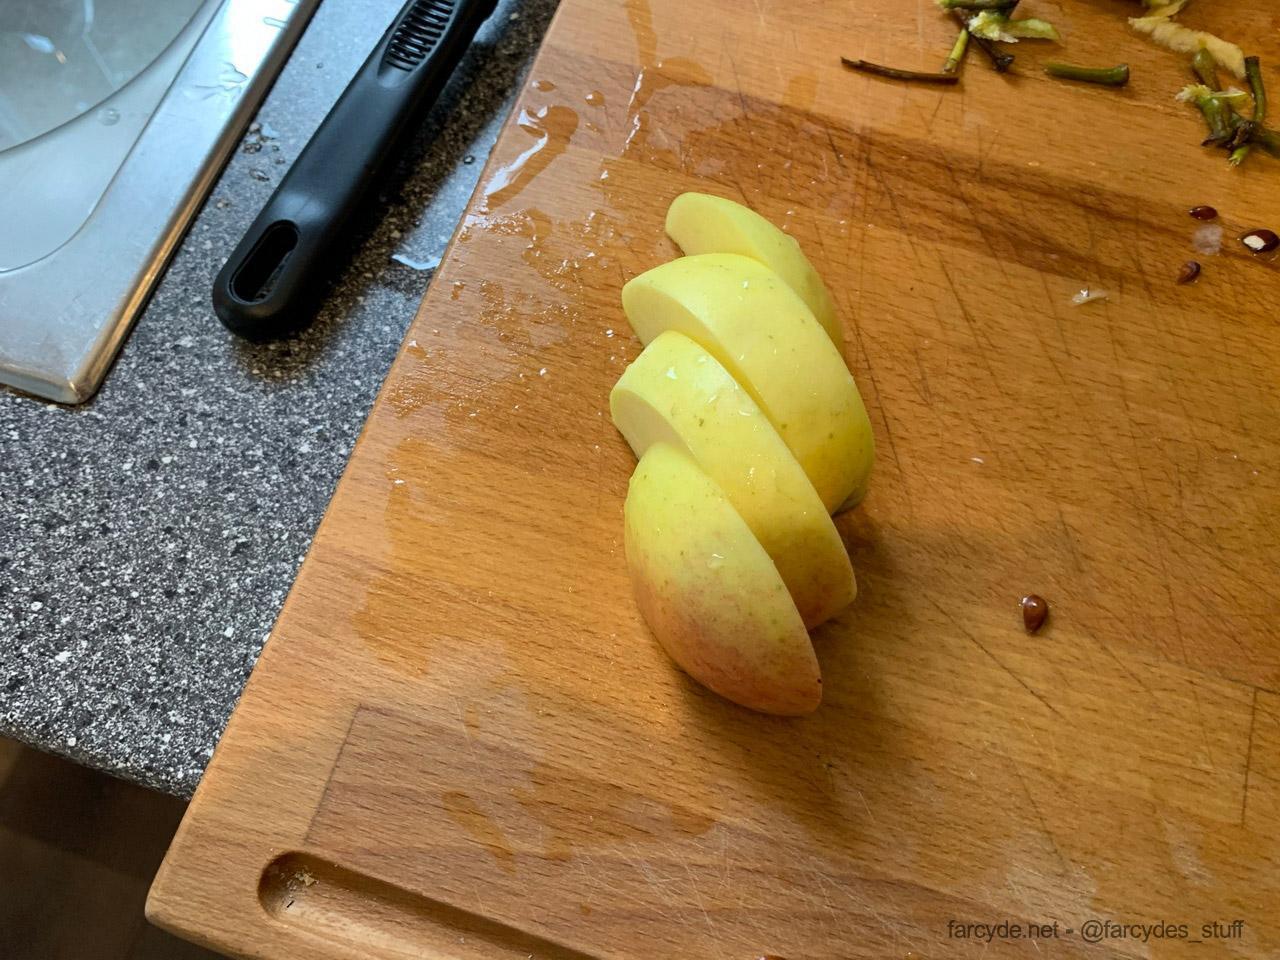
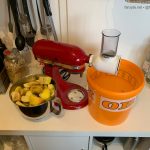
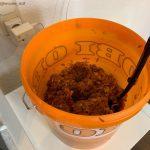
I first washed the apples, cut them to pieces and then used my trusty Kitchen Aid™ to crush/mill them to a fairly fine pulp (called “pomace“). The finer the pomace, the more juice you’ll be able to extract from it. Believe me one thing: It does make a mess in the kitchen, and after this experience I wouldn’t want to try this again with a standard kitchen appliance. It’s a lot of work for a little machine, so for larger quantities I suggest using a sturdier, heavier contraption. I’ll see where to take one from or build one myself when time is ready.
The next step is squeezing out the apple juice, where – obviously – my freshly built apple press got to see some action. Two scoops of pomace each turn, wrapped into a washed and sanitized piece of an old t-shirt, and put in the press’ tray. Increase the pressure slowly and try to get as much juice out as possible. Repeat. This juice is now called “must“, and I’ve got short of five liters of it.
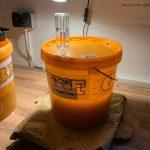
Last activities now are to measure the sugar content of the must and treat it with some sulphur for bacteria reduction. My must read 56 °Oe (degrees Oechsle – more on that here) that I noted down for later reference, and I added sulphur dioxide to battle any sickness-causing bacteria. After letting the liquid sit for 24 hrs., the yeast can be added. More on that is to come…
