


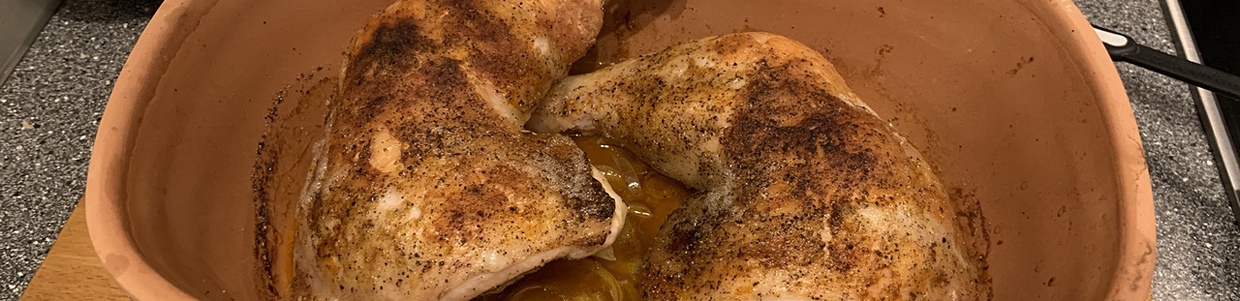


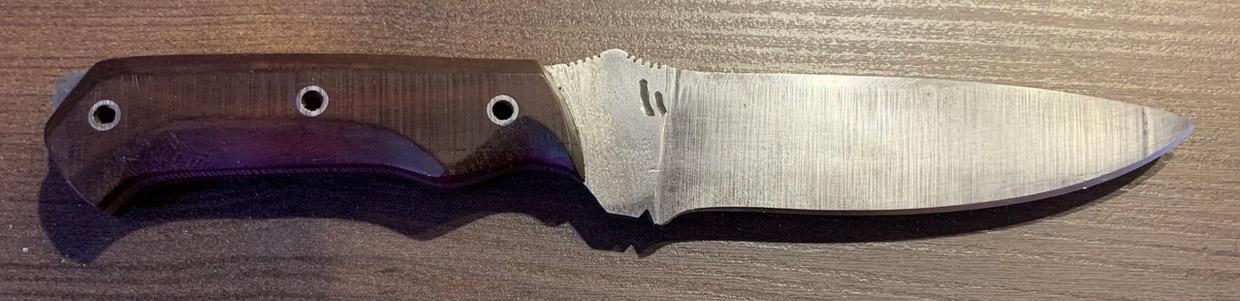


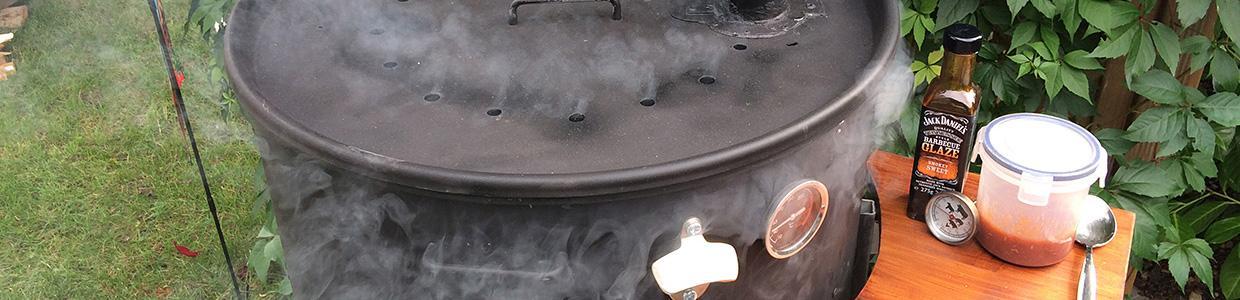
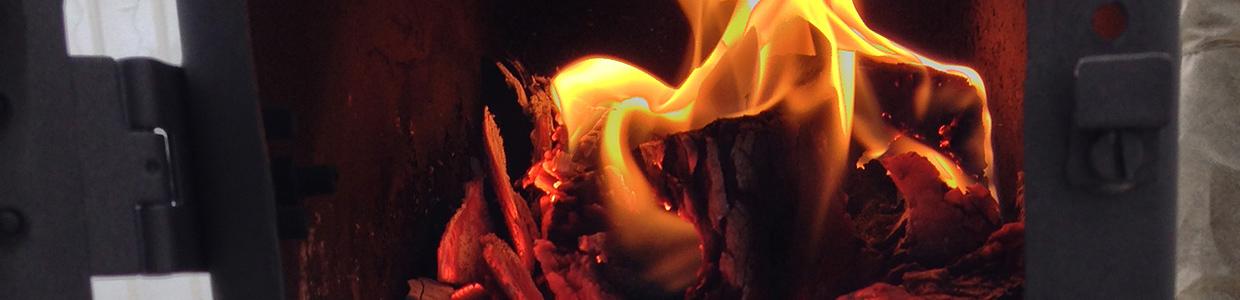

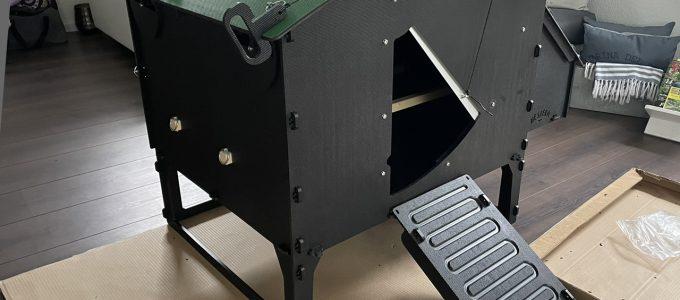
The chickens have moved to their new palace recently! The old wooden coop was finally rotten beyond repair – I suppose this type of pre-fabricated wooden structure is not meant to last forever anyway. So a new one had to happen and I put much emphasis on durability and strength. This in mind while doing some research, I came across “Nestera ™” coops from the UK on the internet, read several different reviews and finally bought one. Here’s an overview.
Hilde Went Over the Rainbow Bridge Yesterday
 My pretty, little, good girl Hilde died from a colic yesterday 🙁 She was one of the “senior staff” in the flock and the real leaderess of the pack. She gifted us many delicious eggs, always lively and cheerful.
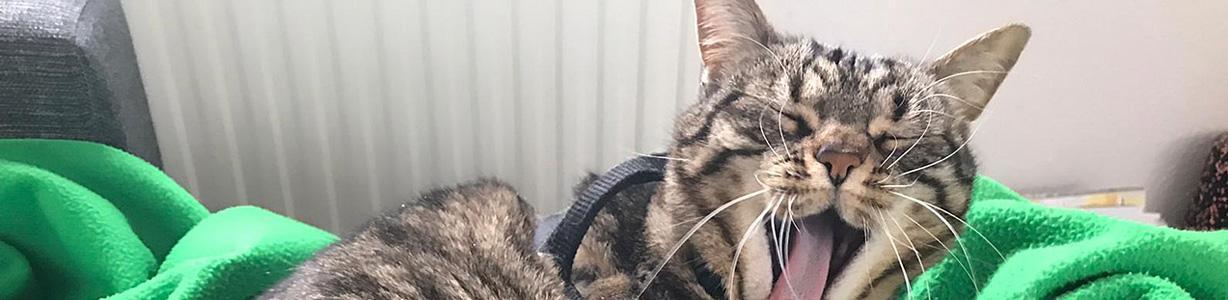
Unfortunately, most sick animals won’t let you recognize any symptoms or weaknesses until it’s far too late, so we might not have reacted in good time. Sickness, winter and humid cold seem to have tipped her over the edge. Although we kept her warm and cozy close to the radiator in our living room, and – following the vet’s recommendation – giving her vitamins and concentrated food, she finally didn’t make it.
Poor little Hilde, I hope she lived her best chicken life in my backyard chicken’s playground.
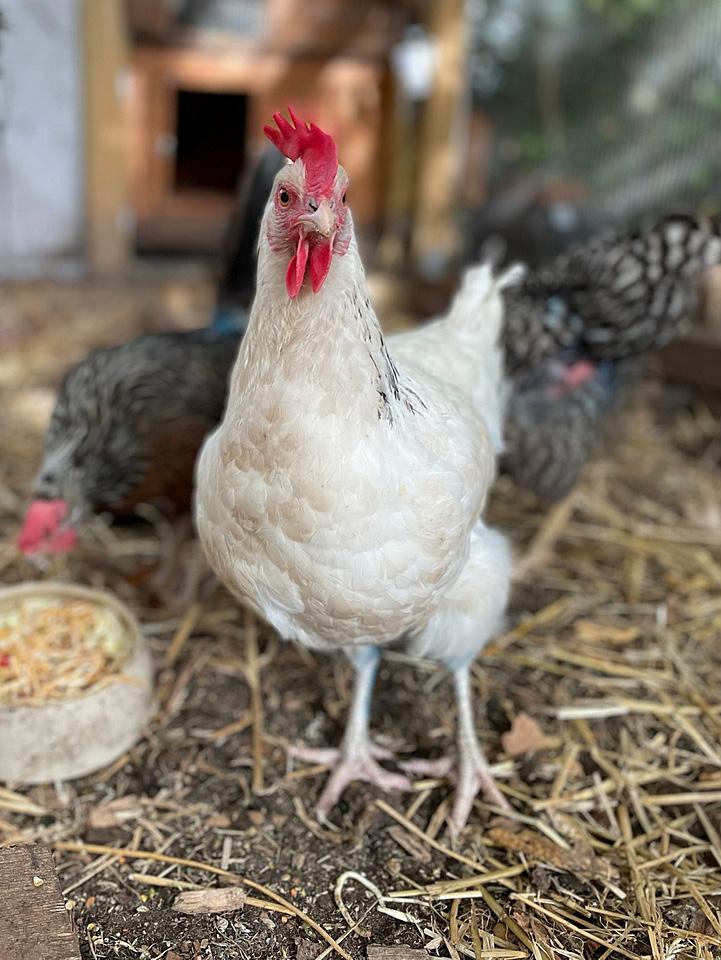
Chickens! Image Compilation

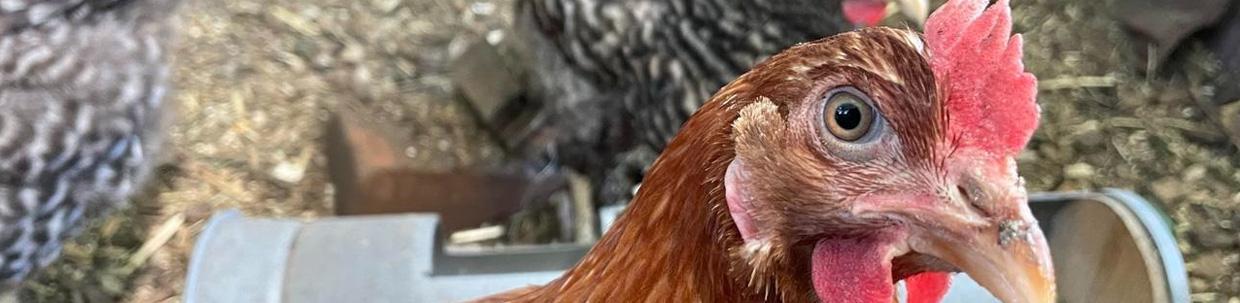
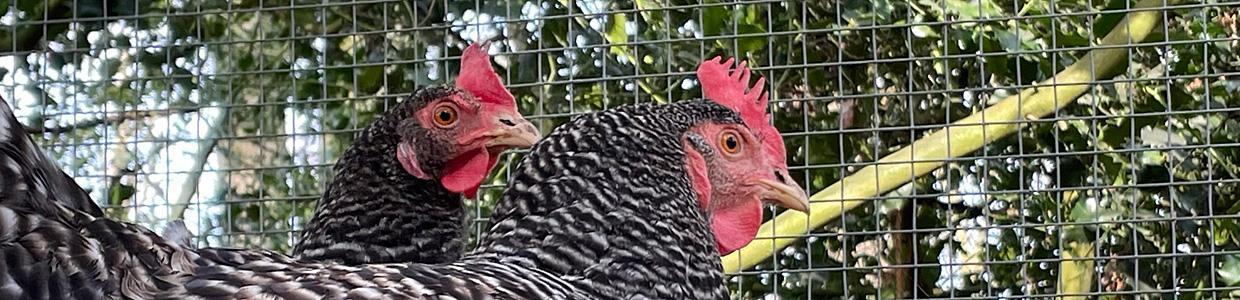
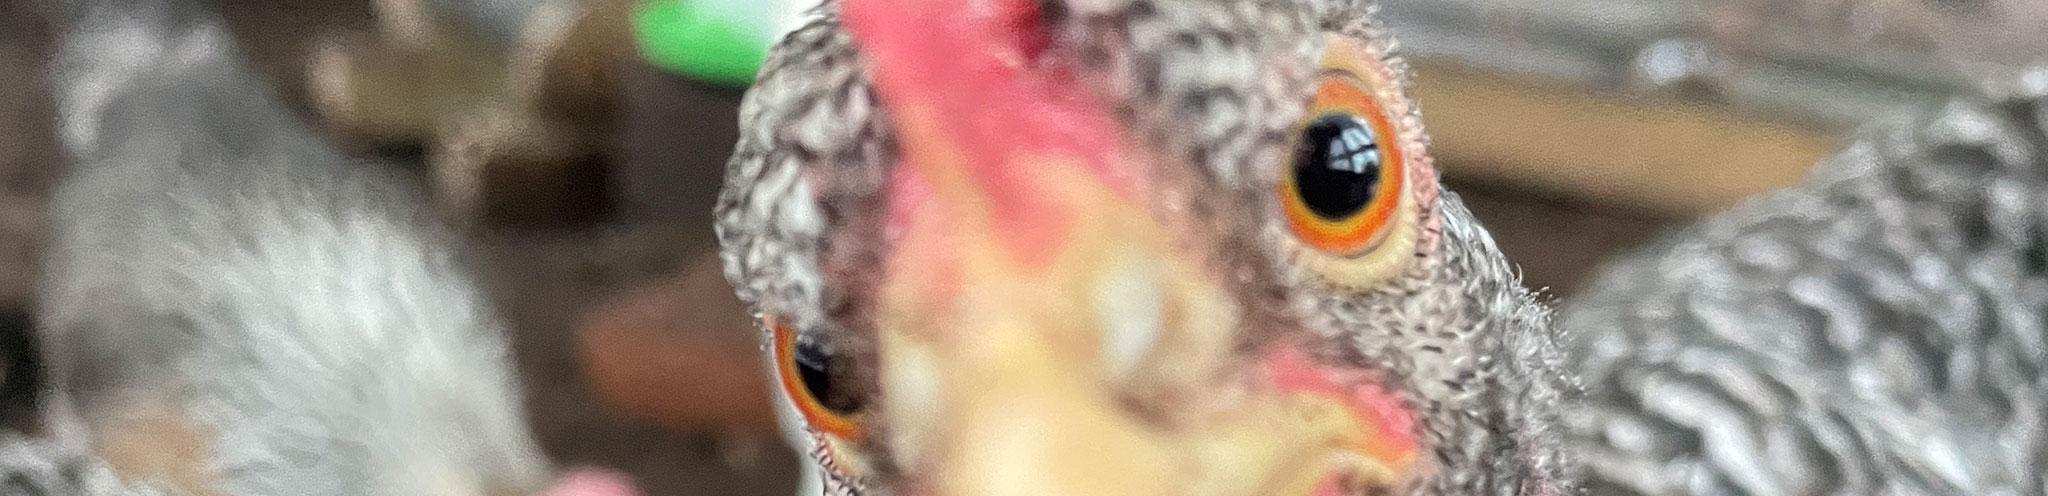
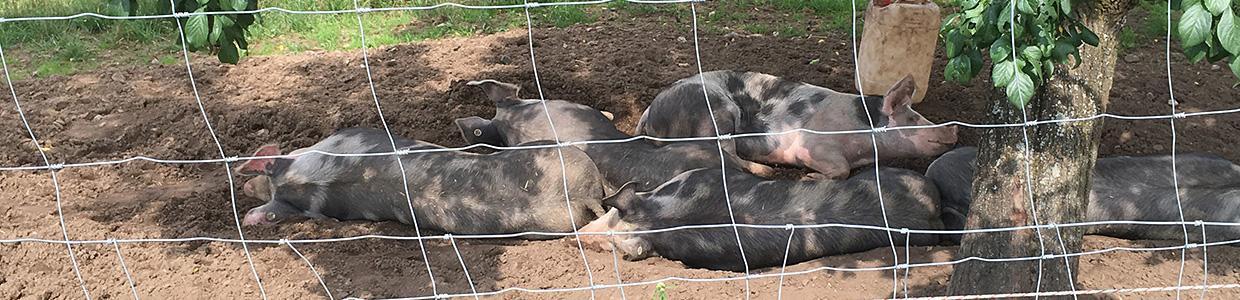
The chicken girl-gang in my backyard. All of them have names, they do indeed have different personalities and they’re living their best lives in their little universe, doing their fun and exciting chicken things all day long.
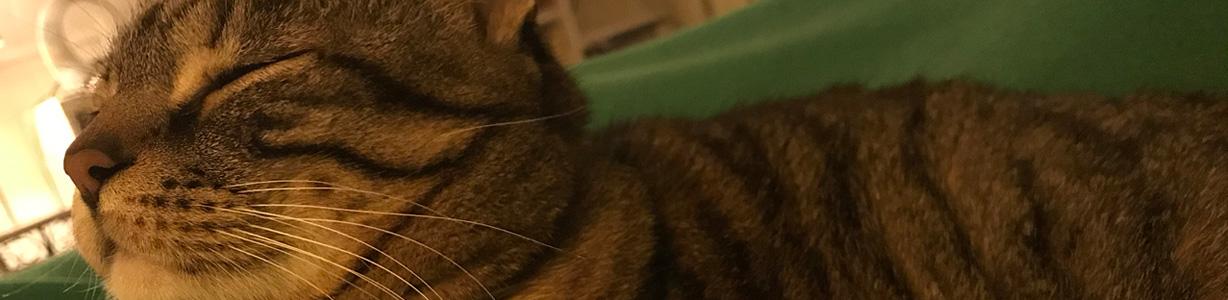
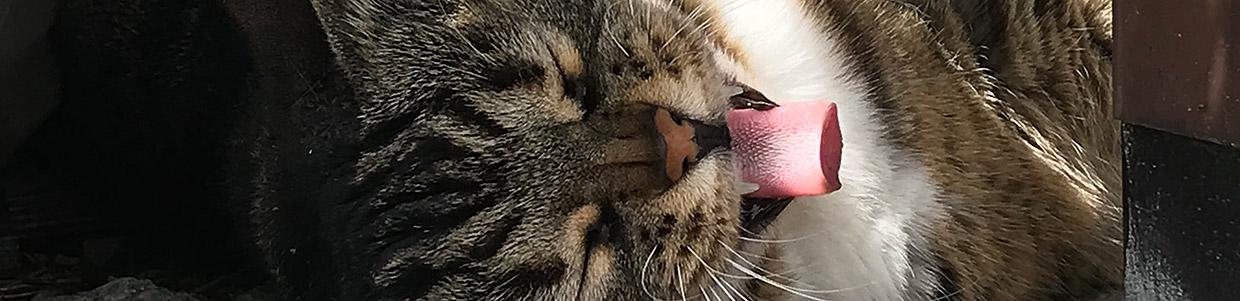
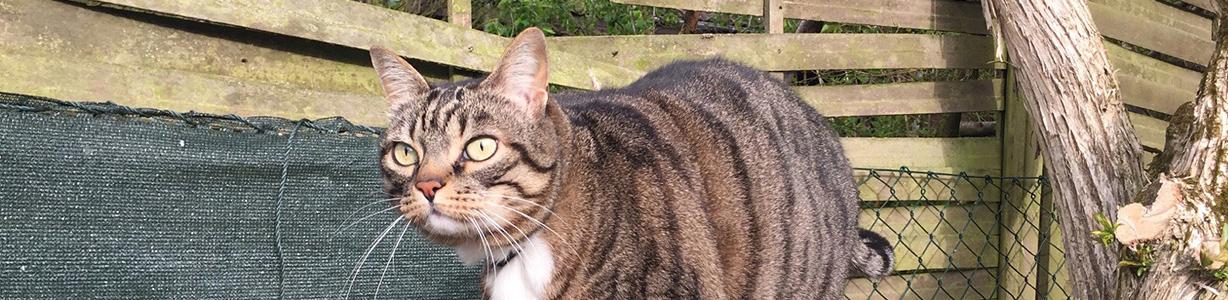
The Lady of the House: Gattina Picture Compilation
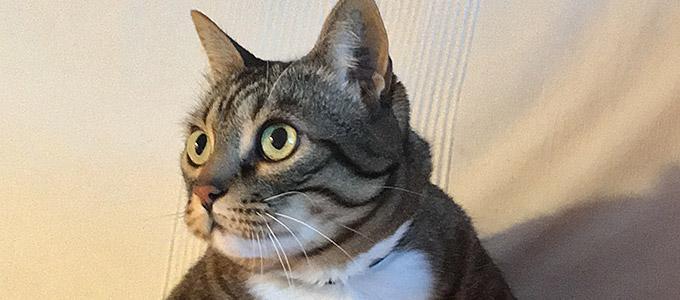
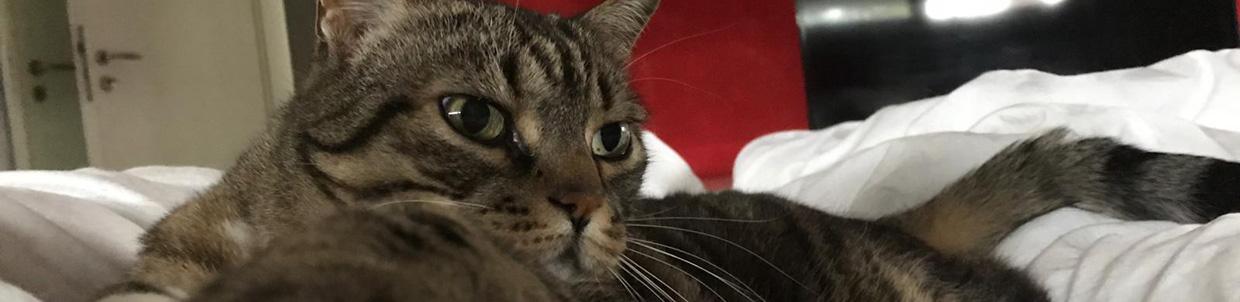
So here’s an image-collection of my big, beautiful, bulky and brave still-a-kitten Lady of the House “Gattina”. A german slang word for a cute small kitten is “Maunzele” (“Meower”) and that’s what I still call her – and “Gattina” is Italian for “Kitten” – that says it all, although she’s really more of a “Big Mama” by now… 🙂
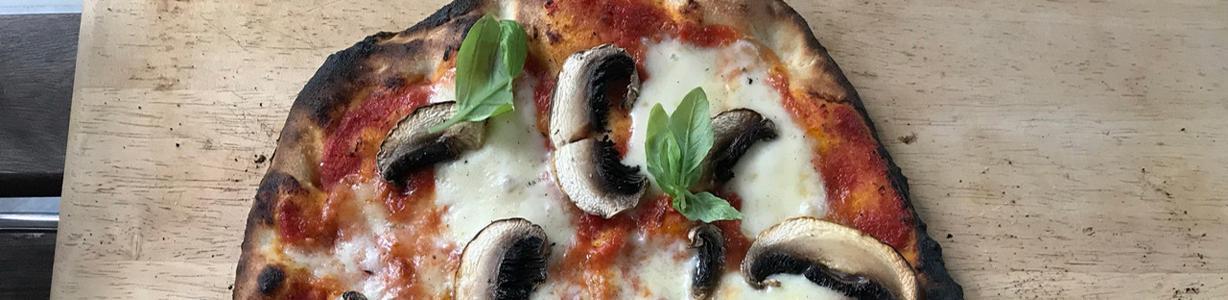
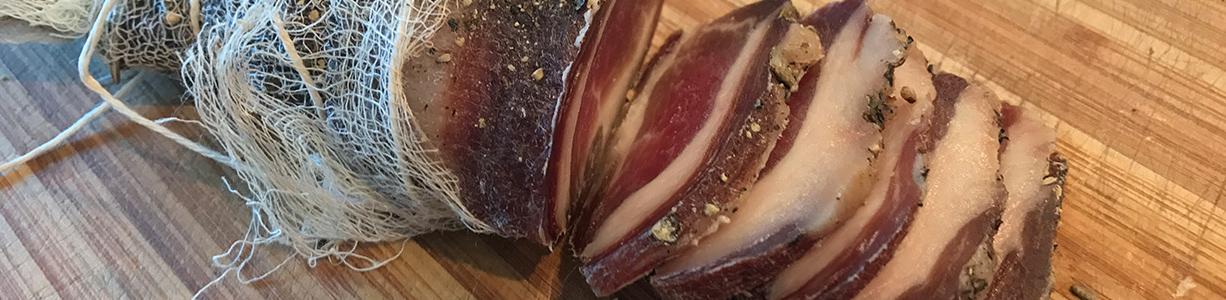
Chicken Treats
After over two years of keeping (hopefully happy) chickens in my backyard now, here are my girl’s top treats (occasionally and aside from their normal ⤷ laying grains and ⤷ grain feed diet):
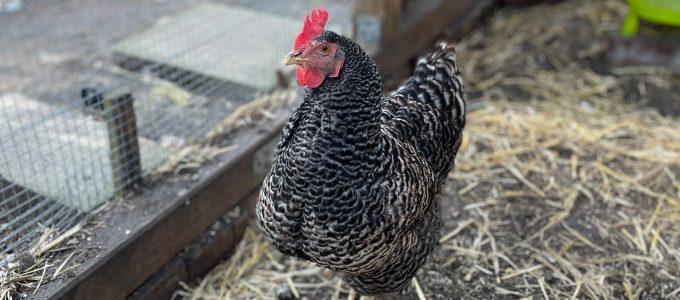
Chickens and their Eggs
Pretty, protective, full-throated and enraged Henriette, when we tried to collect her own freshly laid egg 🙂 (She got over it and she’s very well used to us rummaging around in the den).
Sunbathing
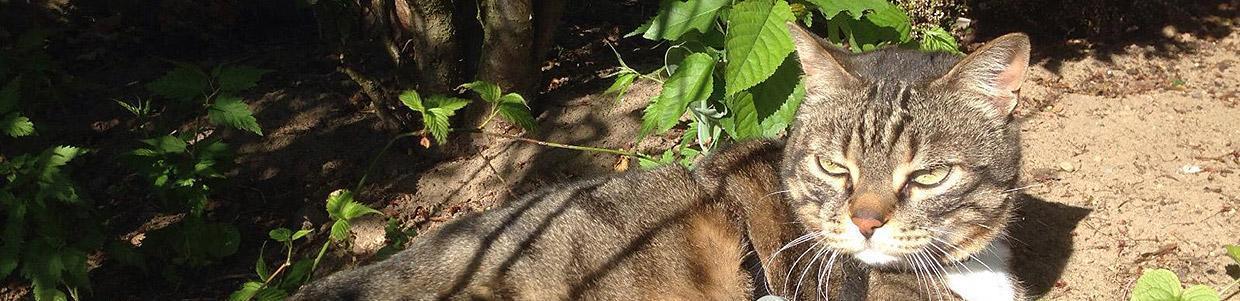
My lovely Lady of the House enjoying the morning sunrays in her favourite flower bed 🙂
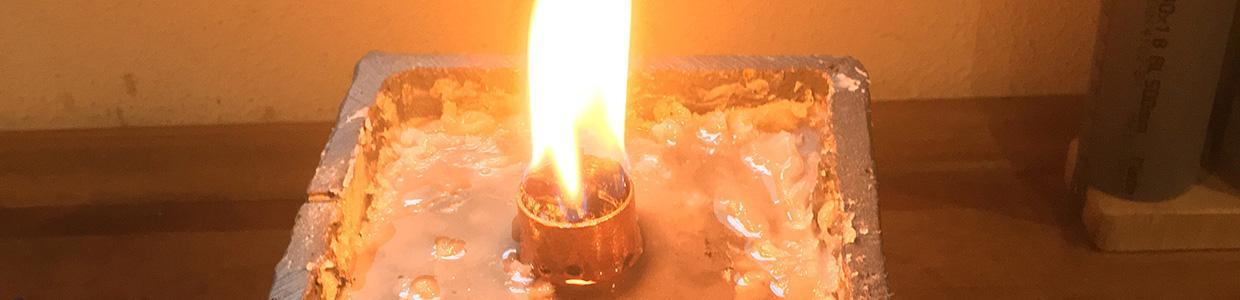
Wind Egg or “Cock’s Egg” Explained
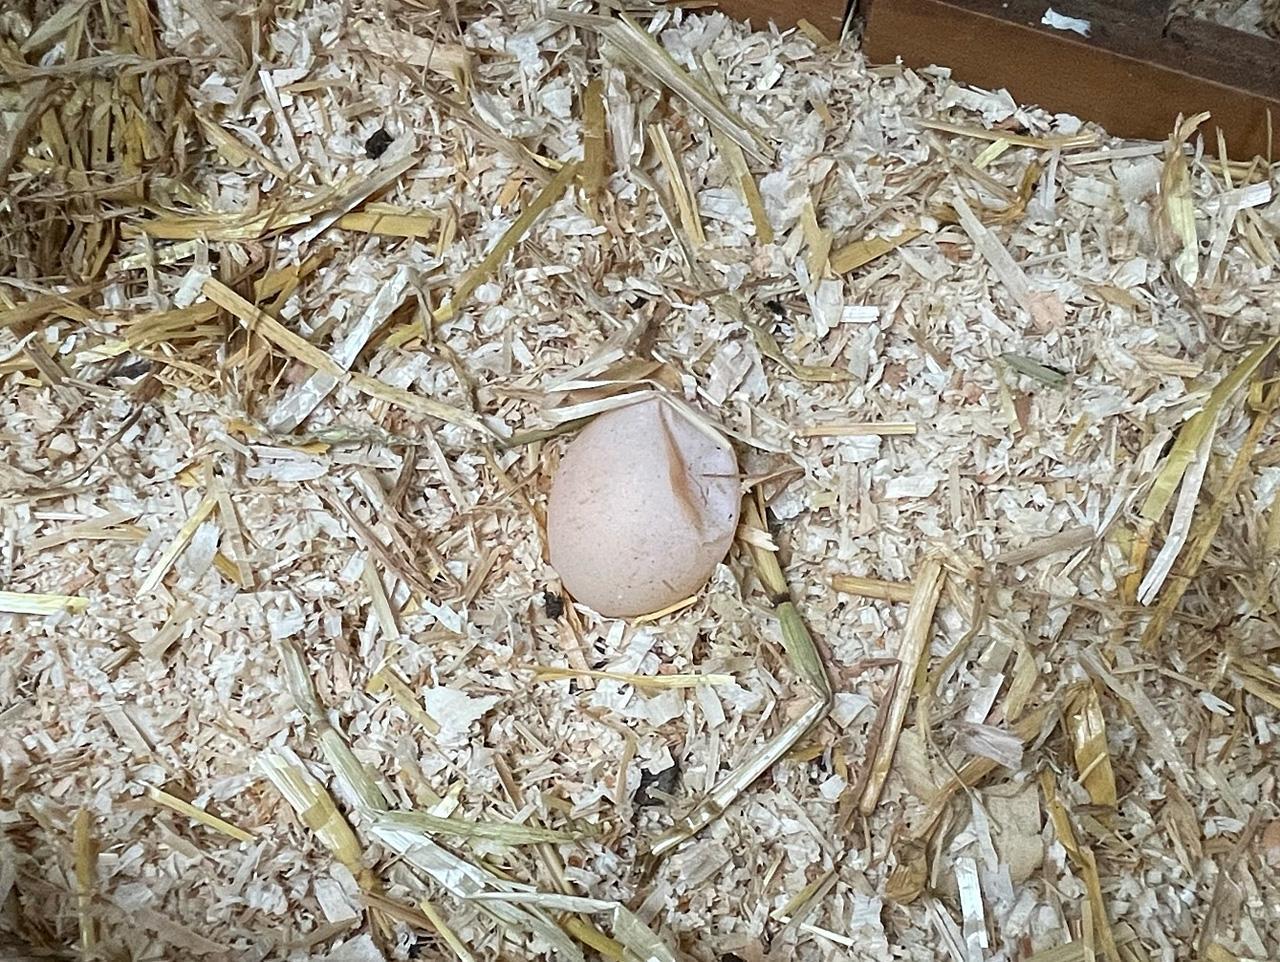 Priscilla laid a so-called wind egg the last days, the first one I ever even saw in real life. It’s a complete egg, but with only a membrane, thus just missing a calcium shell. They were called cock’s eggs traditionally since it was believed they were laid by cocks in former times.
Here’s wikipedia’s information on this (german language, since unfortunately the english version isn’t worth a dime).