


If you’re even only slightly interested in tech related topics and not living under a rock, you literally couldn’t avoid stumbling upon LoRa communication in last few months. With the two most prominent proponents in this field being the Meshtastic™ respectively MeshCore™ project, I finally decided to jump on the train and see if I can weasel my way into it.
Garden Fountain Revisited

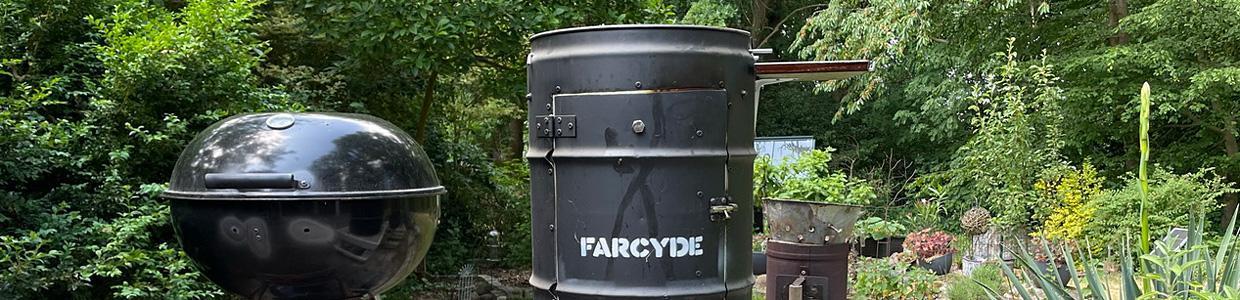
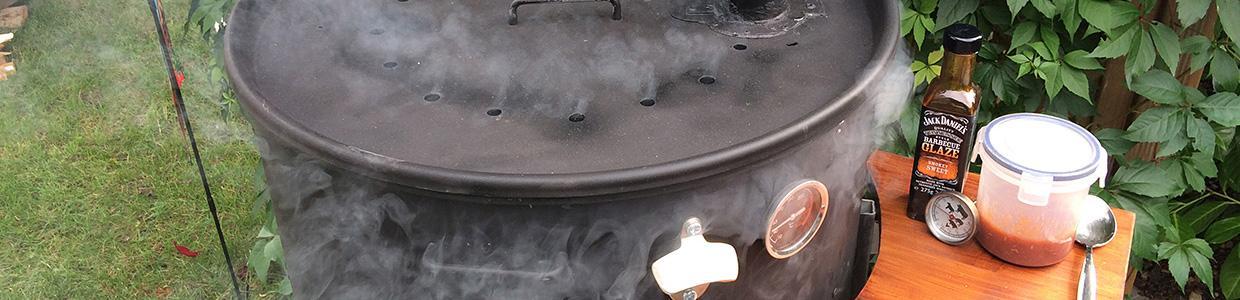
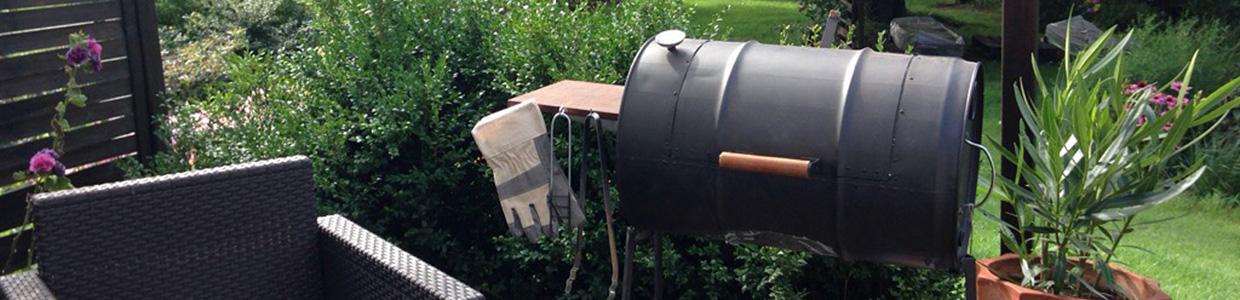
 I rediscovered an old friend from long ago! Stumbled over the remnants of the Pond-in-a-barrel from 7 years ago and set it up again. I like that thing.
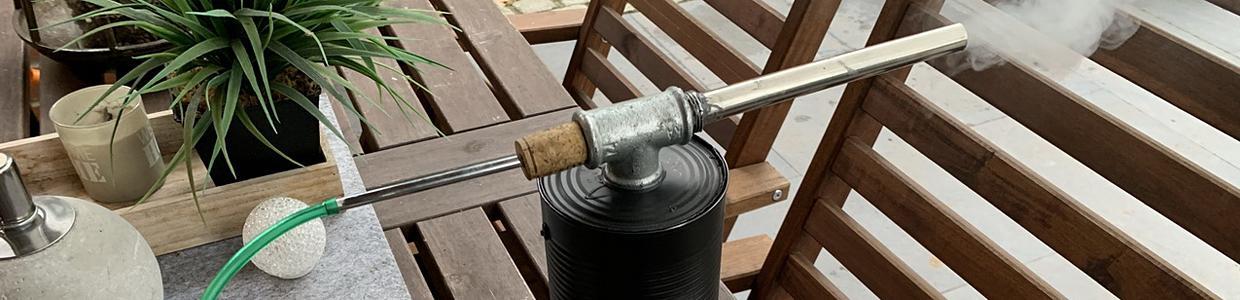
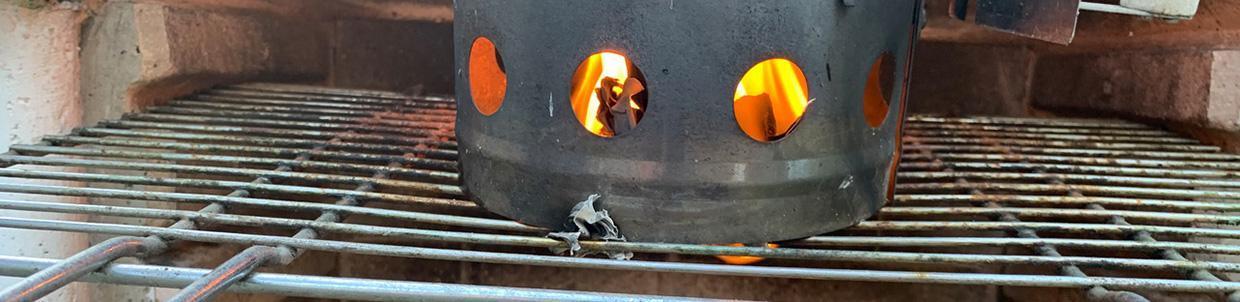
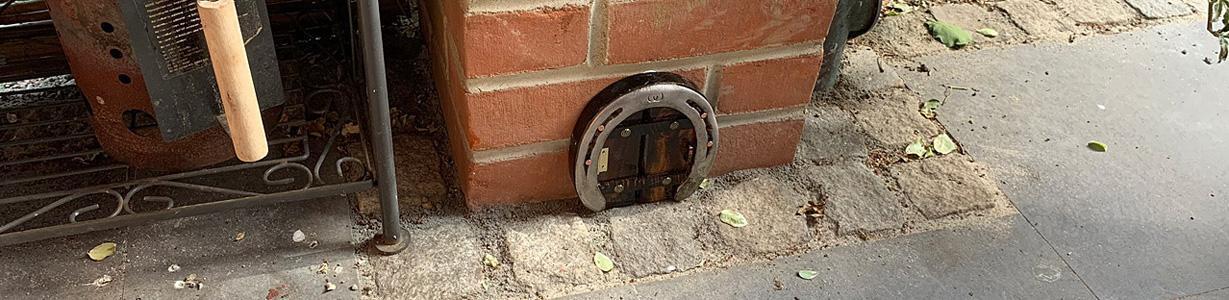
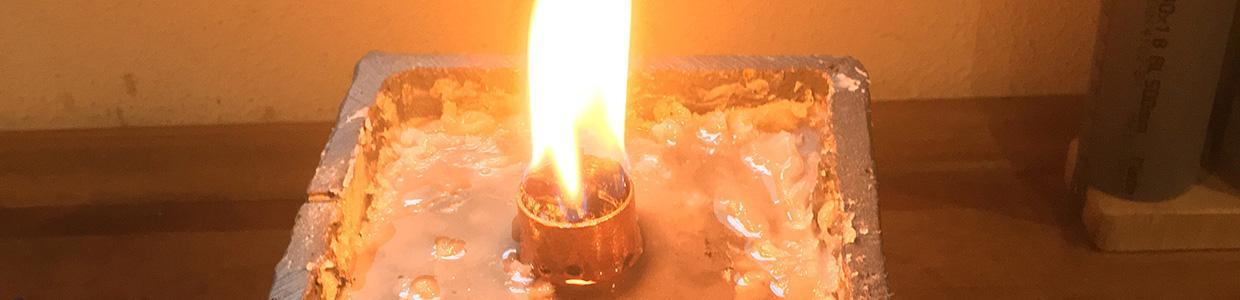
Air Conditioner Outside Vent DIY
We had northern german summer lately! 3 days with abundant sun and temps over 26 °C! How incredibly awesome!
Well, there’s reason to fear that that was it for summer and, luckily, we’re back to the normal rainy and 20°C meanwhile (LOL – german media were of course instantly happily scaremongering the usual apocalyptic BS of dry spells and profuse death by the intolerable heat…)


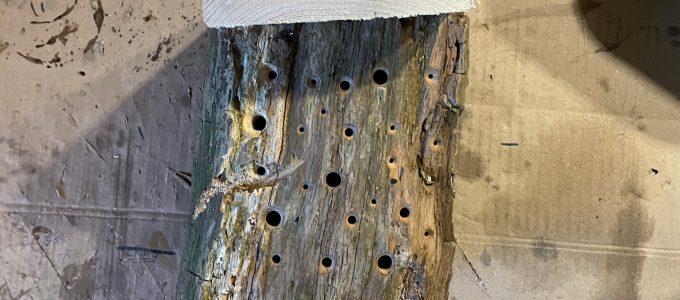
Wild Bee Hotel Update

Before

After
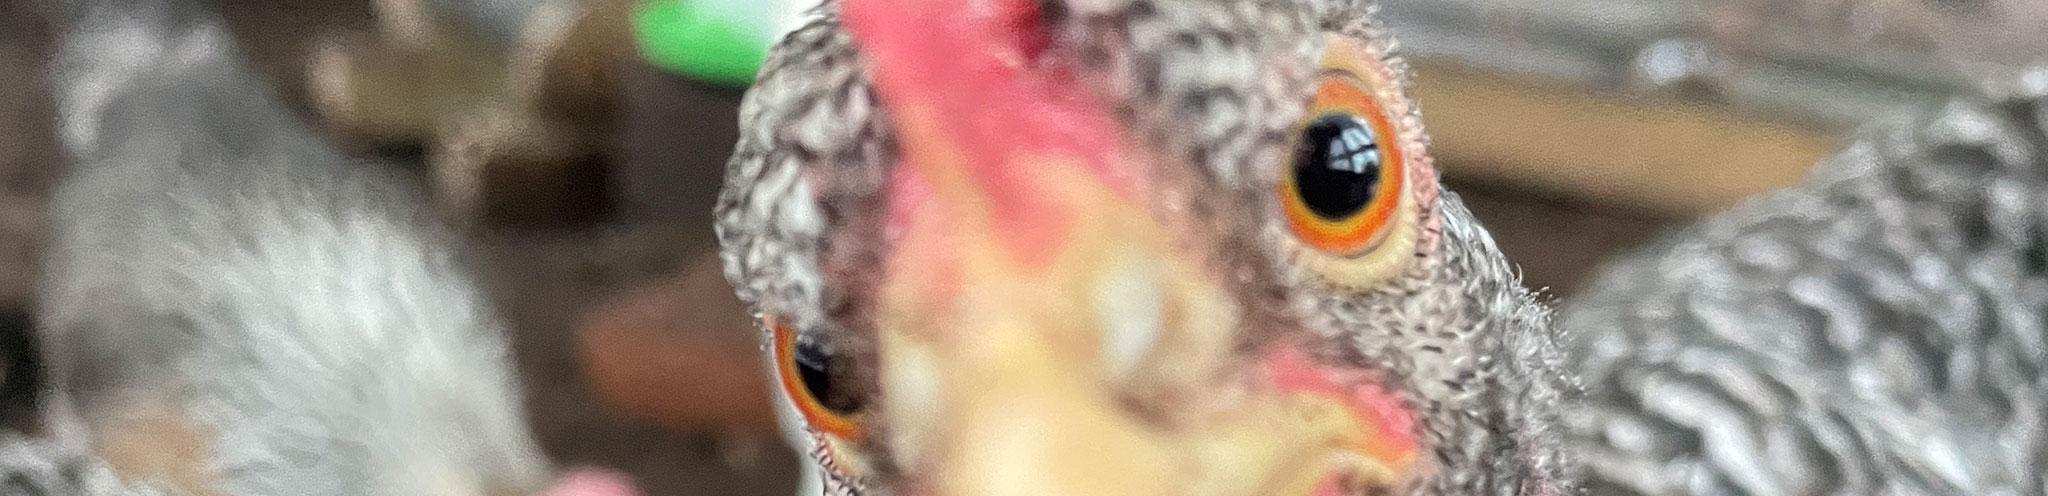
Despite a cool and rain-spoiled summer, the insects in my garden have thrived apparently. And yes, not only slugs, ants and potato beetles, but luckily also pollinators like bees, moths and lacewings!
Anyway, the Wild Bee Hotel that I set up in spring attracted some customers, most of the holes are sealed shut meanwhile and there’s ample traffic in the area.
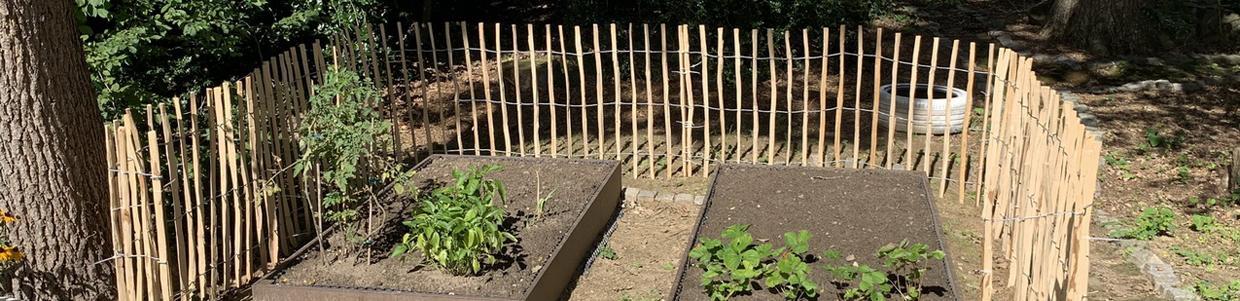
Raised Beds Upgrade

How cool is that? A neighbour gave us some stackable wooden boxes, which were previously used for transportation purposes, but were now scheduled for disposal. They’re designed to fit snugly onto a standard Euro-Pallet and are sturdy and convenient. Plus, they’re perfectly suitable to make some raised beds of them! Thanks a lot dear neighbour!
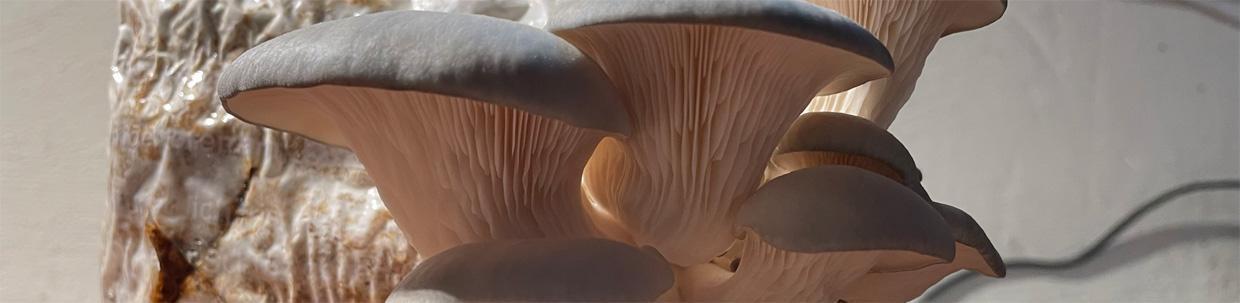
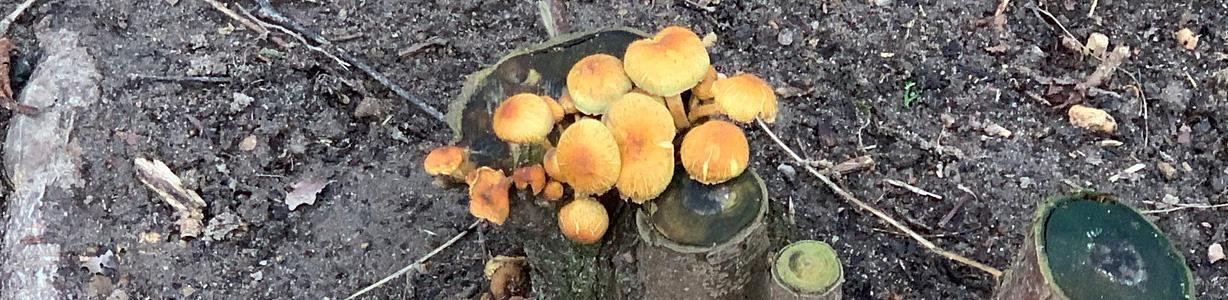
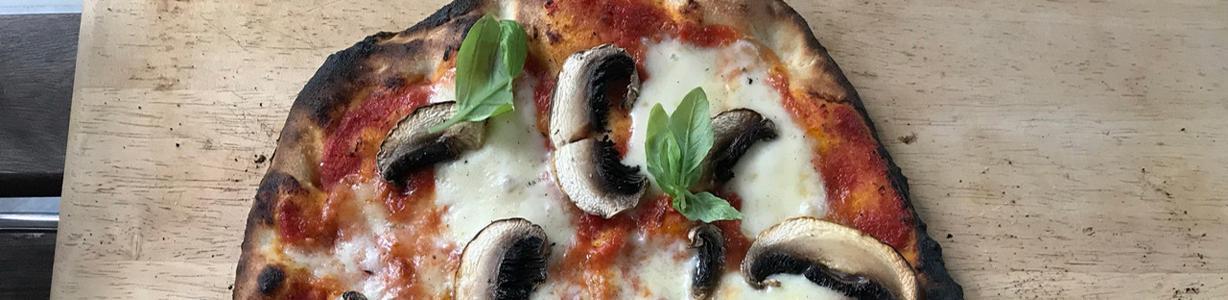
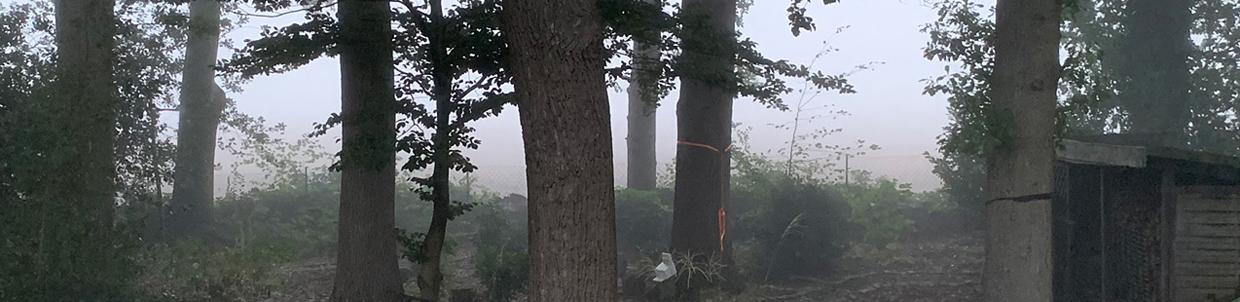
New Mushroom Growing Patch
I used one of the transporting boxes my neighbour gave me to make a new mushroom patch in the backyard. It’s in a shady and usually a little damp spot and I hope it’ll provide good growing conditions for pleurotus ostreatus (Oyster mushroom).


Fallout Inspired Plant Stand


I’m a passionate Fallout 4 player and one of the many decorative things you can create in Fallout’s settlement system are various plant stands. I like that style and made my own, inspired by the one in the screenshot.
Wild Bee Hotel
I learned a little about wild bee hotels the past few days and decided it would be a nice winter project to make one for later installation in spring. My personal little “green hell” is presumably already pretty suitable for bees, but I like the idea of supporting the little fellows a bit – also against the (only just a little selfish 🙂 ) background of facilitating the pollination of my veggie plants.