


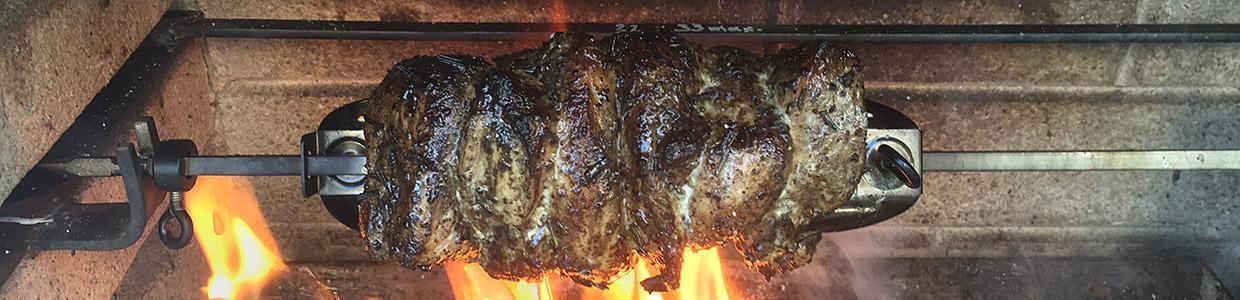

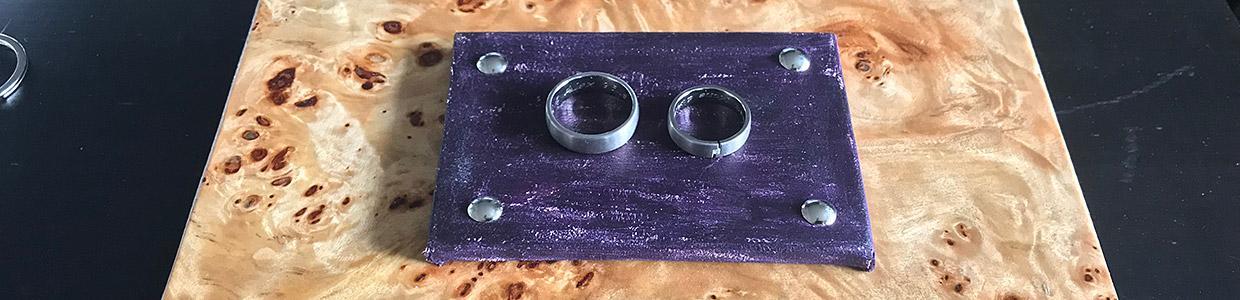


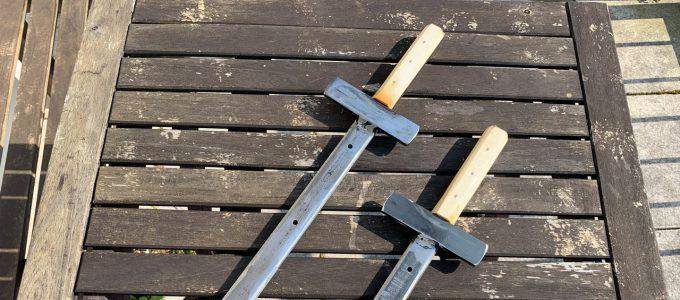
I found an interesting image of some churrasco spits on the internet and thought to myself: Yeah! Why not make them look like a sword? It’d be wide enough to hold any piece of meat firmly and prevent it from rotating on the spit, plus I can poke into the ground if necessary, and – plus plus – it would simply look cool.
Electrical and Faucet Post for the Cistern Pumps
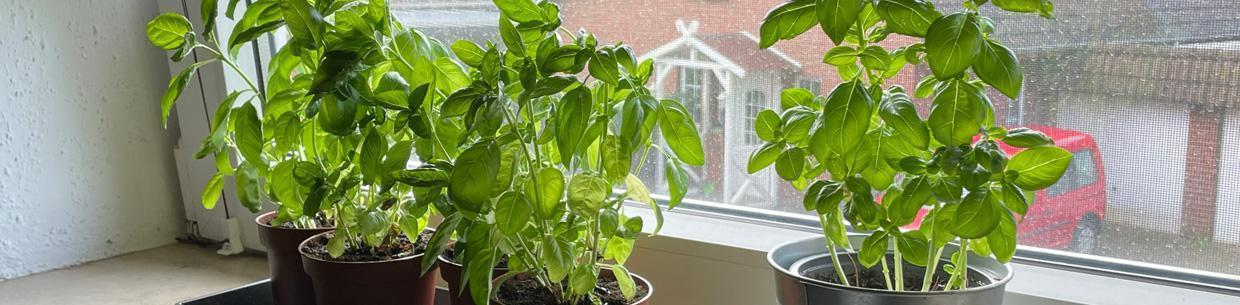
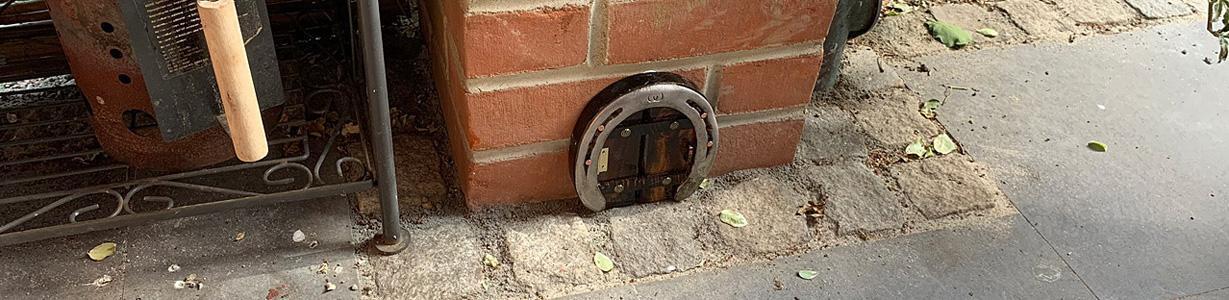
We have (involuntarily) found out how the outside rainwater draining works in the northern germany refuge. There is a drainage sump as well as a ring drainage around the house and two cisterns in the garden that serve as a reservoir and have an overflow pipe in case they’re filled to a certain level. These cisterns can of course be used for watering the garden using a submergible pump, as they’re filled with free rainwater. Here’s what I came up with as an idea to make use of this reservoir. It’s a post combining the electrical wiring of the two pumps and an outlet for watering:


This is as much as I can do for now, since I need an electrician to wire the thing up correctly. We’ll see how (and if at all) this works this summer 🙂
Workshop Planing Stop
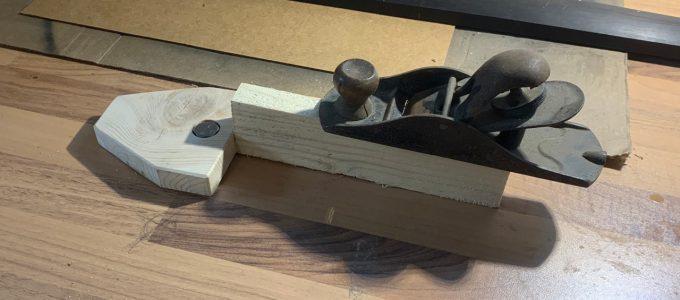
I came up with something completely new! Something never ever done before! I’ll revolutionize my woodwork and that of everyone who reads this! I made… (drum roll)… a planing stop! Such a lockdown is great for finally making some long postponed projects.
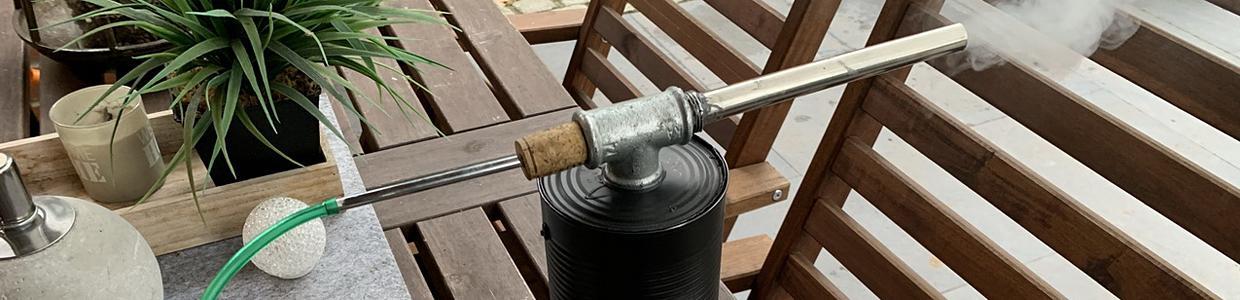
DIY Leather Balm
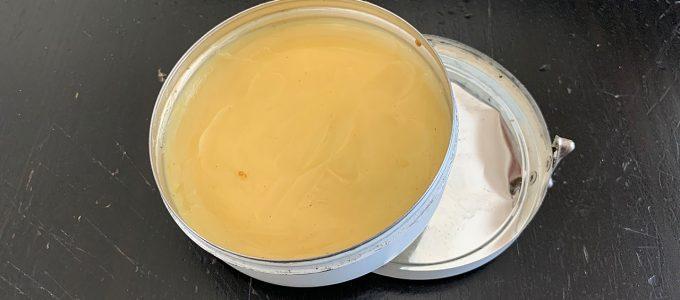
(The Image above is NOT stolen, although it looks like so. I just reused a tin that I already had.)
I made some wood wax finish again lately that really works very well and I wanted something to care for for my leather items as well. Leather Balm is cool for keeping your leather items good-looking, water-proof (to a certain degree), soft and nourished – thus – well cared for.
Applied and used properly, it’ll make your leather last a lifetime. Summarized, you want to provide for your leather with natural oils and fats and at the same time protect it from the elements as good as you can.
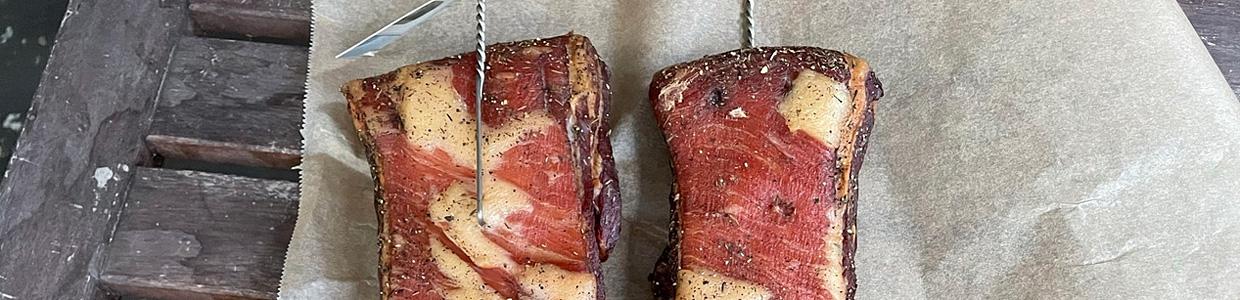
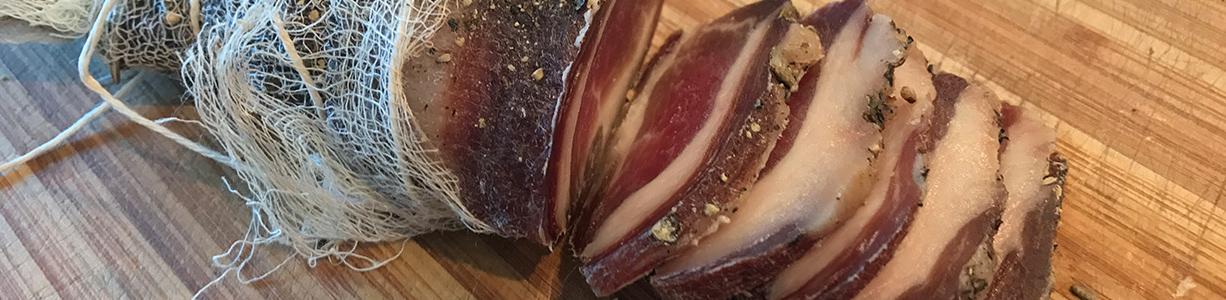
Meat Slicer DIY
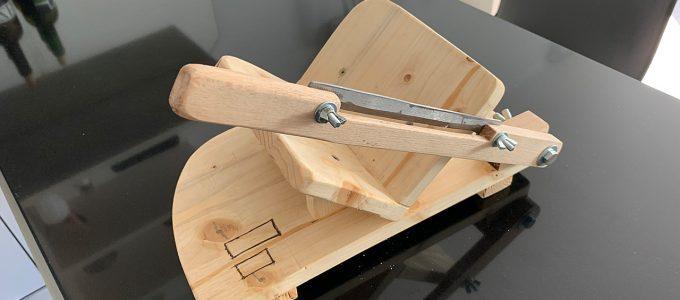
I watched a very inspiring YouTube Video lately from a guy who made himself a meat slicer. Now, since I’m rather productive making bacon, dried meat or sausages every so often, I decided that I wanted one of these too! Mine is not as sophisticated as his (he is definitely “carpentry level: god”), but it works and I’m proud!
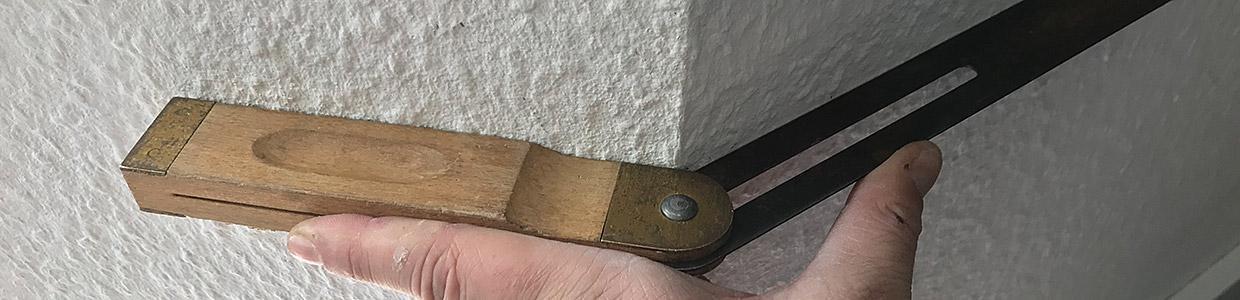
Chisel Sharpening Jig
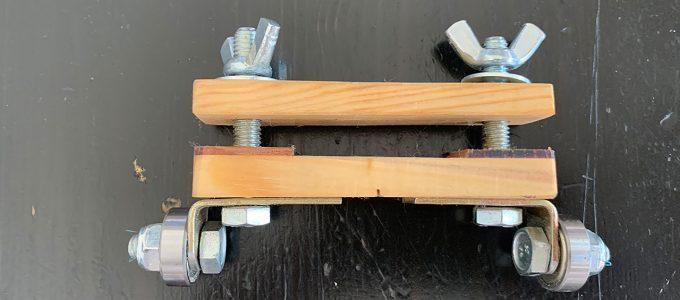
I made a jig for sharpening my chisels now and then. It’s not a new idea, instead you can find tons of instructions on the net. This one is my approach:
The idea is to keep the chisel’s blade right angled and at the same time always at the same inclination to the surface in order to achieve maximum sharpness. So I made this jig with a right angle stopper that I can use with worn-out sanding belts. 30° is a good grinding angle for me. While this is not a super precise and professional contraption, it is perfectly functional and absolutely satisfies my needs. The construction itself is as self-explanatory as the usage, just have a look at the images. I hope you like the idea and prehaps even make your own.
How To: Anti-Rust Bubble Bath
I’ve got a lot of rusty old tools lying around here that I thought were a reasonable winter project to clean and restore. So the first thing was to clean off the heavy “crust of rust” on them and the easiest way to do this is with an electrolysis bath. This is how it works and what you’ll need to do this by yourself. It’s cheap, easy and effective.
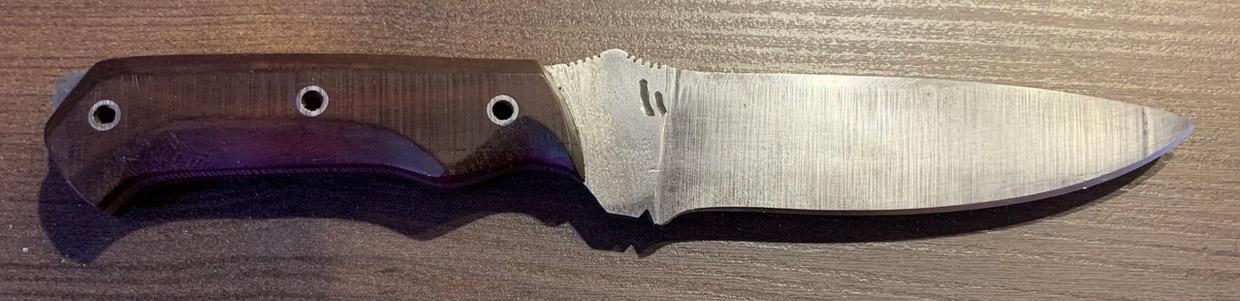
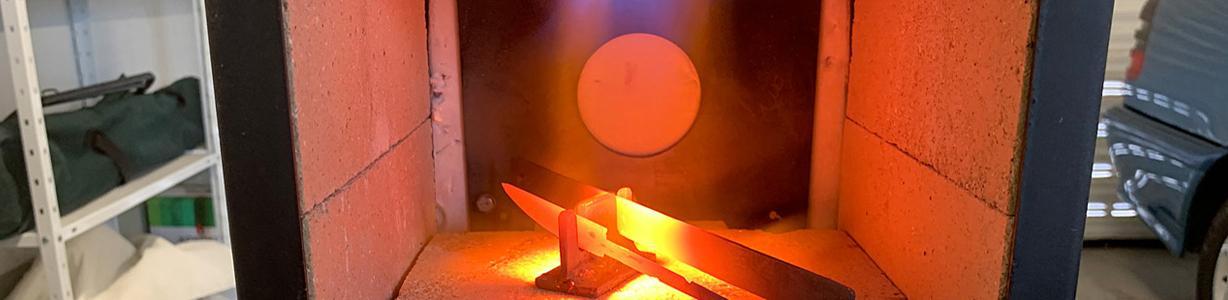
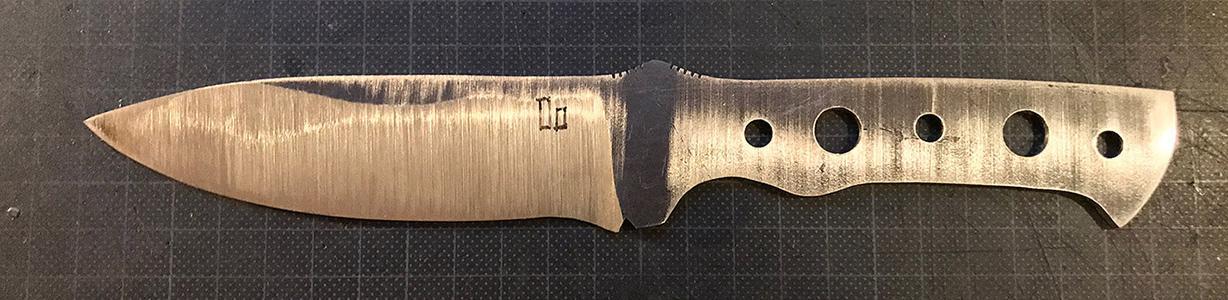
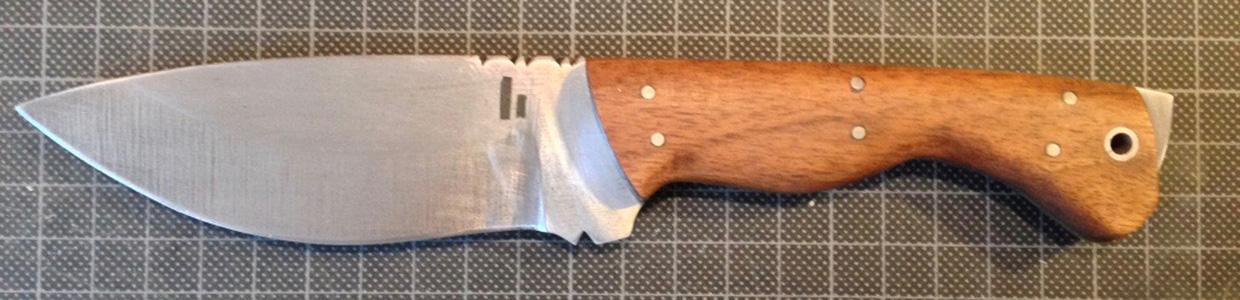
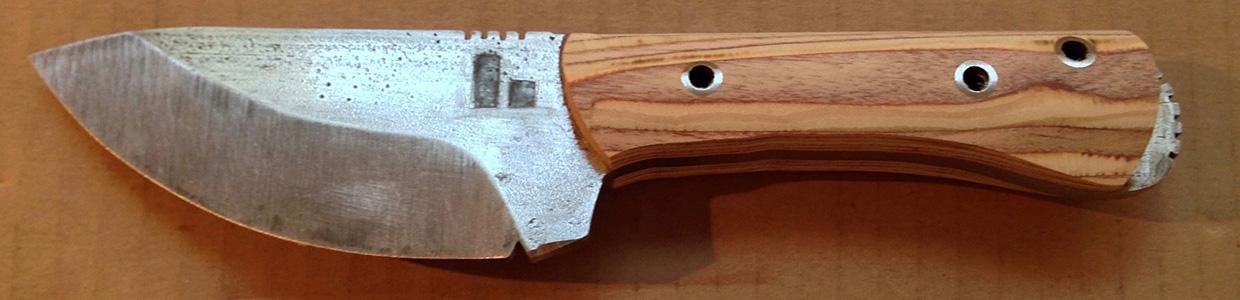
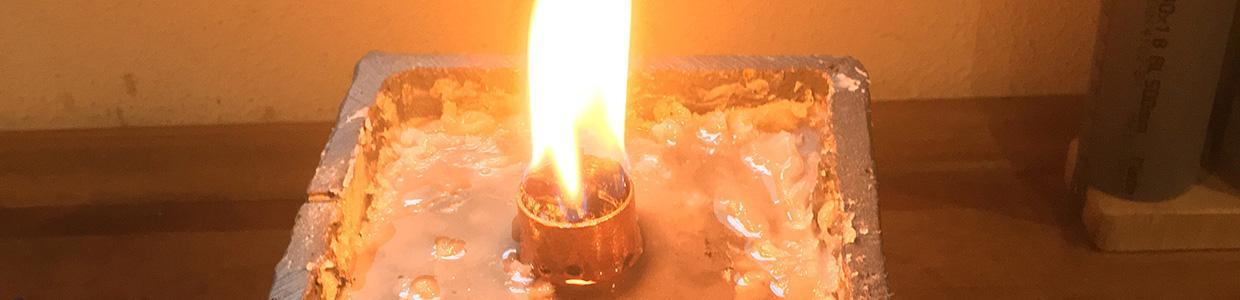
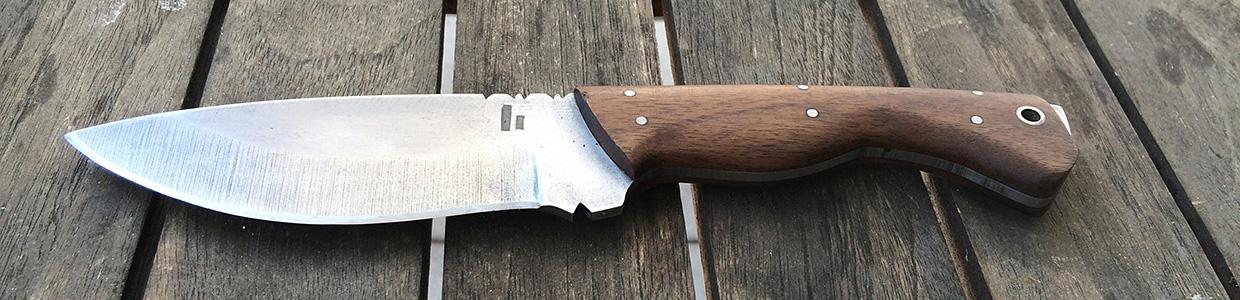
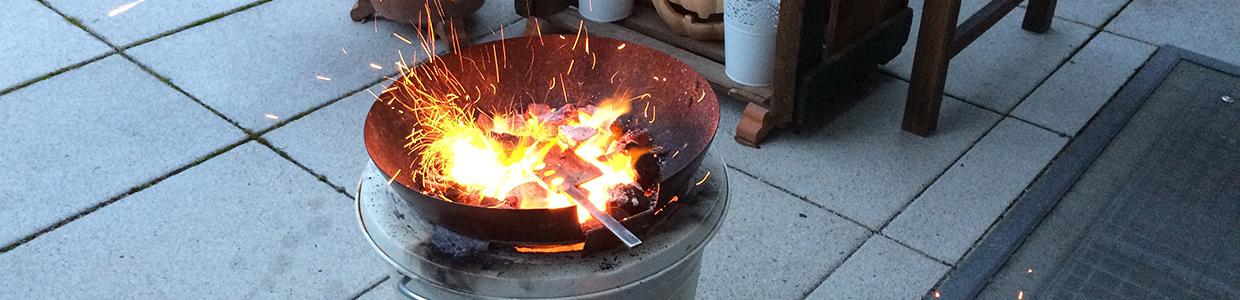
How To: Blade Hardening
I’m not a professional knife maker, let alone a blacksmith, but I have read lot on the subject and I have made some knives in the past (up to now, none of them even broke or hurt anybody…) and I have gathered some experience. So here’s what I do, what worked for me and what I have an eye on.