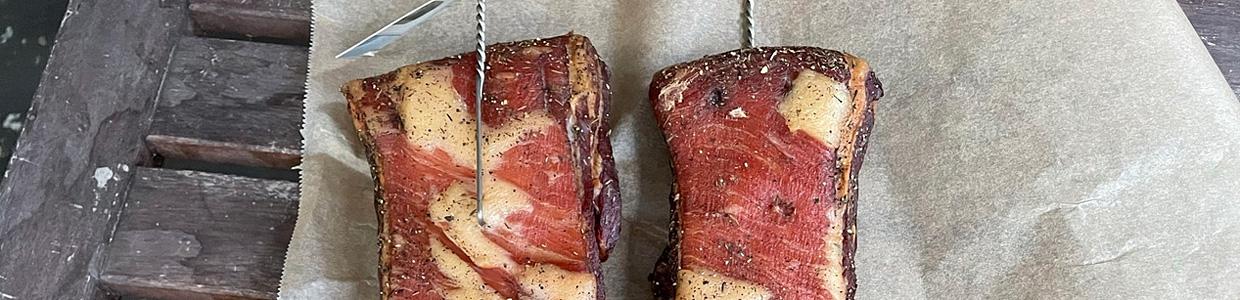


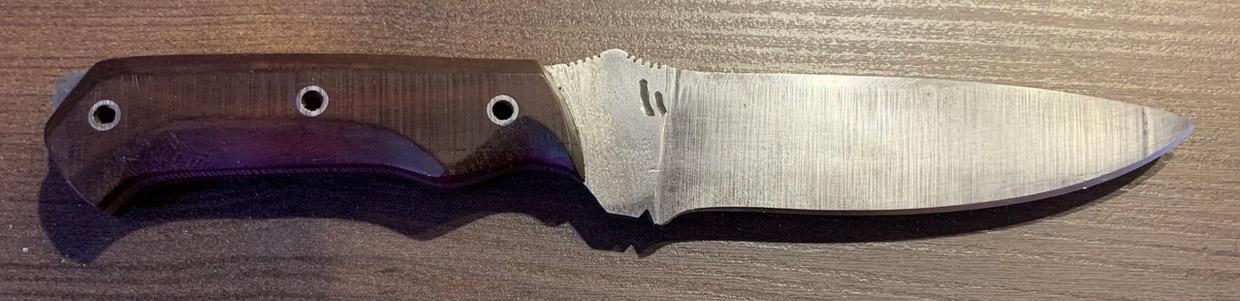

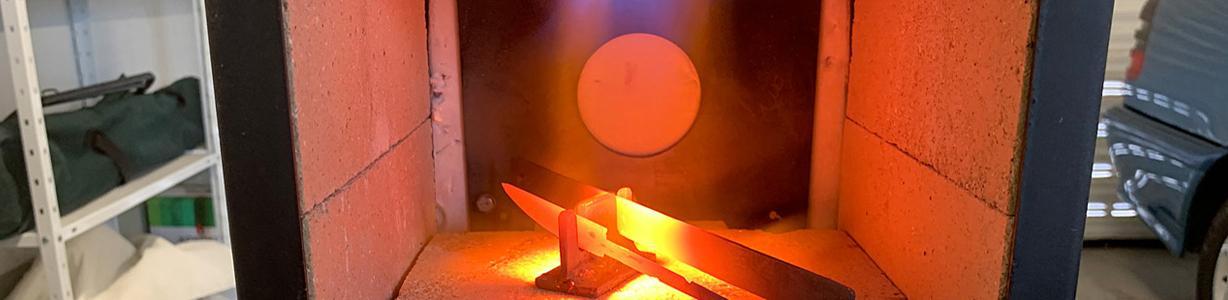

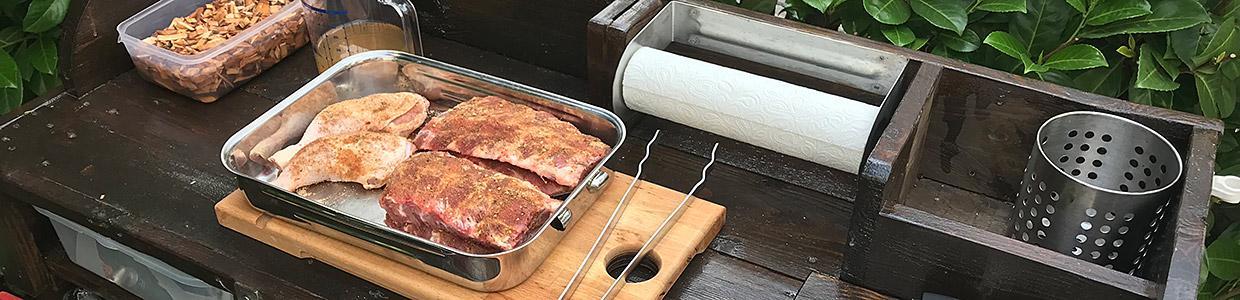


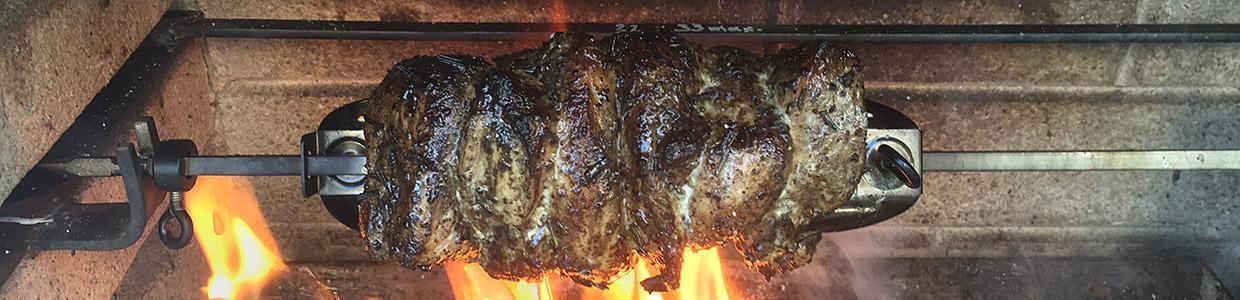


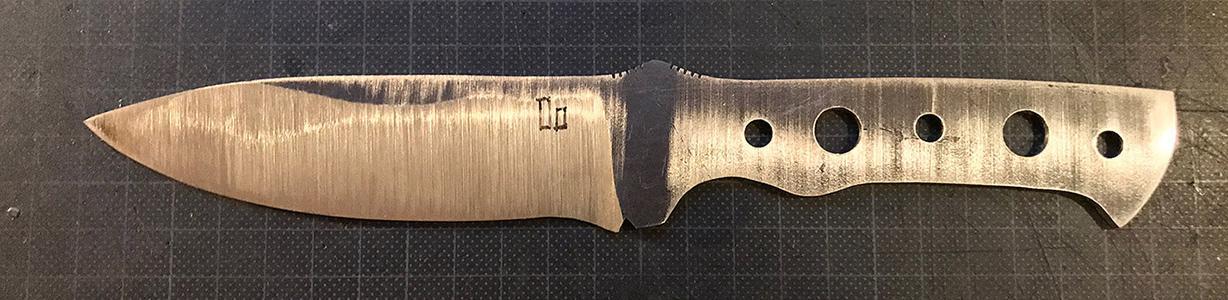

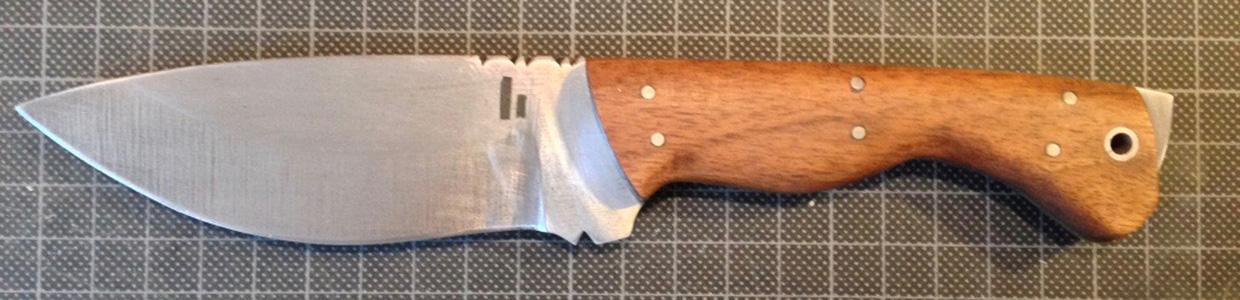
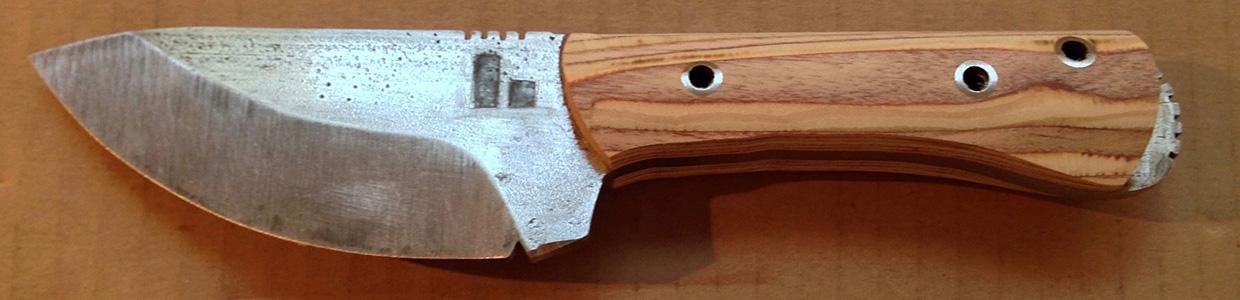
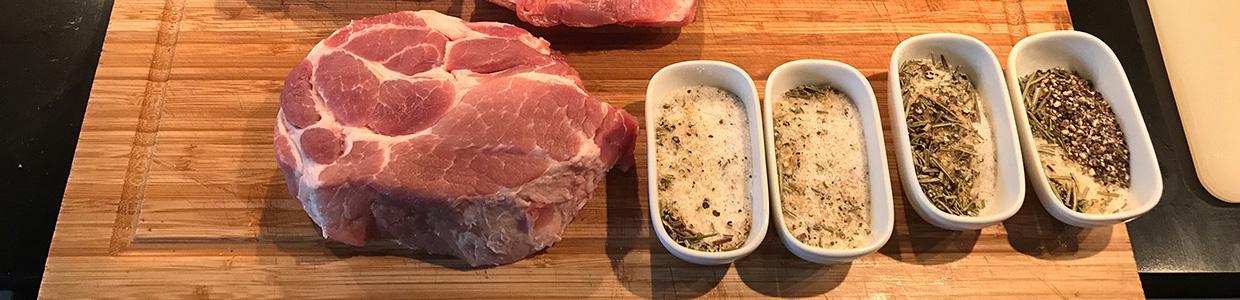
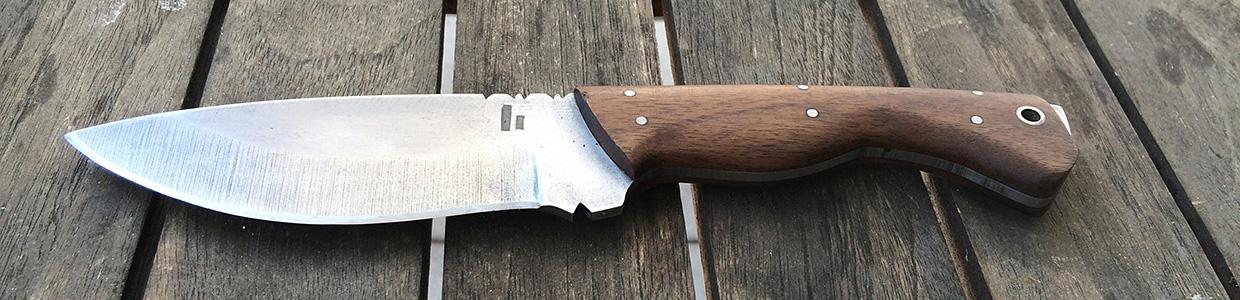
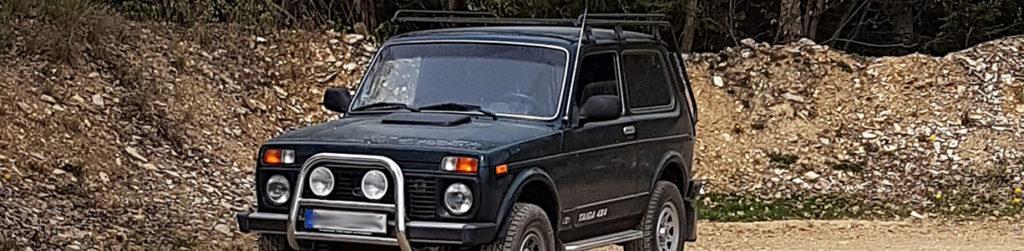
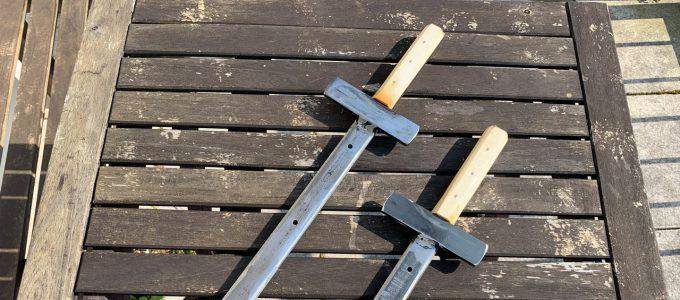
I found an interesting image of some churrasco spits on the internet and thought to myself: Yeah! Why not make them look like a sword? It’d be wide enough to hold any piece of meat firmly and prevent it from rotating on the spit, plus I can poke into the ground if necessary, and – plus plus – it would simply look cool.
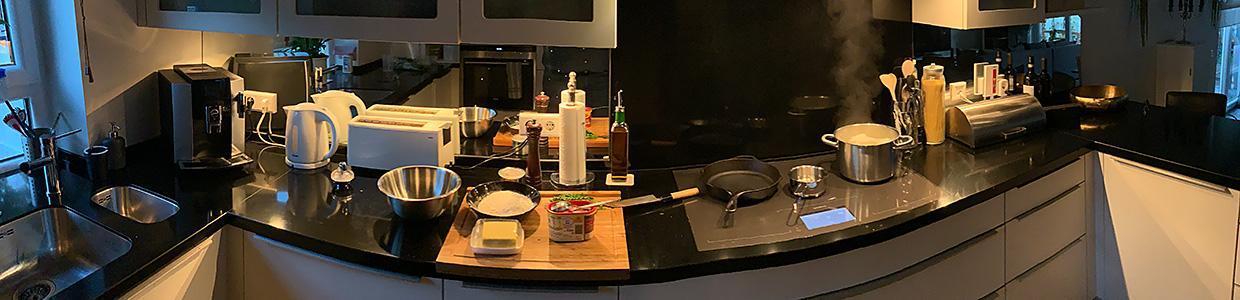
Refurbished Guest WC
We’re finally done renovating the small WC in the northern germany refuge. In fact, the room itself it wasn’t much work (whereas building the new washstand really was) – a little color, a shelf and some reasonable lighting. Looks much nicer now.
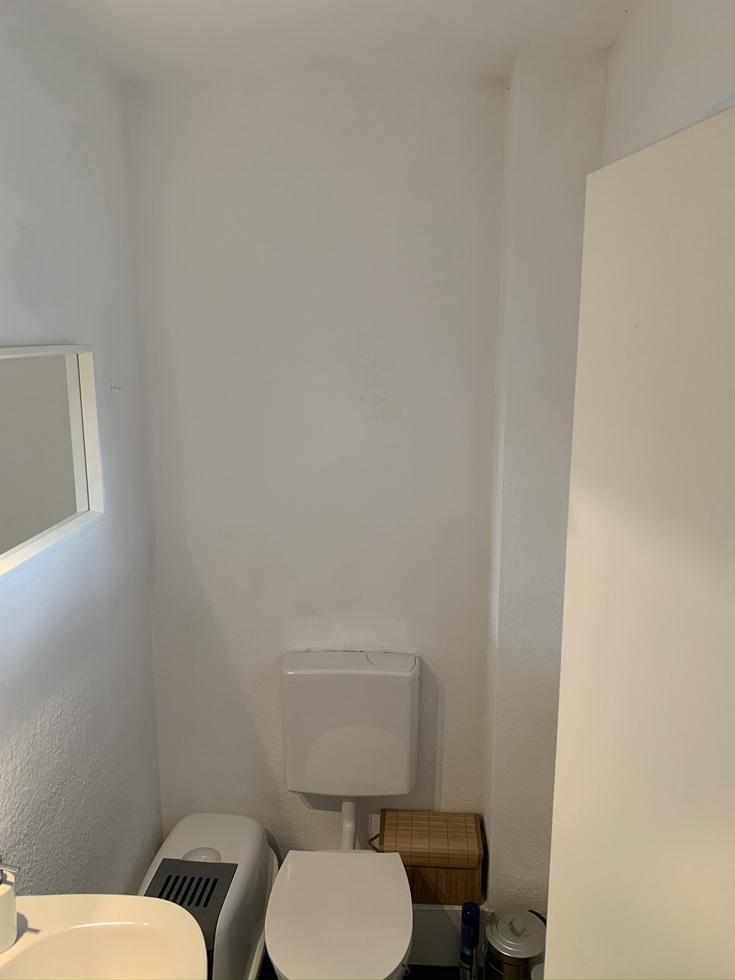
Before
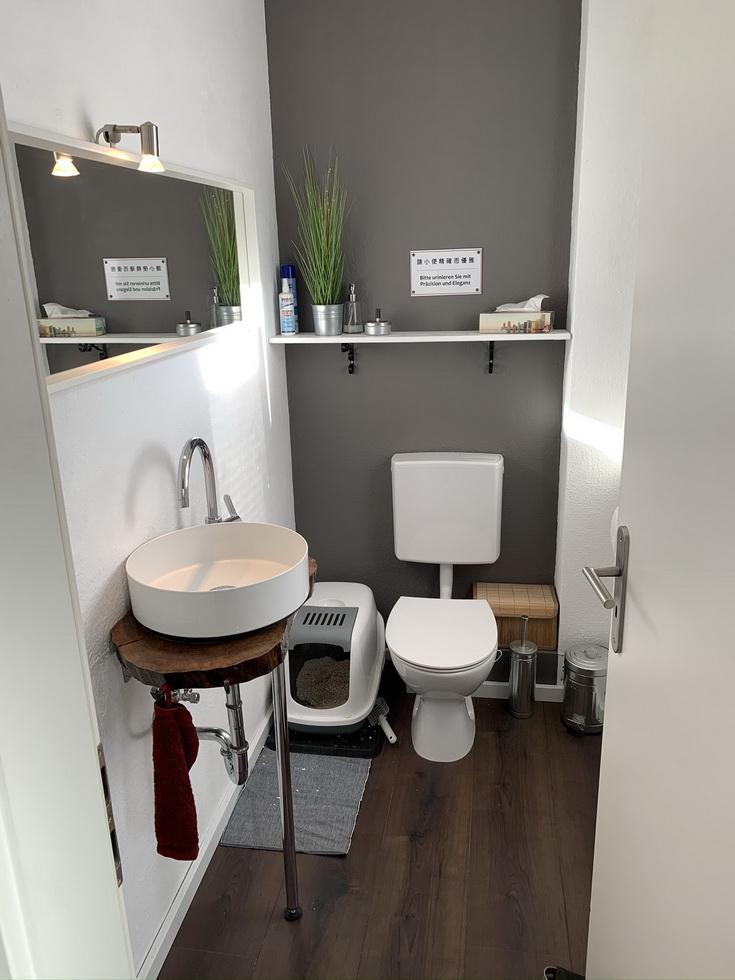
After
My Makeshift Simple Anvil
I got myself a piece of good old german steel railroad track from eBay to use for an anvil (you can find a shitload of videos on that topic on YouTube). So my simple construction consists of no more than a piece of a oak tree stem (left from last year’s round-up) and said railroad track piece, screwed tight with the meanest, thickest and longest screws I could find in the shop. Drilling the mounting holes was such a pain in the ass…


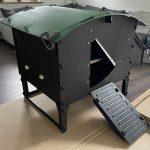
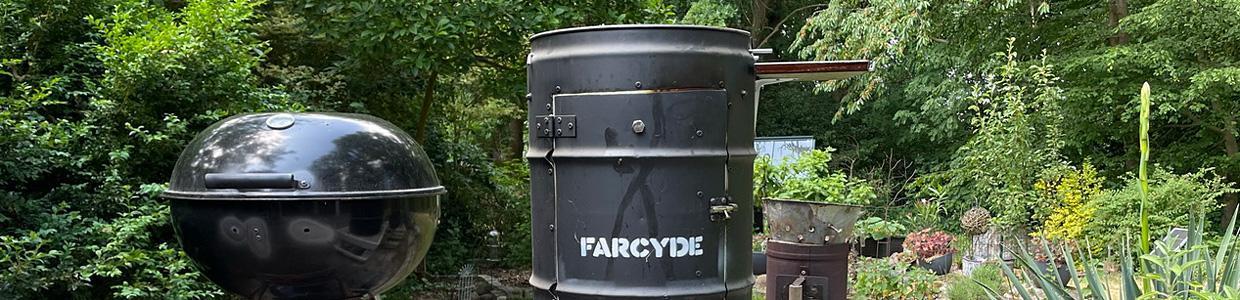
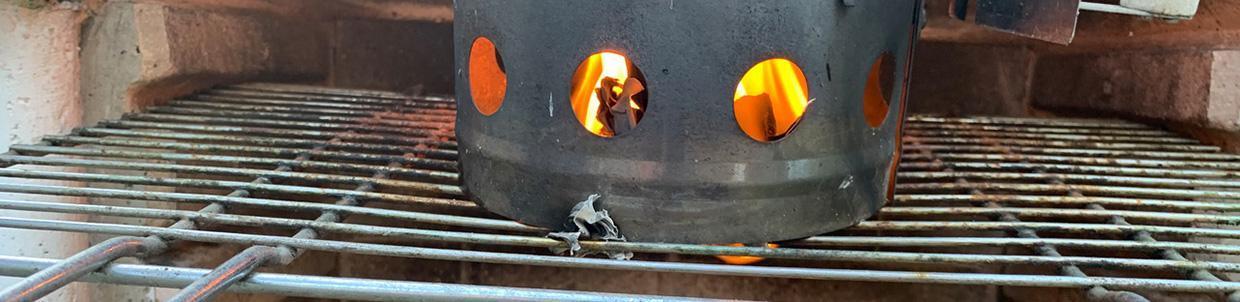
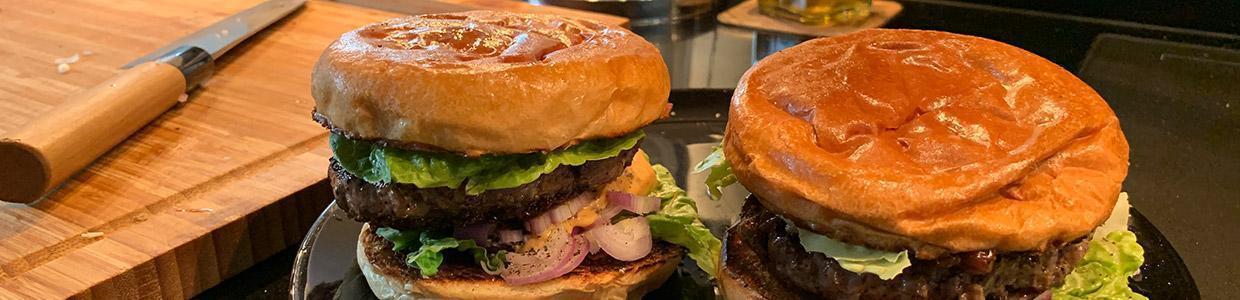
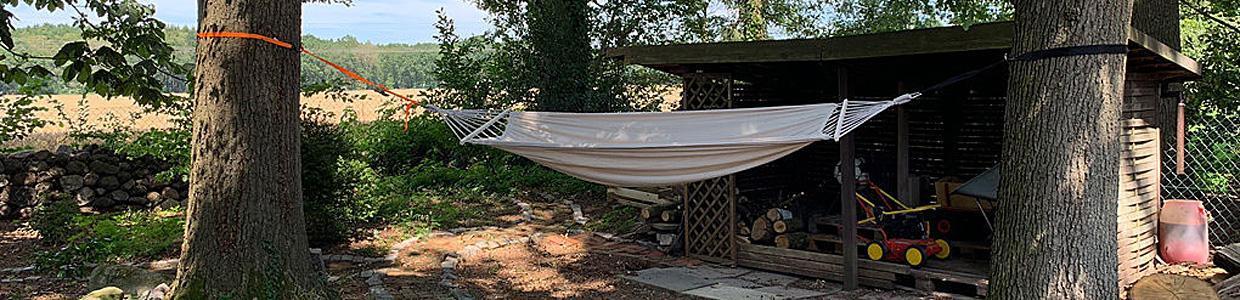
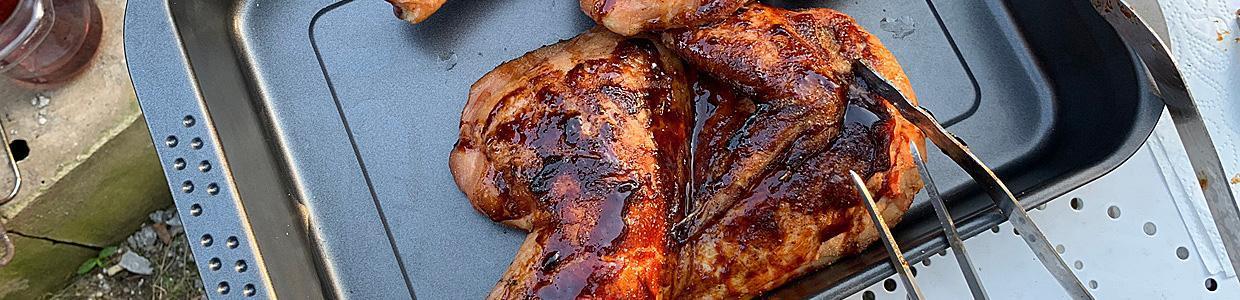
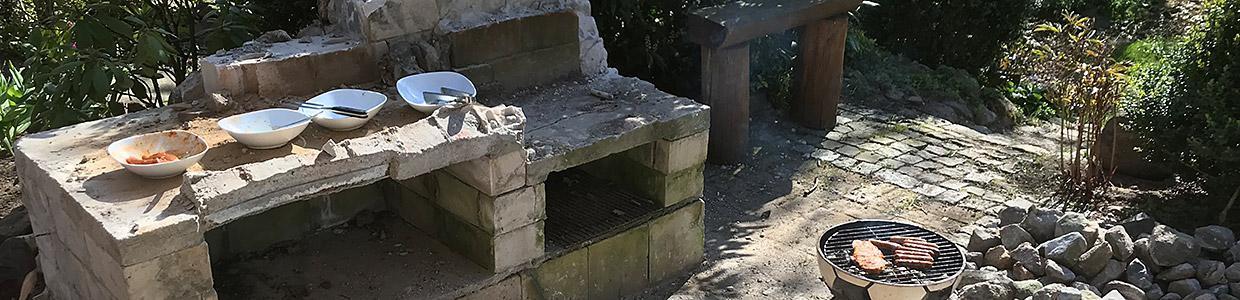
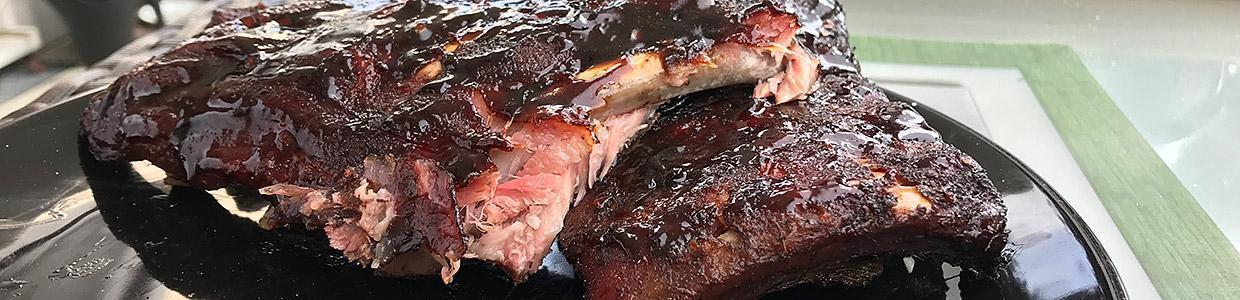
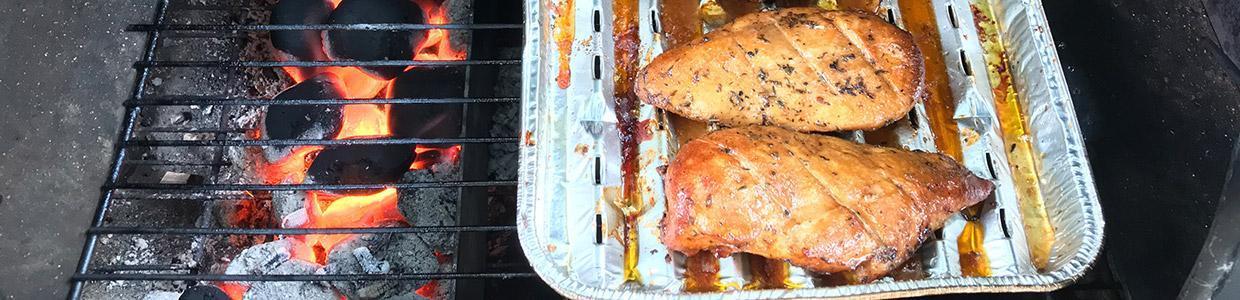
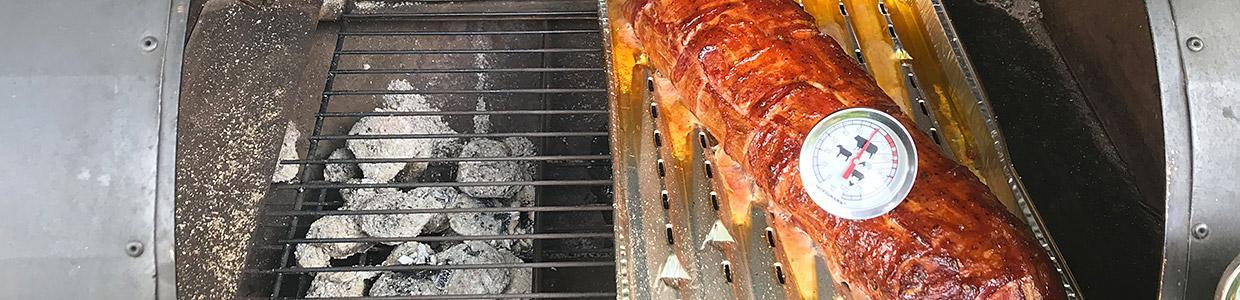
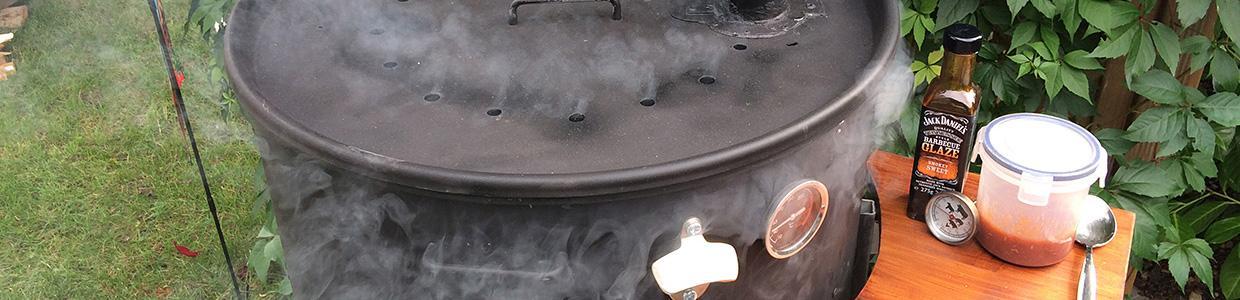
Smoker Platform
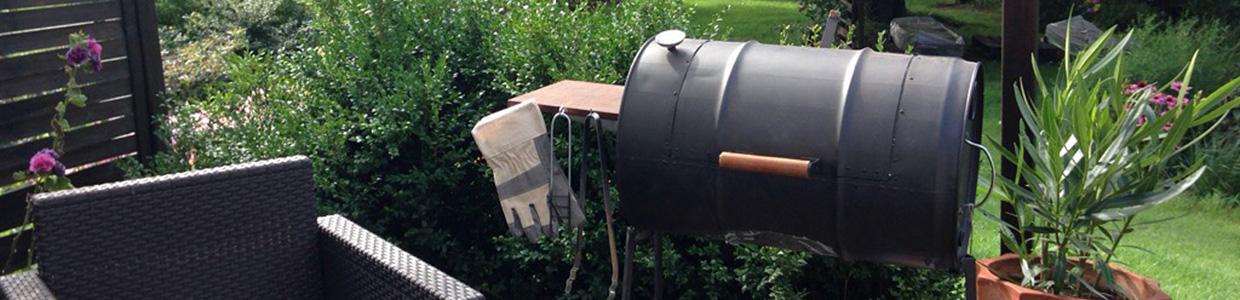
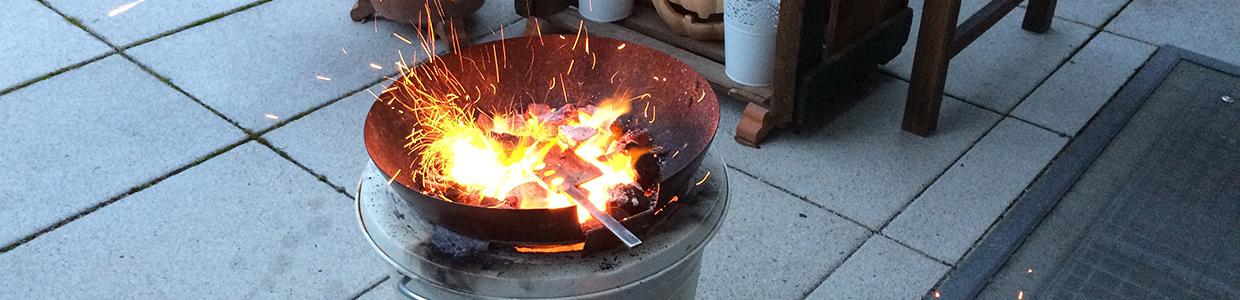
I don’t have a reasonable place for grilling and barbecue in the northern germany refuge yet. In order not to have to improvise very time I want to use my UDS, I made a rollable platform where the smoker can sit on.


It’s an easy construction made from pallet wood and some concrete for the firebox bottom. Today was the premiere and it worked fine. I’m still pondering if I should lay the bricks in mortar finally or leave it as it is and just stack them for easier transport.
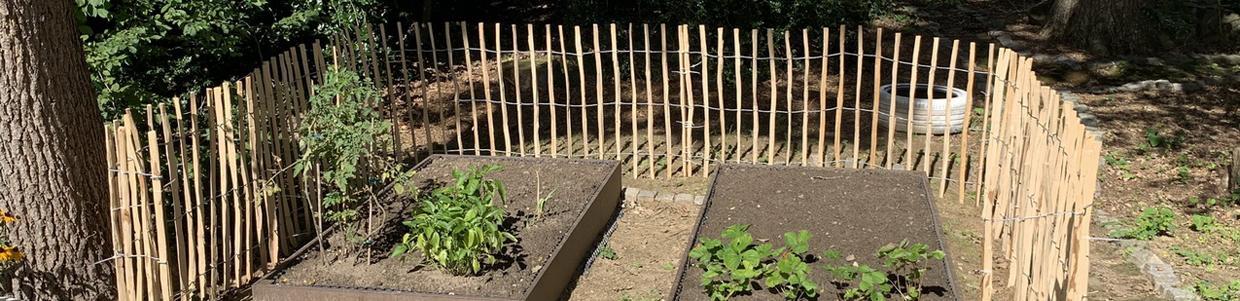
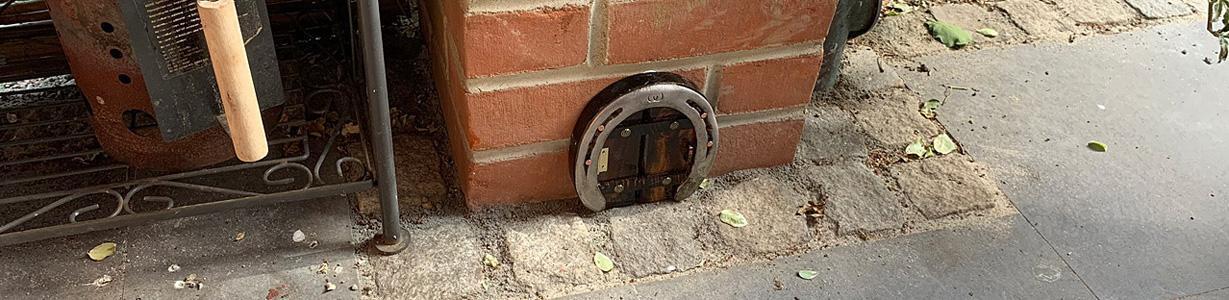
Electrical and Faucet Post for the Cistern Pumps
We have (involuntarily) found out how the outside rainwater draining works in the northern germany refuge. There is a drainage sump as well as a ring drainage around the house and two cisterns in the garden that serve as a reservoir and have an overflow pipe in case they’re filled to a certain level. These cisterns can of course be used for watering the garden using a submergible pump, as they’re filled with free rainwater. Here’s what I came up with as an idea to make use of this reservoir. It’s a post combining the electrical wiring of the two pumps and an outlet for watering:


This is as much as I can do for now, since I need an electrician to wire the thing up correctly. We’ll see how (and if at all) this works this summer 🙂
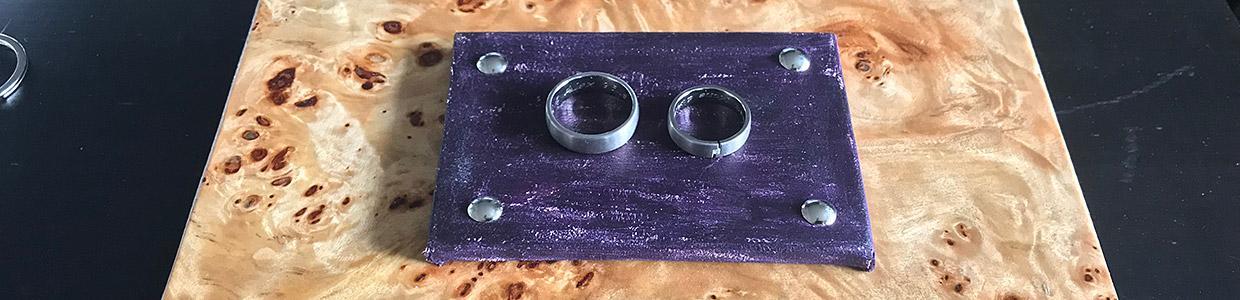
Outdoor Faucet
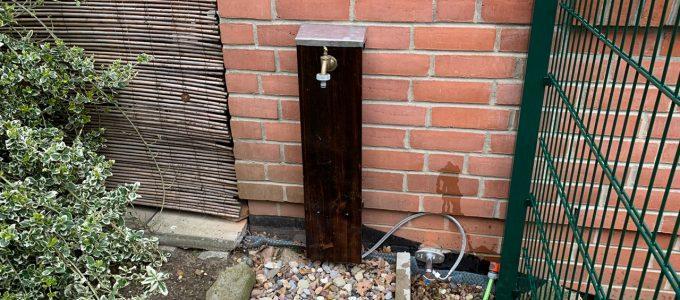
Our garden water tap is at a completely impossible position. Due to structural demands the maximum height is fixed so it can run clear in winter. I really didn’t like it so I found a remedy building a disconnectable faucet-board. It resembles a little fountain and it looks nice enough. Please see my highly sophisticated sketch/drawing if you’re interested in building your own 🙂
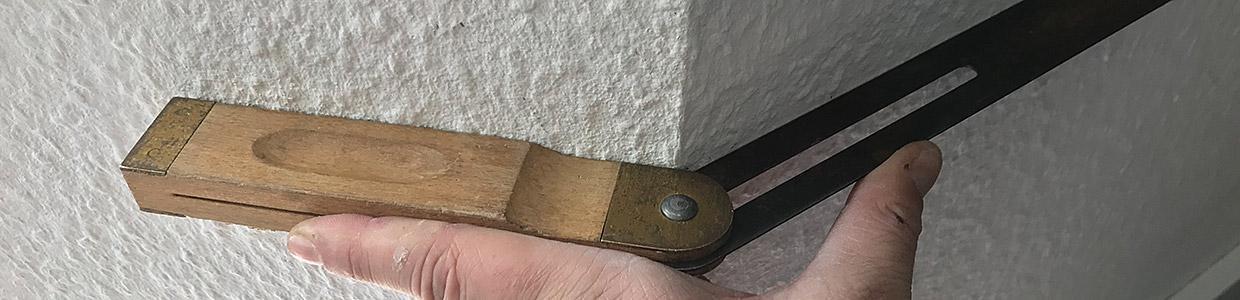
Workshop Planing Stop
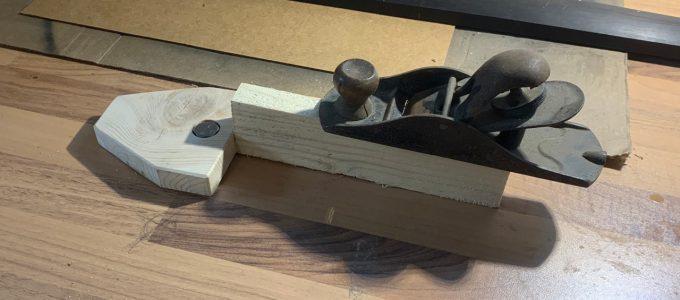
I came up with something completely new! Something never ever done before! I’ll revolutionize my woodwork and that of everyone who reads this! I made… (drum roll)… a planing stop! Such a lockdown is great for finally making some long postponed projects.
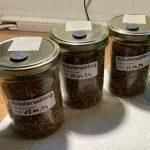
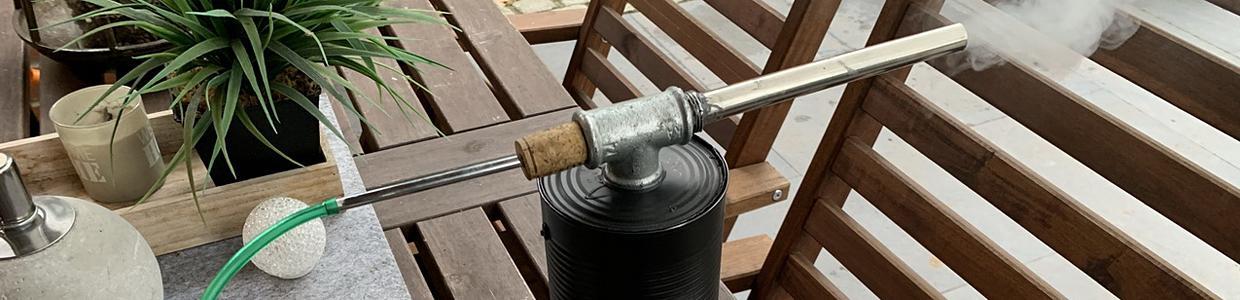
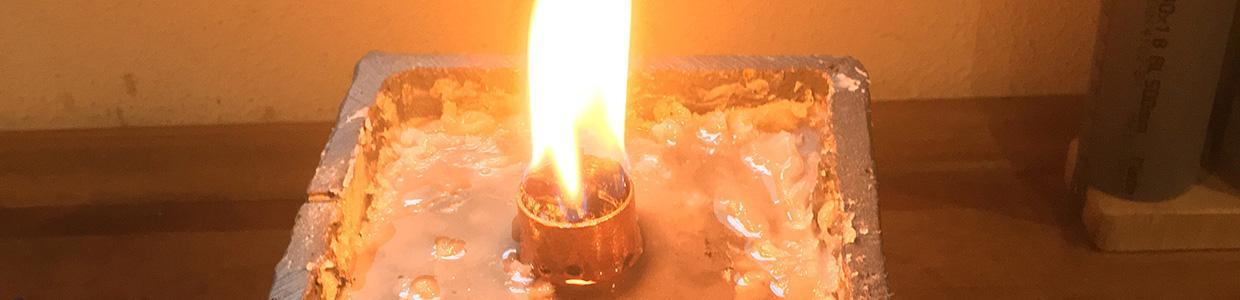
DIY Leather Balm
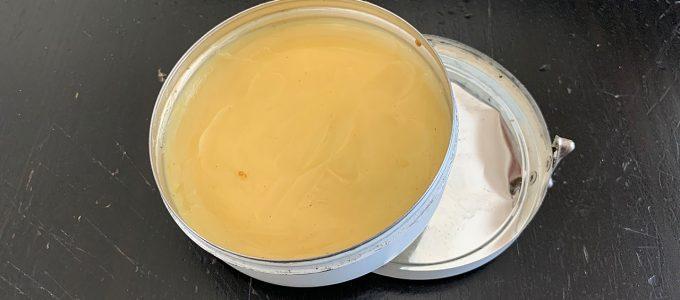
(The Image above is NOT stolen, although it looks like so. I just reused a tin that I already had.)
I made some wood wax finish again lately that really works very well and I wanted something to care for for my leather items as well. Leather Balm is cool for keeping your leather items good-looking, water-proof (to a certain degree), soft and nourished – thus – well cared for.
Applied and used properly, it’ll make your leather last a lifetime. Summarized, you want to provide for your leather with natural oils and fats and at the same time protect it from the elements as good as you can.