• sl82
    Just another DIY Blog . . .
  • sl81
    Just another DIY Blog . . .
  • sl80
    Just another DIY Blog . . .
  • sl79
    Just another DIY Blog . . .
  • sl78
    Just another DIY Blog . . .
  • sl77
    Just another DIY Blog . . .
  • sl76
    Just another DIY Blog . . .
  • sl74
    Just another DIY Blog . . .
  • sl68
    Just another DIY Blog . . .
  • sl62
    Just another DIY Blog . . .
  • sl40
    Just another DIY Blog . . .
  • sl39
    Just another DIY Blog . . .
  • sl2
    Just another DIY Blog . . .
  • sl11
    Just another DIY Blog . . .
  • sl14
    Just another DIY Blog . . .
  • sl7
    Just another DIY Blog . . .
  • sl64
    Just another DIY Blog . . .
  • sl46
    Just another DIY Blog . . .
  • sl6
    Just another DIY Blog . . .
  • sl50
    Just another DIY Blog . . .
  • sl49
    Just another DIY Blog . . .
  • sl18
    Just another DIY Blog . . .
  • sl42
    Just another DIY Blog . . .
  • sl24
    Just another DIY Blog . . .
  • sl56
    Just another DIY Blog . . .
  • sl60
    Just another DIY Blog . . .
  • sl82
    Just another DIY Blog . . .
  • sl84
    Just another DIY Blog . . .
  • sl19
    Just another DIY Blog . . .
  • sl26
    Just another DIY Blog . . .
  • sl32
    Just another DIY Blog . . .
  • sl34
    Just another DIY Blog . . .
  • sl41
    Just another DIY Blog . . .
  • sl44
    Just another DIY Blog . . .
  • sl51
    Just another DIY Blog . . .
  • sl55
    Just another DIY Blog . . .
  • sl59
    Just another DIY Blog . . .
  • sl75
    Just another DIY Blog . . .
  • sl66
    Just another DIY Blog . . .
  • sl73
    Just another DIY Blog . . .
  • sl83
    Just another DIY Blog . . .
  • sl28
    Just another DIY Blog . . .
  • sl53
    Just another DIY Blog . . .
  • sl63
    Just another DIY Blog . . .
  • sl61
    Just another DIY Blog . . .
  • sl72
    Just another DIY Blog . . .
  • sl71
    Just another DIY Blog . . .
  • sl70
    Just another DIY Blog . . .
  • sl69
    Just another DIY Blog . . .
  • sl67
    Just another DIY Blog . . .
  • sl65
    Just another DIY Blog . . .
  • sl48
    Just another DIY Blog . . .
  • sl58
    Just another DIY Blog . . .
  • sl57
    Just another DIY Blog . . .
  • sl54
    Just another DIY Blog . . .
  • sl52
    Just another DIY Blog . . .
  • sl47
    Just another DIY Blog . . .
  • sl45
    Just another DIY Blog . . .
  • sl43
    Just another DIY Blog . . .
  • sl38
    Just another DIY Blog . . .
  • sl37
  • sl36
    Just another DIY Blog . . .
  • sl35
    Just another DIY Blog . . .
  • sl33
    Just another DIY Blog . . .
  • sl31
    Just another DIY Blog . . .
  • sl30
    Just another DIY Blog . . .
  • sl29
    Just another DIY Blog . . .
  • sl27
    Just another DIY Blog . . .
  • sl23
    Just another DIY Blog . . .
  • sl22
    Just another DIY Blog . . .
  • sl21
    Just another DIY Blog . . .
  • sl20
    Just another DIY Blog . . .
  • sl17
    Just another DIY Blog . . .
  • sl16
    Just another DIY Blog . . .
  • sl15
    Just another DIY Blog . . .
  • sl13
    Just another DIY Blog . . .
  • sl12
    Just another DIY Blog . . .
  • sl1
    Just another DIY Blog . . .
  • sl10
    Just another DIY Blog . . .
  • sl85
    Just another DIY Blog . . .
  • sl8
    Just another DIY Blog . . .
  • sl5
    Just another DIY Blog . . .
  • sl4
    Just another DIY Blog . . .
  • sl3
    Just another DIY Blog . . .
  • sl25
    Just another DIY Blog . . .

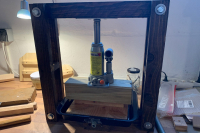
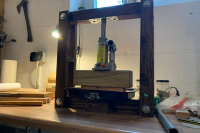
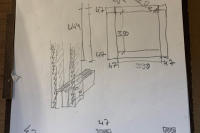
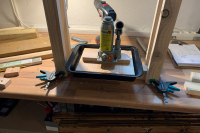
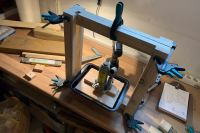
DIY Cheese Press

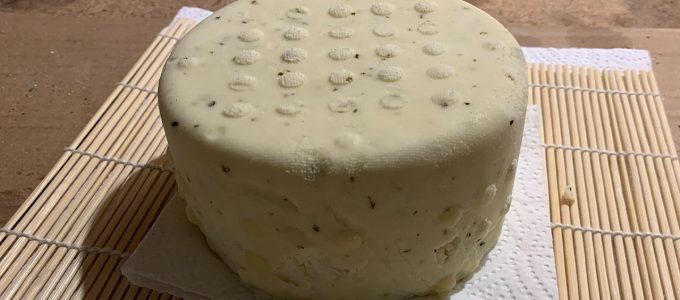
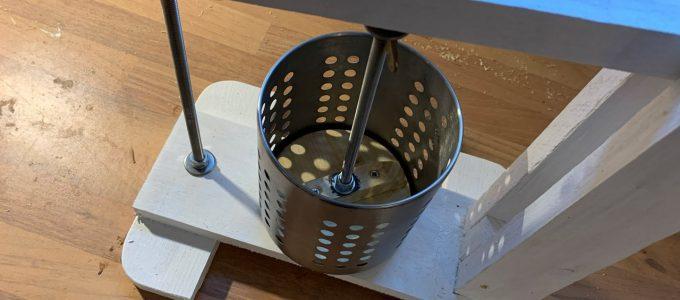
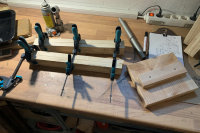
This guy has too much free time at his hands… 🙂 I made a cheese press, because I was offered an eBook on cheesemaking – for free! Well, I like cheese in almost all of its forms, so I’ll try that out. Here’s how it was made and how it’s supposed to work.


Whetstone Holder

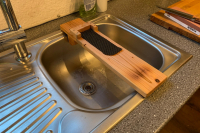
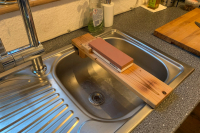
I figured my cooking knives deserved a little love after seeing rather heavy action in the last weeks. Since climbing stairs is not my favourite activity these days, I looked for a possibility to sharpen them properly in the kitchen, not downstairs in the shop. So behold Farcyde’s newest ingenious piece of engineering: My kitchen sink whetstone holder!

It took easily one whole hour to make it and another heaping 5 minutes for some protective oil coat! It’s taylor-made to fit into my kitchen sink snugly and to be on the safe side I also added an anti-slip pad under the whetstone and at the areas of support. One night of drying to let the oil set a little and it’s ready for use. A simple construction, the images speak for themselves.


Cider Making, the Second Stage

(This is part III of the cider making series. Read part I, part II and part IV here.)

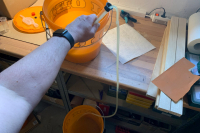
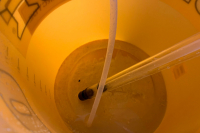
It seems the primary fermentation has come to a halt do far, so it’s time to transfer everything into another vessel and let the secondary fermentation take it’s course. The correct english term for this seems to be “racking the cider off it’s lees”.

While the primary fermentation is about yeast cells converting sugar into alcohol and CO², the second fermentation is lactic acid bacteria converting malic acid into lactic acid and CO² and give the brew a smoother, less sour taste. It occurs naturally and spontaneously when the liquid is transferred to a storage container and the yeast is no longer the dominant microbiological species in the soon-to-be cider.


Cider Making, the Preliminaries

(This is part II of the cider making series. Read part I, part III and part IV here.)

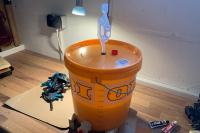
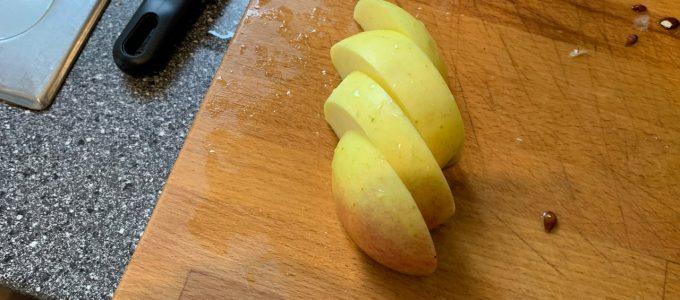
Yeah! Some cidermaking progress! I got some apples from a local shop (a little less than 10 kg) and de-juiced them using my apple press. I’m not going to write a book on cider making here (in fact, I just can’t due to lack of experience…) but I want to give an outline:

At the beginning there’s always sanitizing the equipment. Just like with brewing beer (which I did often in the past), clean and sanitized tools and containers are crucial for a good outcome. A good way to to deep clean things is laundry bleach. Follow the instructions on the bottle and make sure to rinse everything most thoroughly with water after treating.


Mushroom Growing 2021

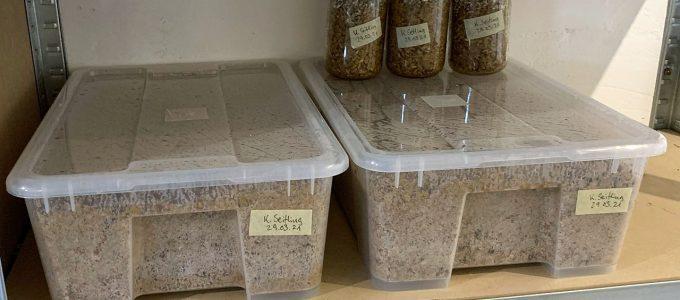
I officially declare the mushroom season open! And to honor this appropriately, I’ve started new king oyster mushroom cultures that I hope will thrive and grow. This time, I used store-bought grain spawn (this shop is cool, give these guys a try!) – the last propagating attempt with the used up mycelium didn’t work out sooo well.

The whole action doesn’t take much time and effort (and it’s perfectly doable, sitting, with a broken knee…). But it is absolutely vital that you work as cleanly as possible, so to give your spawn an edge over any possible competing contaminats. I’ve got two versions:


Apple Press DIY

(This is part I of the cider making series. Read part II, part III and part IV here.)

I want to make my own apple cider! Years ago, I’ve been brewing beer which was fun, boozy and – well – messy. Now I want to try my luck with apple cider, which is a little easier to make regarding the effort, but nonetheless interesting and promising.

So, you need apple juice for brewing cider and in order not to use store-bought material I’ll need an apple press to make my own. Here it is:


Spelt Flour Bread

Today I’ve got something completely new, at least for my standards. I made bread from spelt flour for the first time – and I was surprised about how much I actually like it. Now, spelt has a little bit of a reputation of being in the eco- or treehugger corner (at least here where I live) but at the end of the days it’s just plain normal flour to work with.


Living her best Life

The Lady of the House is enjoying the first strong rays of sunshine so much today…


By continuing to use the site, you agree to the use of cookies. more information

The cookie settings on this website are set to "allow cookies" to give you the best browsing experience possible. If you continue to use this website without changing your cookie settings or you click "Accept" below then you are consenting to this.

Close