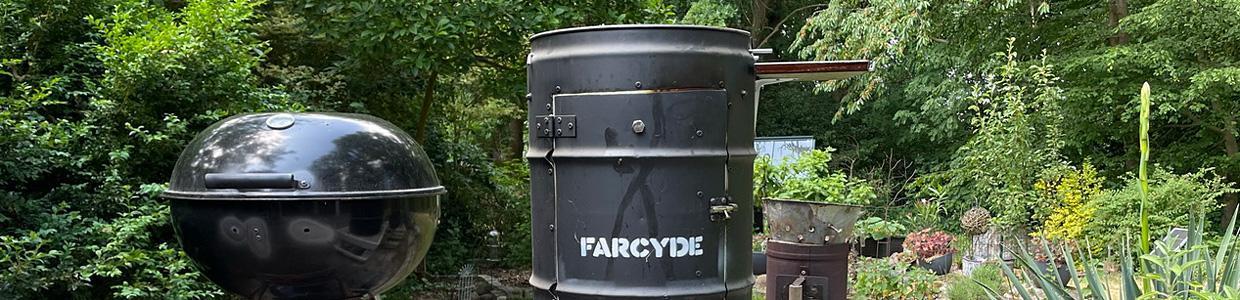
I had a small, old lidless oil drum left over in the shop and decided to turn it into a fire barrel. I call it a “Fassl”, which is the german/bavarian diminutive for “barrel”, so the closest relatable translation would probably be “keg”.


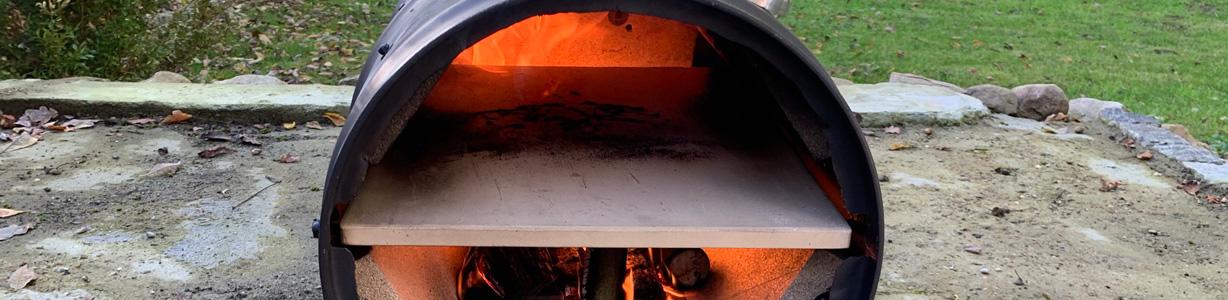


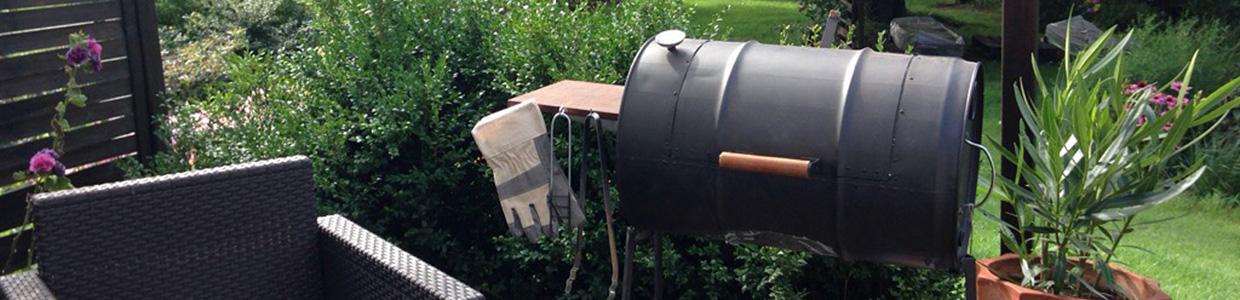


I had a small, old lidless oil drum left over in the shop and decided to turn it into a fire barrel. I call it a “Fassl”, which is the german/bavarian diminutive for “barrel”, so the closest relatable translation would probably be “keg”.
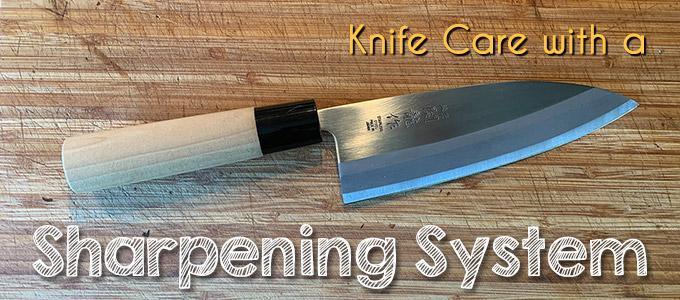
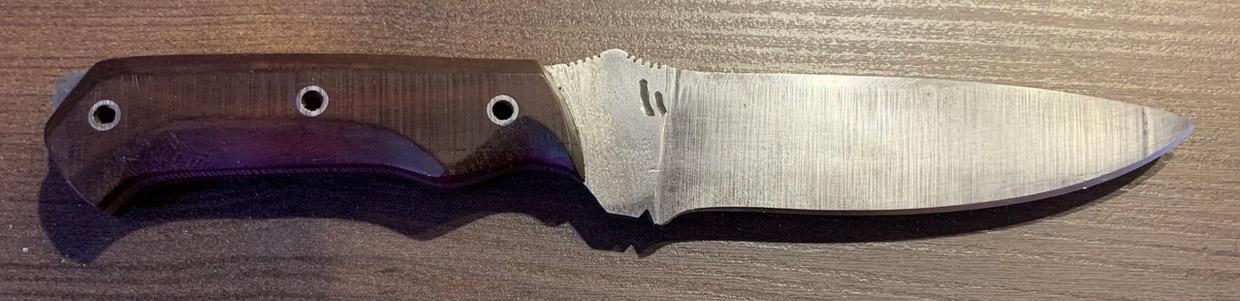
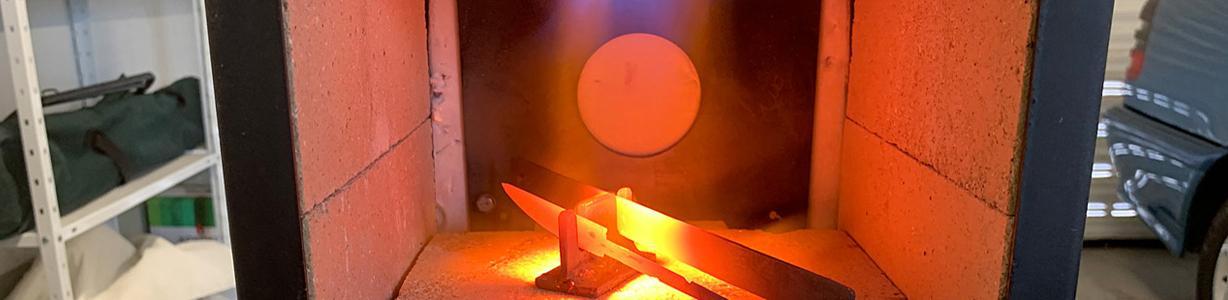
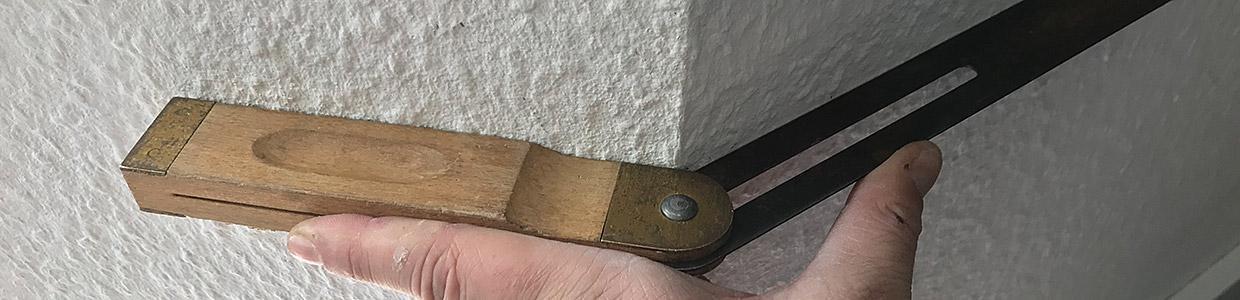
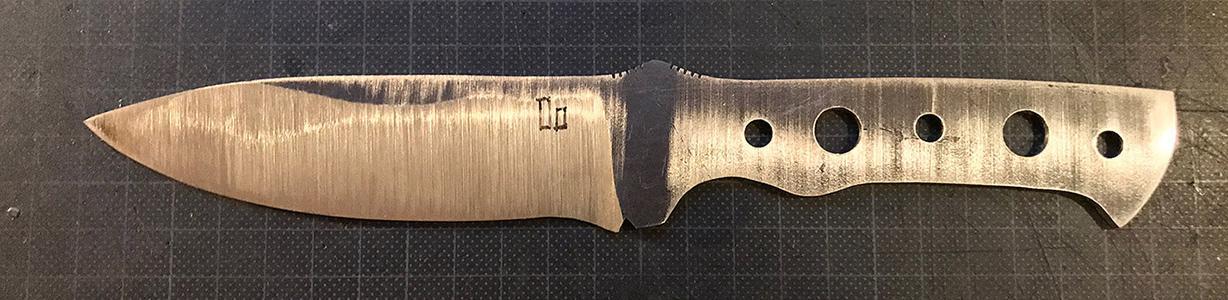
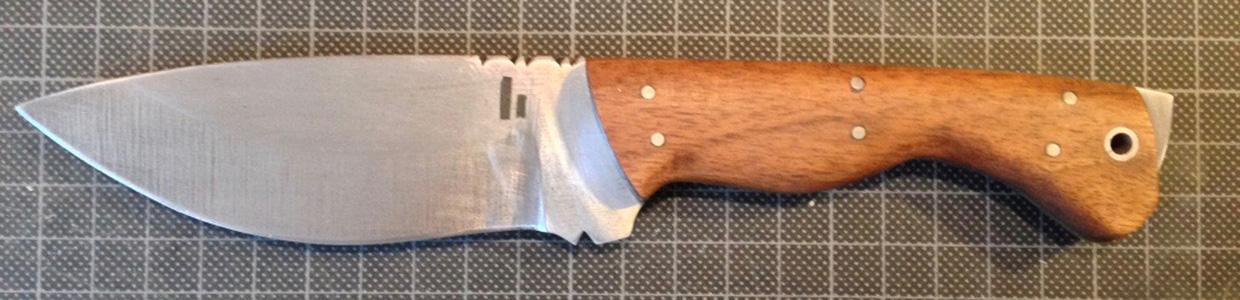
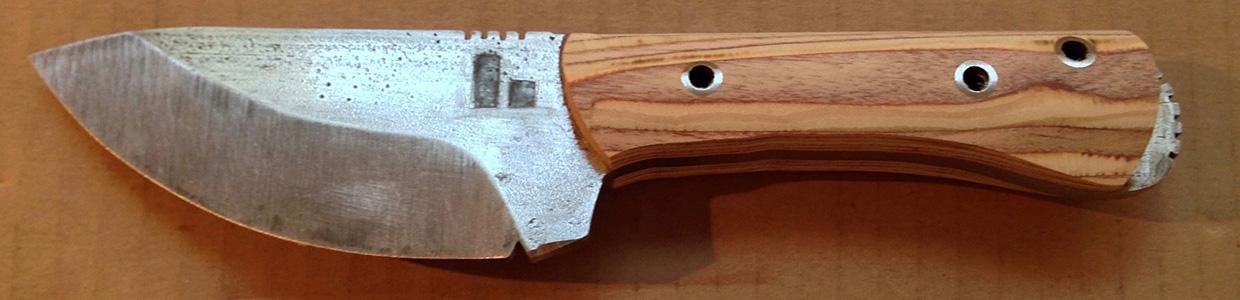
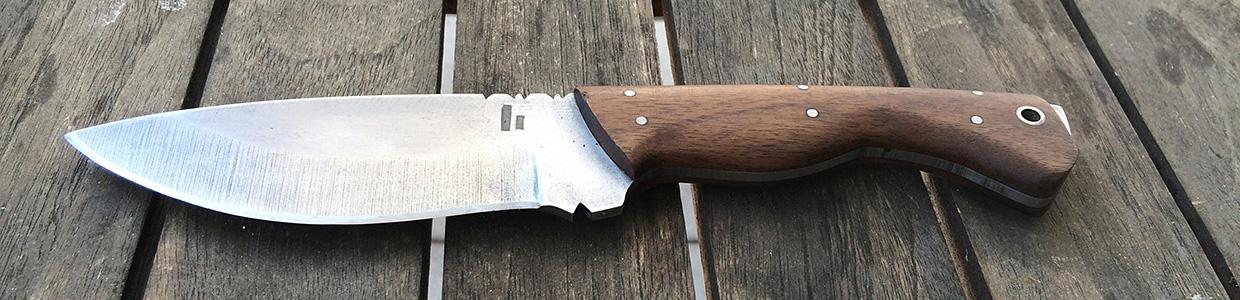
I had a friend of mine over these days with two well-used and now dull knives – this inspired me to write this article. At a certain point of knife usage, just honing a blade’s edge won’t do the job anymore and you will have to re-sharpen your knife and give it a nice clean edge again.
This is how I do this with all my knives, kitchen or outdoor, in this case using a Lansky knife-sharpening-system (which I know is discussed controversially on the internet). With a little training and devotion you can achieve excellent results with it – and in a much easier way than with a traditional whetstone. This is my way to do it and it works absolutely satisfying for me.
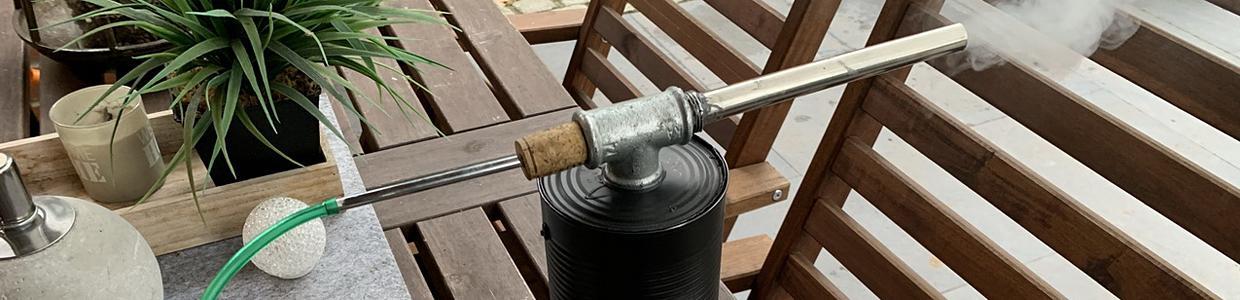
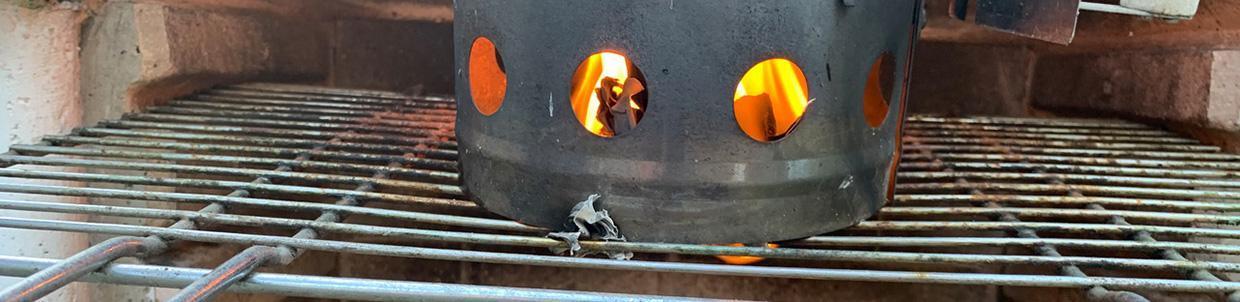
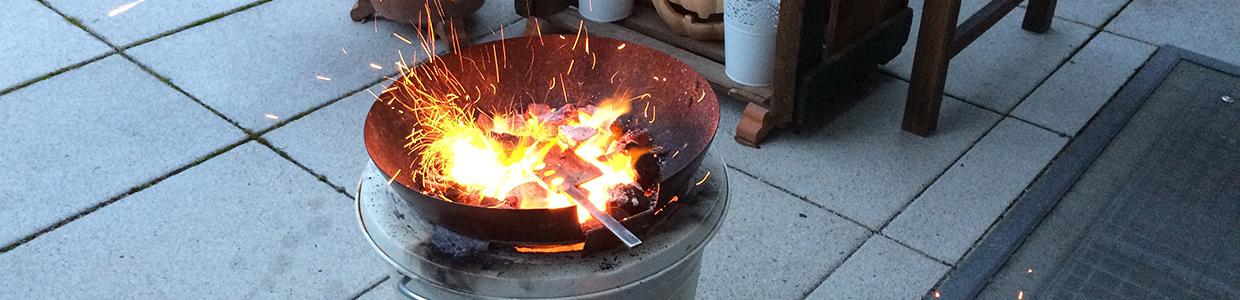
I was fascinated by a japanese blacksmith’s video where this guy was working with a (seemingly) traditional two-stroke box bellows, and as things worked out, my hairdryer that I used as a blower for my coal forge recently bit the dust. So the mission was clear, I wanted to make such a cool box-bellows-contraption myself. After doing some internet research, here’s what I did and what I used:
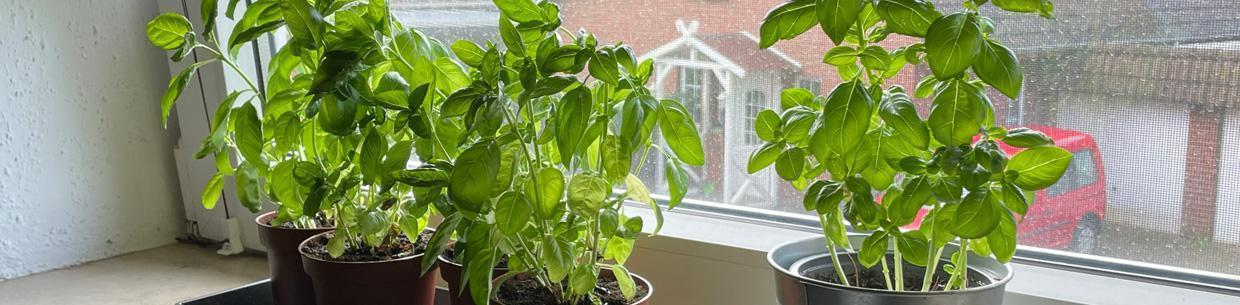
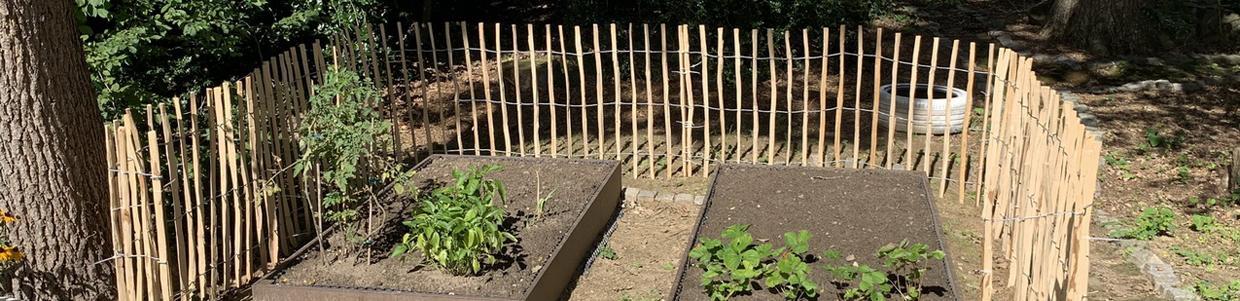
It took me some time to make these two garden beds, interruptions and delays included, but now they’re done and ready to grow some greens.


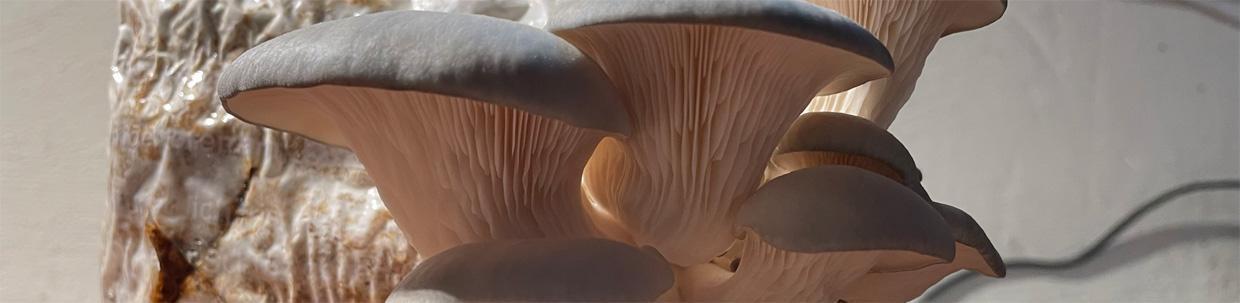
So I will try to propagate some of the mycelium from the oyster mushroom growing kit. I have already done this years ago and it worked fairly well, so I hope these will thrive as well.


The materials for the growing substrate are 500g of rye grains, 25g of gypsum and 500ml of water. Cook this over medium heat, stirring often, until no more liquid is left over in the pan. You want the grains to be evenly covered in gypsum and well soaked but reasonably dry on the surface.
I grabbed an oyster mushroom growing kit at a garden store sale almost half a year ago and I finally found the time to put it to use. It’s a convenient and un-complicated way to learn how to care for and cultivate your own home grown mushrooms.


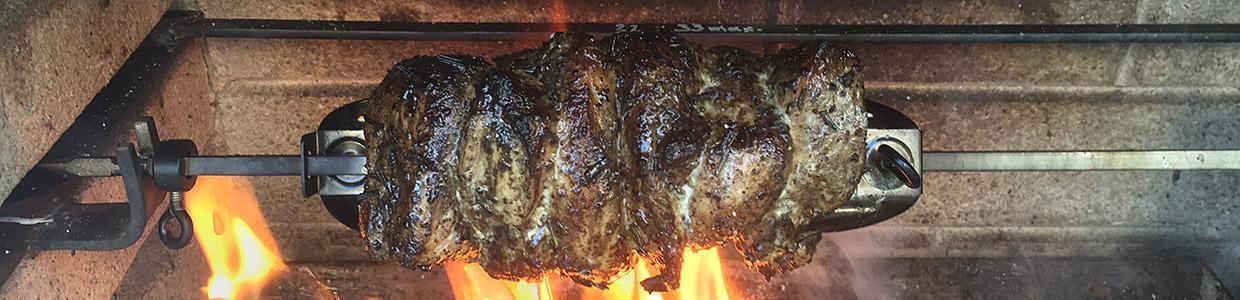
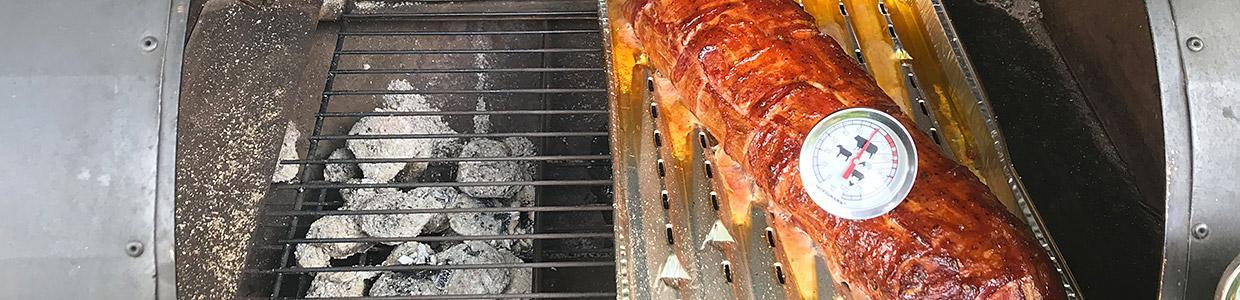
I found an interesting image of some churrasco spits on the internet and thought to myself: Yeah! Why not make them look like a sword? It’d be wide enough to hold any piece of meat firmly and prevent it from rotating on the spit, plus I can poke into the ground if necessary, and – plus plus – it would simply look cool.
We’re finally done renovating the small WC in the northern germany refuge. In fact, the room itself it wasn’t much work (whereas building the new washstand really was) – a little color, a shelf and some reasonable lighting. Looks much nicer now.
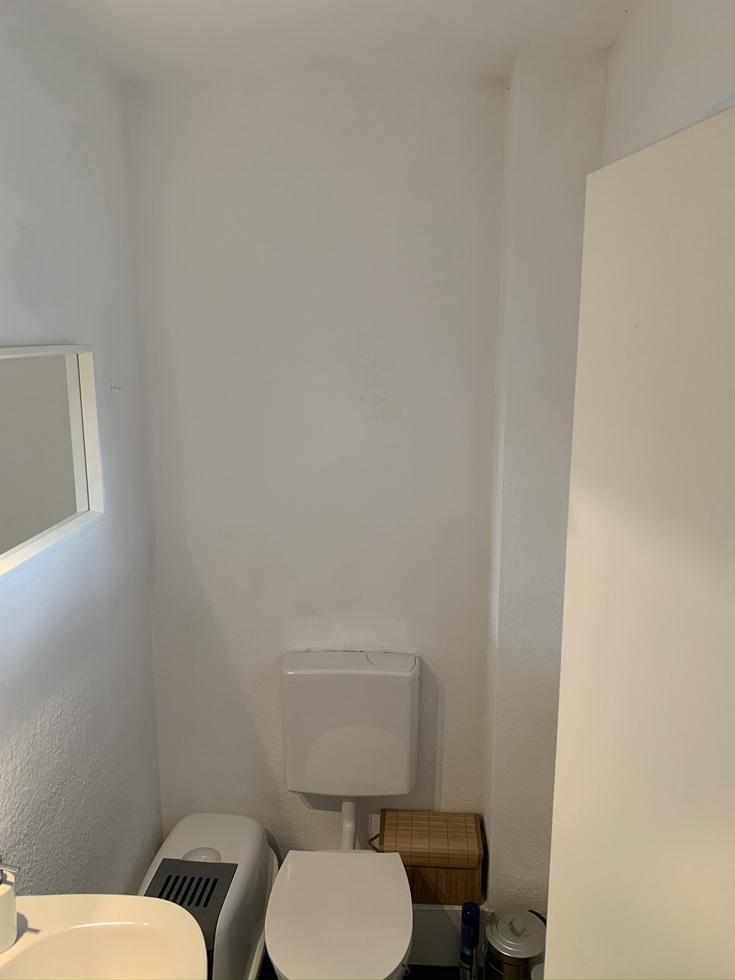
Before
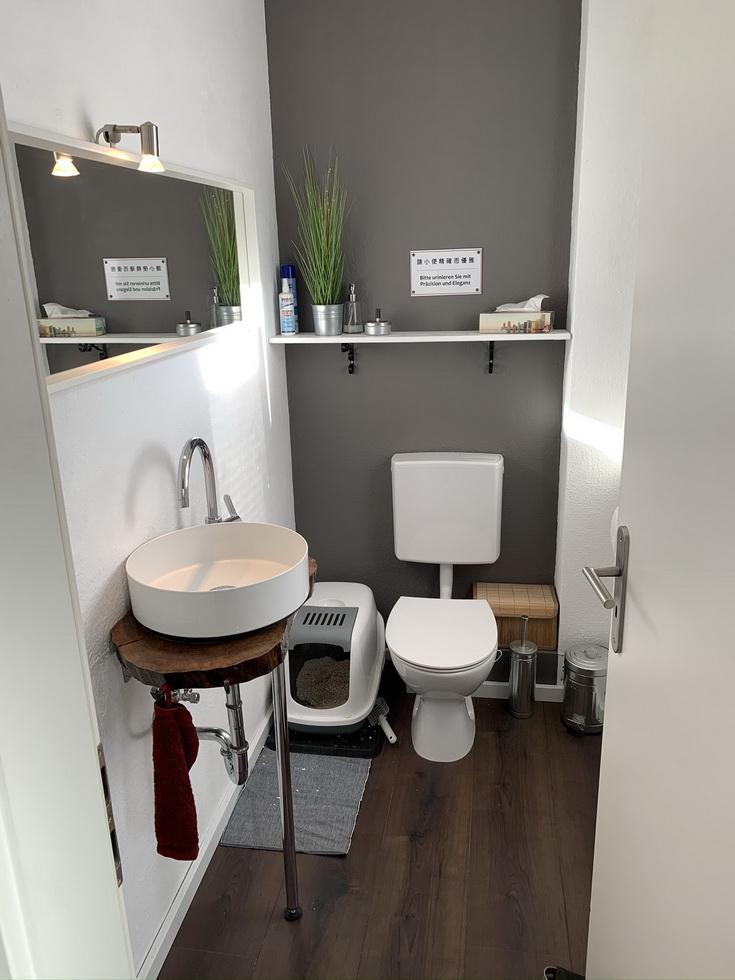
After

By continuing to use the site, you agree to the use of cookies. more information
The cookie settings on this website are set to "allow cookies" to give you the best browsing experience possible. If you continue to use this website without changing your cookie settings or you click "Accept" below then you are consenting to this.