• sl76
    Just another DIY Blog . . .
  • sl74
    Just another DIY Blog . . .
  • sl68
    Just another DIY Blog . . .
  • sl62
    Just another DIY Blog . . .
  • sl40
    Just another DIY Blog . . .
  • sl39
    Just another DIY Blog . . .
  • sl2
    Just another DIY Blog . . .
  • sl11
    Just another DIY Blog . . .
  • sl14
    Just another DIY Blog . . .
  • sl7
    Just another DIY Blog . . .
  • sl64
    Just another DIY Blog . . .
  • sl46
    Just another DIY Blog . . .
  • sl6
    Just another DIY Blog . . .
  • sl50
    Just another DIY Blog . . .
  • sl49
    Just another DIY Blog . . .
  • sl18
    Just another DIY Blog . . .
  • sl42
    Just another DIY Blog . . .
  • sl24
    Just another DIY Blog . . .
  • sl56
    Just another DIY Blog . . .
  • sl60
    Just another DIY Blog . . .
  • sl91
    Just another DIY Blog . . .
  • sl90
    Just another DIY Blog . . .
  • sl19
    Just another DIY Blog . . .
  • sl26
    Just another DIY Blog . . .
  • sl32
    Just another DIY Blog . . .
  • sl34
    Just another DIY Blog . . .
  • sl41
    Just another DIY Blog . . .
  • sl44
    Just another DIY Blog . . .
  • sl51
    Just another DIY Blog . . .
  • sl55
    Just another DIY Blog . . .
  • sl59
    Just another DIY Blog . . .
  • sl75
    Just another DIY Blog . . .
  • sl66
    Just another DIY Blog . . .
  • sl86
    Just another DIY Blog . . .
  • sl83
    Just another DIY Blog . . .
  • sl81
    Just another DIY Blog . . .
  • sl80
    Just another DIY Blog . . .
  • sl63
    Just another DIY Blog . . .
  • sl61
    Just another DIY Blog . . .
  • sl72
    Just another DIY Blog . . .
  • sl71
    Just another DIY Blog . . .
  • sl70
    Just another DIY Blog . . .
  • sl69
    Just another DIY Blog . . .
  • sl67
    Just another DIY Blog . . .
  • sl65
    Just another DIY Blog . . .
  • sl48
    Just another DIY Blog . . .
  • sl58
    Just another DIY Blog . . .
  • sl57
    Just another DIY Blog . . .
  • sl54
    Just another DIY Blog . . .
  • sl52
    Just another DIY Blog . . .
  • sl47
    Just another DIY Blog . . .
  • sl45
    Just another DIY Blog . . .
  • sl43
    Just another DIY Blog . . .
  • sl38
    Just another DIY Blog . . .
  • sl37
  • sl36
    Just another DIY Blog . . .
  • sl35
    Just another DIY Blog . . .
  • sl33
    Just another DIY Blog . . .
  • sl31
    Just another DIY Blog . . .
  • sl30
    Just another DIY Blog . . .
  • sl29
    Just another DIY Blog . . .
  • sl27
    Just another DIY Blog . . .
  • sl23
    Just another DIY Blog . . .
  • sl22
    Just another DIY Blog . . .
  • sl21
    Just another DIY Blog . . .
  • sl20
    Just another DIY Blog . . .
  • sl17
    Just another DIY Blog . . .
  • sl16
    Just another DIY Blog . . .
  • sl15
    Just another DIY Blog . . .
  • sl13
    Just another DIY Blog . . .
  • sl12
    Just another DIY Blog . . .
  • sl1
    Just another DIY Blog . . .
  • sl10
    Just another DIY Blog . . .
  • sl9
    Just another DIY Blog . . .
  • sl8
    Just another DIY Blog . . .
  • sl5
    Just another DIY Blog . . .
  • sl4
    Just another DIY Blog . . .
  • sl3
    Just another DIY Blog . . .
  • sl25
    Just another DIY Blog . . .

New Mushroom Growing Patch

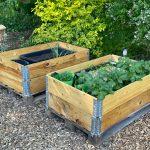
I used one of the transporting boxes my neighbour gave me to make a new mushroom patch in the backyard. It’s in a shady and usually a little damp spot and I hope it’ll provide good growing conditions for pleurotus ostreatus (Oyster mushroom).


Homemade Mushroom Grain Spawn (Sterile Method)

I just officially opened my personal little mushroom growing season. I have already (even successfully, occasionally 🙂 ) made grain spawn by just propagating mycelium plugs in pasteurized grain in the past, but while this is a cheap and simple way to use up “leftover mushroom seeds”, it’s also unfortunately very prone to contamination and failure. I decided to try a more professional approach this time and got myself some liquid mycelium in a syringe and this time aimed for a sterile procedure. 


Spring is Finally Coming and Plants Go in the Garden

Finally it’s time again to care for the garden, the various vegetables, fruit and herbs. I’m hoping bitterly that the upcoming summer will not turn out to be as much of a complete failure as last year.

Chilies and Red Bell Peppers

These are both going into pots on the patio in may. Each need a sunny spot and much light to grow. Bell peppers must be pruned for robust and bushy growth.  


New Chicken Coop! (Review)

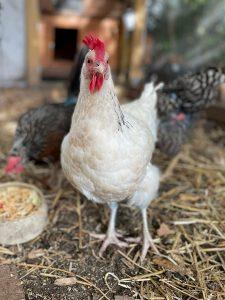
The chickens have moved to their new palace recently! The old wooden coop was finally rotten beyond repair – I suppose this type of pre-fabricated wooden structure is not meant to last forever anyway. So a new one had to happen and I put much emphasis on durability and strength. This in mind while doing some research, I came across “Nestera ™” coops from the UK on the internet, read several different reviews and finally bought one. Here’s an overview.


Baked Eggs and Spinach in Ricotta and Parmesan

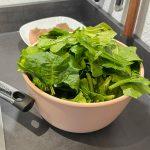
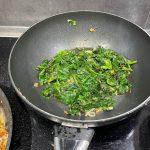
It’s cold outside. And rainy. And generally clammy and deterrent – I’m so, so done with this wintery weather. A good time for hot, filling and delicious comfort food, served with toasted bread, directly from the pan.


Pickled Cauliflower and Green Beans

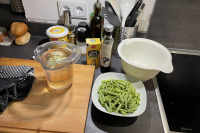
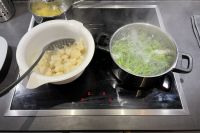
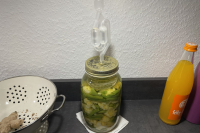
I made pickled cauliflower and beans using lactic acid fermentation. I know these from my childhood where it was served as an extra to various home-style dishes.

It is basically the same practice as for making Sauerkraut but with some different spices added and a little blanching beforehand. The veggies here are both larger and more firm than thin cabbage slices used for Sauerkraut, and in order to become more pleasant they need a little treatment in advance. I’ll know more in about two weeks.


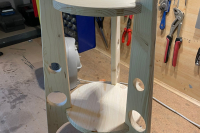
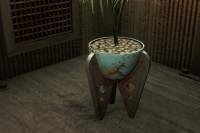
Fallout Inspired Plant Stand

I’m a passionate Fallout 4 player and one of the many decorative things you can create in Fallout’s settlement system are various plant stands. I like that style and made my own, inspired by the one in the screenshot.


Wild Bee Hotel

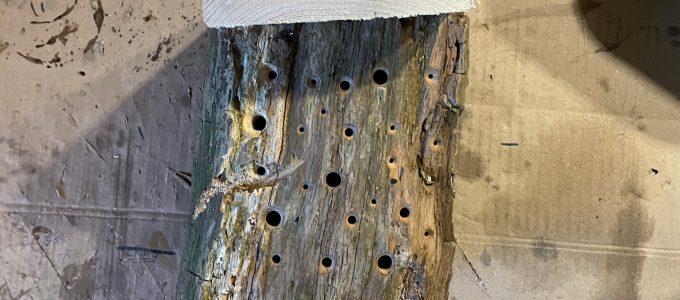
I learned a little about wild bee hotels the past few days and decided it would be a nice winter project to make one for later installation in spring. My personal little “green hell” is presumably already pretty suitable for bees, but I like the idea of supporting the little fellows a bit – also against the (only just a little selfish 🙂 ) background of facilitating the pollination of my veggie plants.


By continuing to use the site, you agree to the use of cookies. more information

The cookie settings on this website are set to "allow cookies" to give you the best browsing experience possible. If you continue to use this website without changing your cookie settings or you click "Accept" below then you are consenting to this.

Close